40
ASSEMBLY
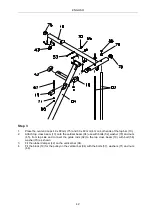
Step 1
1.
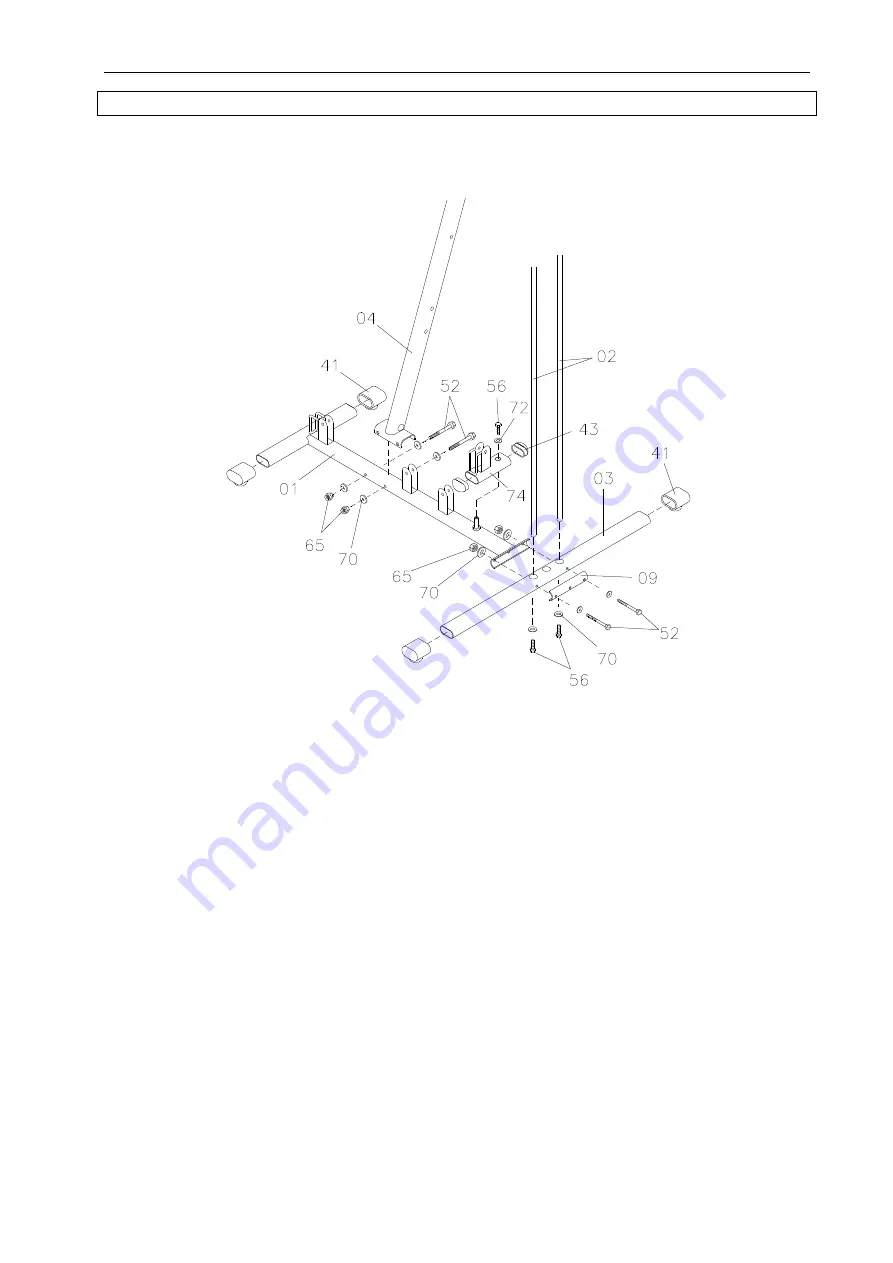
Place the oval rubber damper (41) on the ends of the base frame (01) and rear crossbar.
2.
Fit the guides (02) in the crossbar (03) with the bolt (56) and washer (70) as illustrated.
3.
Fit the base frame (01) on the crossbar (03) with the plate (09) and bolts (52), washers (70) and
nuts (65) as illustrated.
Tighten all the bolt connections with the supplied tool.
4.
Fit the vertical bar (04) on the base frame (01) with the bolts (52), washers (70) and nuts (65) as
illustrated.
5.
Fit the block (74) for the pulley on the base frame (01) with the hex bolts (56) and washers (72)
as illustrated.
6.
Place the oval end cap 30 x 60 mm (43) on the pulley block (74) as illustrated.
Содержание 951-145
Страница 4: ...4 BESKRIVNING...
Страница 13: ...13 NOTE CABLE SPACER OBS Lindistans...
Страница 14: ...14 VIKTIGT Kontrollera f re varje anv ndning att alla linor l per korrekt...
Страница 15: ...NORSK 15 NORSK BESKRIVELSE...
Страница 24: ...NORSK 24 NOTE CABLE SPACER MERK Distansestykke for kabel...
Страница 25: ...NORSK 25 FORSIKTIG Du m kontrollere at alle kablene er i sporene f r hver bruk...
Страница 26: ...POLSKI 26 POLSKI OPIS...
Страница 35: ...POLSKI 35 NOTE CABLE SPACER UWAGA Odleg o linek...
Страница 36: ...POLSKI 36 WA NE Przed ka dym u yciem sprawd czy linki s poprowadzone prawid owo...
Страница 37: ...ENGLISH 37 ENGLISH DESCRIPTION...
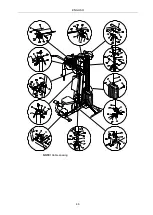
Страница 46: ...ENGLISH 46 NOTE CABLE SPACER NOTE Cable spacing...
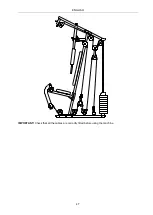
Страница 47: ...ENGLISH 47 IMPORTANT Check that all the cables are correctly fitted before using the machine...


