9
8
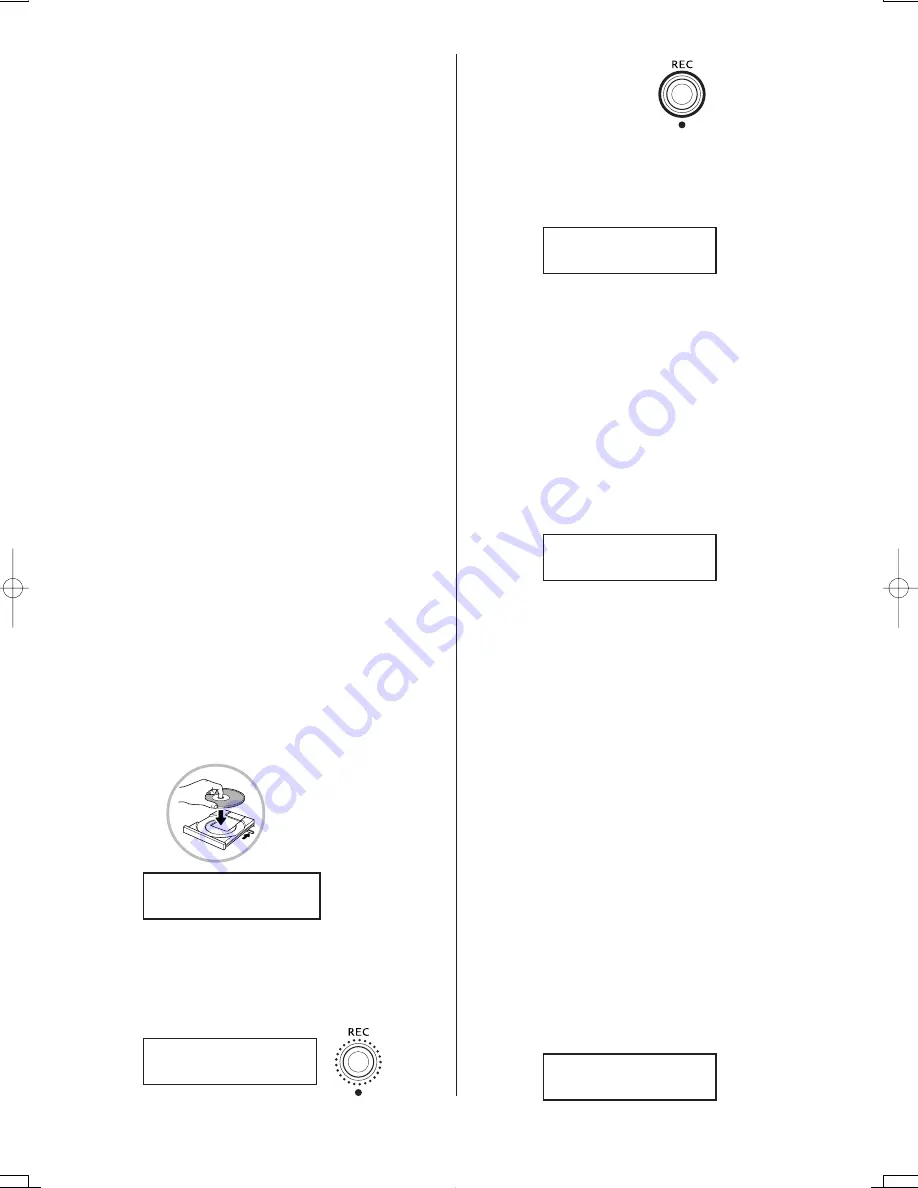
TO START THE RECORDING
Press the PLAY button.
The REC button and PLAY button will both light up
and the recording will start.
* You can use the start timer to delay the recording so the actual
recording does immediately start when you press the play but-
ton. You can program in a delay to allow time to move your
fingers to the keys. The start timer is also useful to prevent too
much space at the beginning of the recording while you are
moving your fingers to the keys. (see pg.10).
* You can also start recording by using the foot switch (see pg.11).
9
PERFORMANCE
Play the piano song you want to record.
0
STOP THE RECORDING
When the performance is finished, press the STOP
button.
The display will show the information above and the
PR-1 will be ready to play the song you have just re-
corded.
A
PLAYING BACK THE RECORDED SONG
Press the PLAY button and listen to the recorded song
using headphones.
Adjust the playback level to a comfortable volume by
setting the CD VOL knob to maximum and then ad-
justing the MASTER VOLUME knob as desired.
If you want to play this CD on another CD player or
CD radio cassette tape recorder, you must first “FI-
NALIZE” the CD.
Please see pg.17 for more detail.
Remember once you finalize a CD-R you cannot
Record anymore using that disc. (CD-RW discs can
be unfinalized. See pg.18)
B
ADD SONGS
If you want to record another song, follow steps
7
-
A
again.
Once you press the REC button the song number will
automatically change to 2 and The PR-1 will record
the next song.
1
CONNECTING THE PIANO MICROPHONE
Attach the two supplied piano microphones to your
piano and connect them to the PIANO MIC IN jacks
on the rear of the PR-1 main unit. See pg.36 to 40 for
instructions on how to attach the microphones to the
piano and for proper microphone placement.
2
CONNECTING THE HEADPHONES
Use headphones to listen to the recorded sound.
3
CONNECTING THE POWER SOURCE
Connect the attached AC Adaptor to the PR-1 and plug
in the power source to an outlet.
4
TURN THE POWER ON
Push the power switch and turn the power on.
5
ADJUSTING THE LEVEL OF THE
PIANO MICROPHONES
You need to adjust the level of the piano microphones
using the The PIANO MIC IN L/R LEVEL knobs on
the back panel. Play the piano and watch the L/R level
indicator on the front panel. When you play loud with
both hands the first red LED should light just for the
loudest notes. Adjust the L and R microphone levels
to be the same. Play soft and loud and also in different
key ranges when setting the microphone levels to make
sure that the level will be good regardless of how you
play the piano.
6
INSERT RECORDABLE CD-R
Press the Open/Close button to open the CD tray.
(Pressing the STOP button will also open the tray)
Place the CD-R or CD-RW disc in the tray and press
the Open/Close button again to close the tray.
When you turn on the power, the display will show
the following information.
7
PREPARE FOR RECORDING
Press the REC button.
The REC button will flash.
The display will show the following.
Flashing
Steady light
Put the disc in the tray
silver side down (the
side that doesn’t have
any writing on it).
SONG
01
TIME
00:00
SONG
01
REST
00:00
When the PR-1 is ready to
record, the REC button
will stop flashing but it will
still be lit steadily.
RECORDING
REST
00:00
SONG
01
TIME
00:00
PRESS
PLAY
≥
REC
TIME
00:00
Содержание PR-1
Страница 1: ...Owner s Manual...
Страница 45: ......
Страница 46: ......
Страница 47: ......
Страница 48: ...Printed in Indonesia 815411 KPSZ 0131...


