Kanguru DVD Duplicator Operation
Overview:
When you turn on your KanguruDVD-Duplicator, it will detect the DVD-/+R/RW writers and the
DVD-ROM on your system in the order of #1, #2, #3… and so on; the detection process will be
displayed on the LCD screen.
After successful start-up, you will enter
Operation Mode
. In Operation Mode, you can use the
SET
button to switch between modes, or you can press down the
SET
button continuously for 3
seconds to enter
Setup Mode
. Pressing the
RUN
button will perform a specified operation. When
you are ready to return from
Setup Mode
to
Operation Mode
, press the
SET
button continuously
for 3 seconds to return back to Operation Mode.
There are two buttons on the KanguruDVD-Duplicator console, the
SET
and
RUN
button. The
SET
button is normally used when you need to switch between different modes and functions;
where the
RUN
button is used to change, select, or start a specific task. For further information,
please see
Individual Settings
.
Loading the Source DVD or CD
The Kanguru DVD Duplicator uses a 200GB hard drive to store images of your source or master
discs. When the duplication process begins the system will read from the data from this hard
drive and burn it onto the target discs. To get your source material onto the internal hard drive it
must be loaded from one of the DVD/RW drives. To do so, simply insert your master disc into any
of the 7 drives and go to the LOAD function. Press the RUN button and the data will be loaded
onto the hard drive.
1. Press the SET button until you reach the LOAD function.
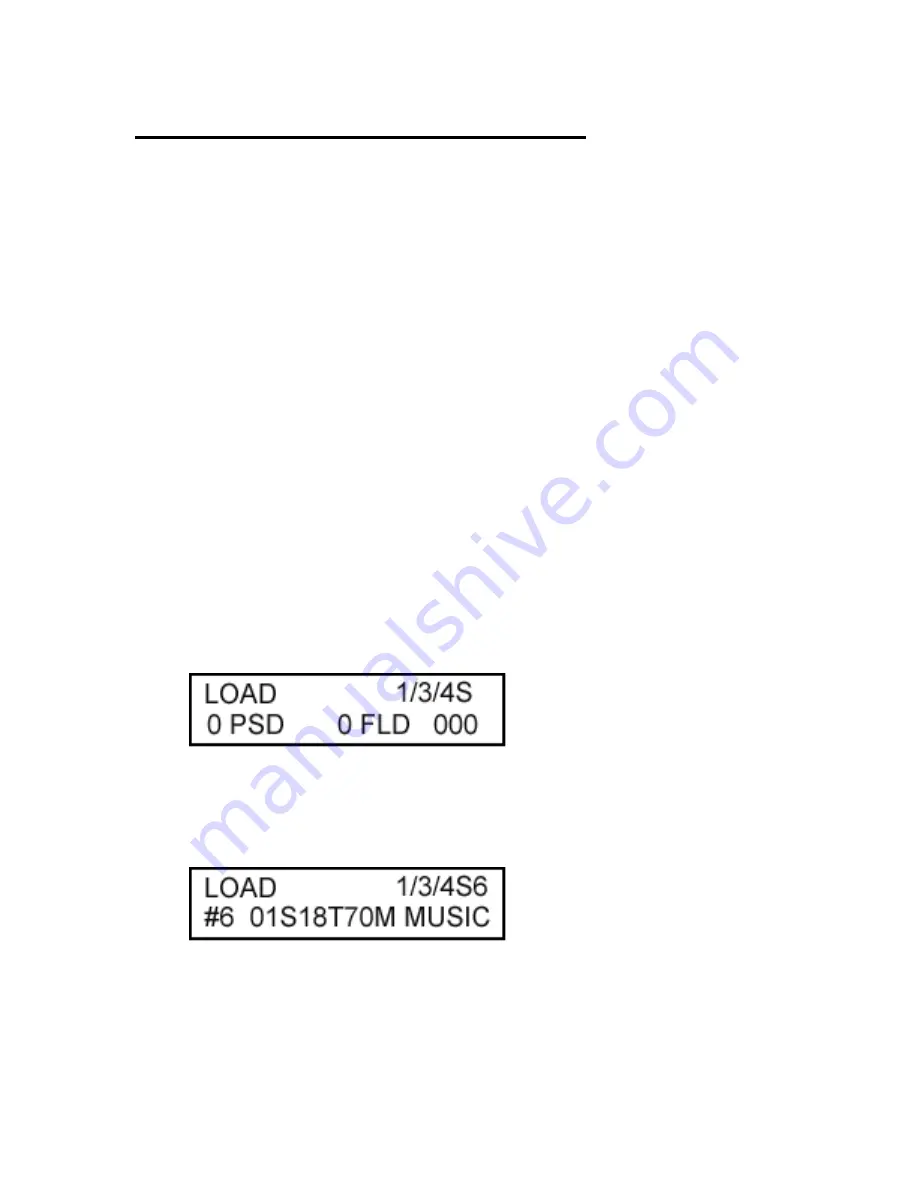
2. Insert the DVD or CD that you wish to duplicate into any of the 7 DVD/RW drives. The
LCD should display information about this disc on the bottom line. For example, the LCD
screen pictured below informs us that we are using the LOAD function. That there is 1
disc present in one of the 7 drives and the source disc is being read from the #6 drive.
The #6 drive contains a music CD with 70 minutes of audio over 18 tracks.
3. Press the RUN button to begin loading the data onto the internal hard drive. The LCD will
display the progress as pictured below.


