Operation Instructions
Please Note:
Your
Kanguru DVD Autoloader 200 has been pre-configured to work right out of
the box. However, you may have to adjust the robotic arm if you are finding that it will not properly
load/unload your discs. If you find that you robotic arm needs to be adjusted please refer to the
Adjusting the Robotic Arm section of this manual. If you need to STOP the robotic arm at any
time, press the Emergency Stop button! Refer to the Adjusting the Robotic Arm section to
reset the arm.
Turn on the Kanguru DVD Autoloader
1. Make sure the voltage switch on the rear of the unit is on the correct voltage setting.
2. Connect the power cables and hit the power switch on the back of the unit.
3. The system will run through a quick initialization process, detecting all of the components.
Load your Blank DVDs or CDs
1. Begin loading your blank discs into Disc Tub #2. If you are copying more than 100 discs,
loading the remaining blank discs into Disc Tub #2. Never place blank discs into Disc Tub
#3 as that is only used to unload copied discs.
2. If you only plan to copy a certain number of discs, then only put that number of discs in
Disc Bin #2 as the duplicator will continue to copy the discs until there are no blank discs
left in Bin #2 or #1.
Load your Master DVD or CD
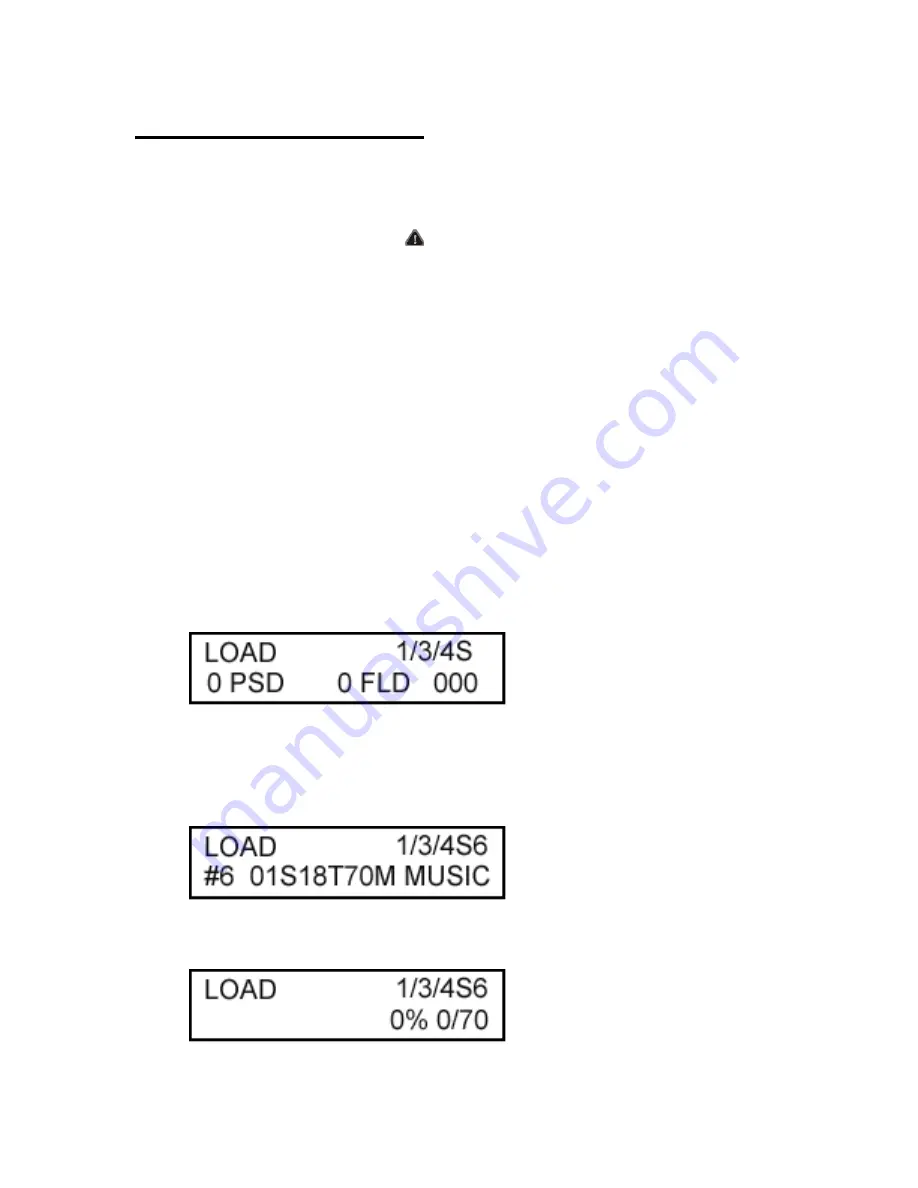
1. Press the SET button until you reach the LOAD function.
2. Insert the DVD or CD that you wish to duplicate into any of the 3 DVD/RW drives. The
LCD should display information about this disc on the bottom line. For example, the LCD
screen pictured below informs us that we are using the LOAD function. That there is 1
disc present in one of the 3 drives and the source disc is being read from the #6 drive.
The #6 drive contains a music CD with 70 minutes of audio over 18 tracks.
3. Press the RUN button to begin loading the data onto the internal hard drive. The LCD will
display the progress as pictured below.
Содержание DVD Autoloader 200
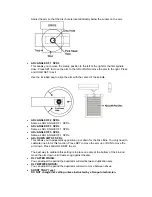
Страница 5: ...Getting Started Front View Top View ...


