background image

TIP

Assembly, installation and operating instructions

36

10

Maintenance

10.1 Securing against reconnection

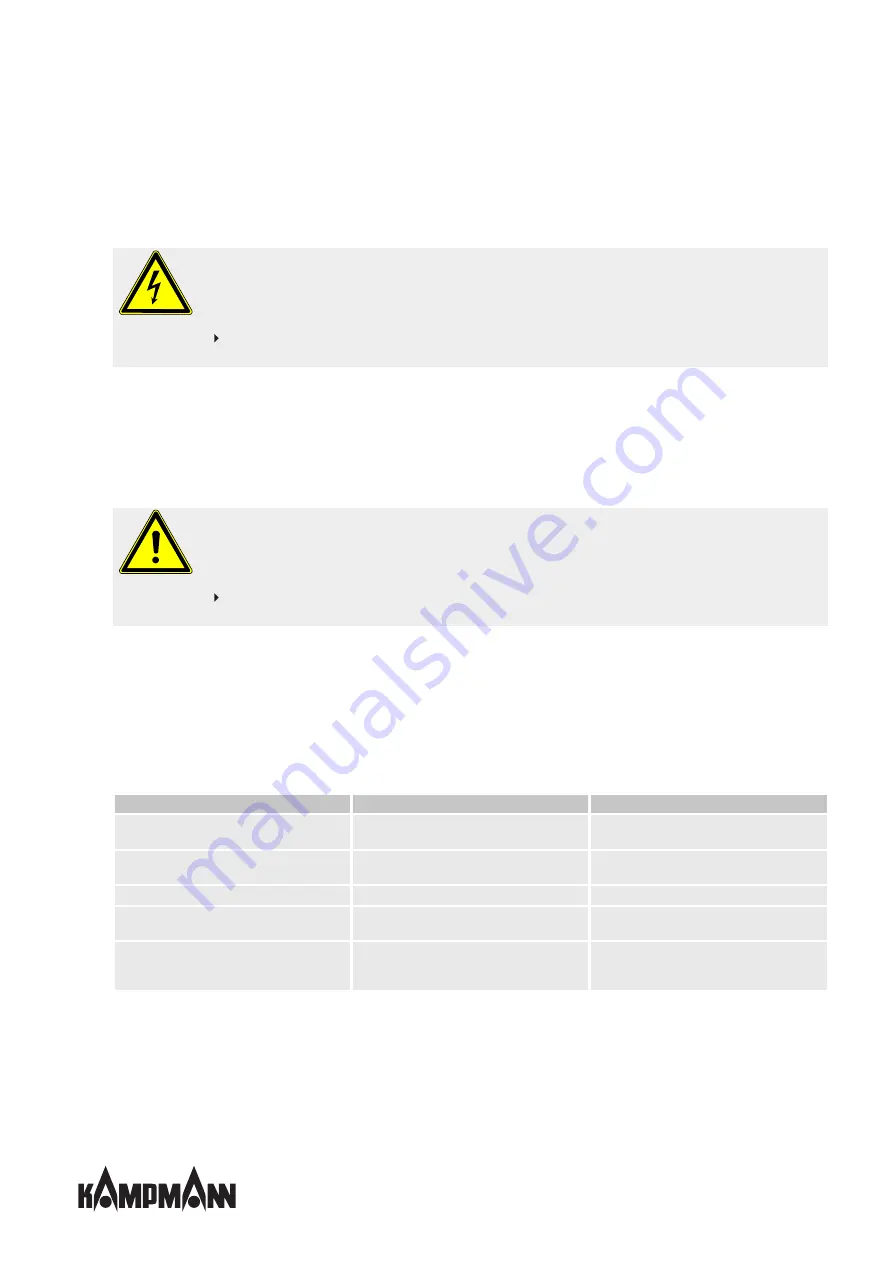
DANGER!

Risk of death by unauthorised or uncontrolled restart!

Unauthorised or uncontrolled restarting of the equipment can result in serious injury or death.

Before restarting, ensure that all safety devices are fitted and working properly and that there is no haz-
ard to humans.

Always follow the procedure described below to prevent accidental restart:

1. de-energise.

2. Prevent accidental re-connection.

3. Check that the equipment is de-energised.

4. Cover and cordon off adjacent live parts.

WARNING!

Risk of injury from rotating parts!

The fan impeller can cause severe injuries.

Switch off the unit and prevent it from reconnection before commencing any work on moving compon-
ents of the fan. Wait until all parts have come to a standstill.

10.2 Maintenance Schedule:

The sections below describe maintenance work needed for the proper and trouble-free operation of the equipment.

If there are signs of increased wear during regular checks, shorten the required maintenance intervals to the actual wear and
teat. Contact the manufacturer with any questions about maintenance work and intervals.

Interval

Maintenance task

Personnel

As required

Regular visual checks and acoustic checks for
damage, dirt and function.

User

every six months

Check water-side connections, valves and fit-
tings for dirt, leak-tightness and function.

User

every six months

Check the electrical wiring.

Qualified personnel

every six months

Clean components/surfaces that come into con-
tact with air.

Qualified personnel

quarterly

Check the heat exchanger for dirt, damage, cor-
rosion and leak-tightness. Carefully vacuum the
heat exchanger if dirty.

User

10.3 Clean the inside of the unit

Check all elements that come into contact with air (internal surfaces of the unit, outlet elements etc.) for dirt or deposits dur-
ing maintenance and use a commercially available product to remove.

Содержание TIP

Страница 1: ...TIP Assembly installation and operating instructions Keep these instructions in a safe place for future use Issue06 22EN SAP No 1695912...

Страница 2: ......

Страница 3: ...12 5 Construction and function 13 5 1 Overview 13 5 2 Brief description 13 6 Installation and wiring 14 6 1 Requirements governing the installation site 14 6 2 Minimum clearances 14 6 3 Installation 1...

Страница 4: ...2 7 Cabling of TIP 00 actuation by climate controller type 30256 2 pipe valve actuator 230 V AC Open Close 30 7 2 8 Cabling of TIP 00 actuation by speed controller type 30515 31 7 2 9 Cable laying TIP...

Страница 5: ...ply as do general safety provisions governing the use of the equipment Illustrations in this guide are intended to provide a basic understanding and may differ from the actual model Ongoing tests and...

Страница 6: ...ower grid The operating limits and limits of use de scribed in Chapter 2 2 6 must be observed Intended use of the unit also includes adherence to these instructions Information in accordance with EN60...

Страница 7: ...would refer to VDI 2035 Sheets 1 2 DIN EN 14336 and DIN EN 14868 with regard to the properties of the medium used to protect the equipment The following values provide further guidance The water used...

Страница 8: ...the unit as a construction site heater Never operate the unit in areas with a high dust content 2 3 Risk from electrocution DANGER Risk of fatal injury from electrocution Contact with live parts will...

Страница 9: ...n regulations Guidelines and recognised technical regulations i e Association of German Electricians VDE regulations DIN and EN standards VDI 6022 maintenance personnel must be trained to Category B p...

Страница 10: ...IMPORTANT NOTE 2 people are needed to transport the unit Wear personal protective clothing when transporting the unit Only lift the unit on both sides and not by the pipes valves IMPORTANT NOTE Mater...

Страница 11: ...o aggressive media Protect from direct sunlight Avoid mechanical vibrations and shocks IMPORTANT NOTE Under certain circumstances packages can carry storage instructions that exceed the requirements l...

Страница 12: ...2 8 2 3 4 11 5 Weight kg 25 62 32 92 45 125 Sound pressure level 1 dB A 25 56 31 61 31 61 Tab 4 Technical data TIP 1 The sound pressure level was calculated with an assumed room insulation of 16 dB A...

Страница 13: ...ion 5 Unit heater housing 6 Louvre one row standard 5 2 Brief description TIP unit heaters are used for the decentralised heating and ventilation of high ceilinged buildings either wall or ceiling mou...

Страница 14: ...nit heaters can be installed free standing or suspended from the wall using the wall brackets supplied or suspended from the ceiling using the ceiling brackets supplied Installation using existing wal...

Страница 15: ...otective gloves IMPORTANT NOTE Horizontal installation of units When installing the units ensure that they are completely horizontal to ensure proper operation 6 3 1 Installation of sheet steel access...

Страница 16: ...iling wall brackets type 3 049 Series 54 56 F A C D B E A C D Wall bracket type 34044 A B C D E F Series 54 585 251 160 40 50 340 Wall bracket type 35044 A B C D E F Series 55 585 251 160 40 50 440 Wa...

Страница 17: ...uspension points M8 A B Fig 3 TIP suspension points Unit heater series A mm B mm 54 350 220 55 450 220 56 550 220 Tab 7 Suspension points for wall ceiling installation 6 3 3 Universal 4 point brackets...

Страница 18: ...ation and operating instructions 18 6 3 4 Wall brackets type 3 044 type 3002 4x Fig 5 Wall brackets Wall bracket extended type 3002 6 3 5 Ceiling to wall brackets type 3 049 4x Fig 6 Ceiling to wall b...

Страница 19: ...mode to run even if the electric wiring is not yet completed When subsequently commissioned and with the application of power for longer than 6 minutes the First Open function is automatically unlocke...

Страница 20: ...en connecting up the unit s hydraulic pipework Disconnect the supply line from the medium Connect up the pipework Remove protective caps from the flow and return Seal the valve connections and screw i...

Страница 21: ...tective device is not required First connect the protective earth PE conductor to the motor junction box or to the KaControl recirculation air module When disconnecting be sure to disconnect the earth...

Страница 22: ...ostat 230 V type 30256 2 Electronic speed controller type 30515 10 Tab 9 Maximum connectible unit heaters with EC fan per speed control unit 7 2 Electromechanical control EMC compliant installation of...

Страница 23: ...Gnd Ub A UcM UcP 250V AC 2A PE L N C NC NO D1 Ub Uc GND A B SH X1 B A GND Uc Ub D1 S Ls N L PE PE PE ADECmSM_L SH PE L N 0 10V Gnd rt ge bl br bl gnge ws Mains 230 V 50 Hz Potential free fault alarm...

Страница 24: ...on of the cross section With J Y ST Y 0 8 mm max 100 m between the fan speed controller and the last unit heater provide a shield on one side when longer than 20 m Lay separately from high voltage lin...

Страница 25: ...NO D1 Uc Ub GND A B SH Ri 49 K 2 W7 3 W2 2 W3 3 W6 3 W10 2 W11 1 2 1 2 L N CS CS 3 W8 2 W9 gn ge 1 2 gn ge 1 2 1 2 gn ge 3 W4 2 W5 Speed controller type 30510 Mains 230 V In situ fusing Observe Elect...

Страница 26: ...2 L N CS CS gn ge 1 2 gn ge 1 2 1 2 3 gn ge 1 2 1 2 gn ge 1 2 gn ge 1 2 1 2 gn ge 3 W8 2 W9 1 2 3 2 1 PE PE L H K 3 W10 gn ge 3 W4 2 W5 Speed controller type 30510 Industrial thermostat type 30058 typ...

Страница 27: ...2 2 W13 1 2 1 2 L N CS CS gn ge 1 2 gn ge 1 2 1 2 3 gn ge 1 2 1 2 gn ge 1 2 gn ge 1 2 1 2 gn ge 3 W8 2 W9 1 2 3 4 2 1 4 N L N 4 W10 H 3 W4 2 W5 Mains 230 V 50 Hz Room thermostat type 30055 In situ fus...

Страница 28: ...1 2 1 2 3 gn ge 1 2 4 1 2 gn ge 1 2 gn ge 1 2 1 2 gn ge 3 W8 2 W9 1 2 3 4 1 2 4 5 6 7 L K 8 9 3 H L N 5 W10 F F 1 2 3 W4 2 W5 Speed controller type 30510 Clock thermostat type 30056 Mains 230 V In sit...

Страница 29: ...B SH Ri 49 K gn ge 1 2 2 1 PE PE PE L N C NC NO D1 Uc Ub GND A B SH Ri 49 K 2 W6 3 W7 3 W2 2 W3 3 W4 3 W5 Mains 230 V Air conditioning controller type 30155 In situ fusing Observe Electrical data inf...

Страница 30: ...2 1 2 3 1 2 1 2 1 2 1 2 COM NO 2 W11 W10 W9 W8 2 2 4 GND O3 N O1 O2 I1 GND I2 GND L Mains 230 V Air conditioning controller type 30256 In situ fusing Observe Electrical data information table Mains 2...

Страница 31: ...frost 2 W17 2 1 2 W13 2 2 1 W14 1 2 1 2 2 W15 1 2 2 W16 Mains 230 V Electronic speed controller type 30515 Fuse by others Note Electrical data information table Mains 230 V Unit no 1 230 V normally c...

Страница 32: ...GND PE 1 2 AA2 0 10V AA2 GND PE Mains 230 V Fuse by others Note Electrical data information table Mains 230 V Unit no 1 230 V normally closed optional Thermoelectric shut off valve Jumper factory fit...

Страница 33: ...ire connected and wired throughout Check all external electrical connections and terminal connections are fixed in place and tighten if necessary Water side checks Check whether all supply and drainag...

Страница 34: ...romechanical max number of connectible units ten TIP TOP Ultra or Venkon two KaCool D AF or KaCool W Fig 13 Room thermostat type 30155 Room thermostat type 30155 Electronic room thermostat with 3 stag...

Страница 35: ...ations surface mounted wall installation on a flush mounted box in visually unobtrusive design Operation using 4 sensor keys Timer with automatic summer winter changeover Option for external room sens...

Страница 36: ...ections below describe maintenance work needed for the proper and trouble free operation of the equipment If there are signs of increased wear during regular checks shorten the required maintenance in...

Страница 37: ...EC fan Water must not enter the inside of the motor or the electronics through direct contact with seals or motor openings for ex ample respect the protection rating IP The condensation drain holes if...

Страница 38: ...ected Check electrical connection and correct if neces sary No request from controller hence fans switch off Change controller settings if required Fan blocked Clean dirt from fan Impermissible operat...

Страница 39: ...ignal approx 2 VDC Mechanical blockage Switch off de energise and remove the mechan ical blockage Control voltage poles switched Connect the control voltage correctly Fan does not rotate 100 at max co...

Страница 40: ...TIP Assembly installation and operating instructions 40 12 Certificates...

Страница 41: ...article Resistent 84 85 86 Typ Model Nr artyku u Ultra 73 84 85 96 97 Typ Model slo v robku Bauheizer 54 55 56 auf das sich diese Erkl rung bezieht mit der den folgenden Norm en oder normativen Dokum...

Страница 42: ...5 EU Niederspannungsrichtlinie Frank Bolkenius Lingen Ems den 29 04 2022 ______________________________ Ort und Datum der Ausstellung Name und Unterschrift des Befugten Place and Date of Issue Name an...

Страница 43: ...hrsysteme 10 C f r 4 Rohrsysteme Wassertemperatur am Einlass Anstieg der Wassertemperatur Heating Test 20 C dry bulb Inlet water temperature 45 C for 2 pipe units 65 C for 4 pipe units Water temperatu...

Страница 44: ...age 7 Tab 3 Water quality 7 Tab 4 Technical data TIP 12 Tab 5 Overview of types with minimum distances 14 Tab 6 Air side sheet steel accessories 15 Tab 7 Suspension points for wall ceiling installatio...

Страница 45: ......

Страница 46: ......

Страница 47: ......

Страница 48: ...130 49811 Lingen Ems T 49 591 7108 660 F 49 591 7108 173 E export kampmann de W Kampmann eu Country Contact Great Britain Kampmann UK Ltd Dial House Govett Avenue Shepperton Middlesex TW17 8AG T 44 1...

Отзывы: