18
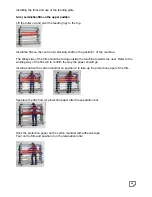
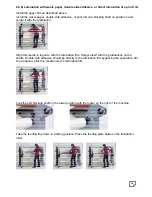
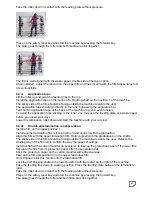
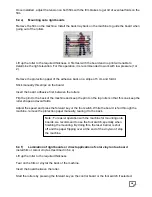
Once installed , adjust the tension on both film with the film brakes to get rid of eventual folds on the
film.
6.4 e)
Mounting onto rigid boards
Remove the film on the machine. Install the back tray back on the machine to guide the board when
going out of the rollers.
Lift up the roller to the required thickness. A first test with the board and no print will enable to
determine the right elevation. For this operation, it is recommended to work with low pressure (1or
2)
Remove the protection paper of the adhesive back on a stripe of 5 cm and fold it.
Stick manually this stripe on the board.
Insert the board, adhesive first, between the rollers.
Flip the print to the back of the machine and keep the print on the top roller so that this one keep the
roller shape and avoid folds.
Adjust the speed and press the forward key or the foot switch. While the board is fed through the
machine, remove the protection paper manually, tearing it to the back.
6.4 f)
Lamination of rigid boards or direct application of color vinyl onto a board
Install film or colour vinyl as described in 6.4 a)
Lift up the roller to the required thickness
Tear on the film or vinyl at the back of the machine.
Insert the board between the roller.
Start the rollers by pressing the forward key on the control board or the foot switch if selected.
Note : For easier operation with the machine for mounting onto
boards, we recommend to use the foot switch, specially when
finishing the mounting. By doing this, the laser barrier is shut
off and the paper flipping over at the end of the vinyl won’t stop
the machine.

