15
■
4. Press ONE TOUCH REC on the system.
The
indicator lights up and the system starts recording.
• If the tab of the cassette tape is removed to protect erasure or
recording, recording does not start.
Tips:
When you want to record on both sides of the tape, start
recording from the forward direction.
To stop at any time during the recording process,
press
7
.
When recording an AM broadcast, beats may be produced which
are not heard when listening to the broadcast. If this happens, press
BEAT CUT to eliminate the beats.
■
1. Set to AM station and start recording.
■
2. Press BEAT CUT to eliminate the beats.
Each time you press the button, the display changes as follows:
B.CUT-1
=
B.CUT-2
=
B.CUT-3
=
B.CUT-4
=
(back to
the beginning)
Everything on the disc goes onto the tape in the order it is on the
disc, or according to the order you have set in a program.
■
1. Insert a blank or erasable cassette tape
into the cassette deck.
Be sure that the tape direction indicator and the tape insertion
direction are as follows:
[Forward recording]
■
2. If you want to record on both sides of the
tape, press REVERSE MODE on the remote
control to set the system in reverse mode.
Press the button until “
” is lit.
■
3. Set a disc.
■
4. Press CD
6
.
■
5. Press
7
.
• If you want to record specific tracks only, program the tracks
first. You can check their total playback time on the display
during programming. (See page 12.)
■
6. Choose whether to have pauses between
tracks.
• If nothing is done, a non-recorded pause of about four
seconds will be automatically made between tracks.
• If you do not want pauses between tracks, press CD
6
twice to enter pause mode—only possible with CDs.
■
7. Press ONE TOUCH REC on the system.
The
indicator lights up and the cassette deck starts
recording.
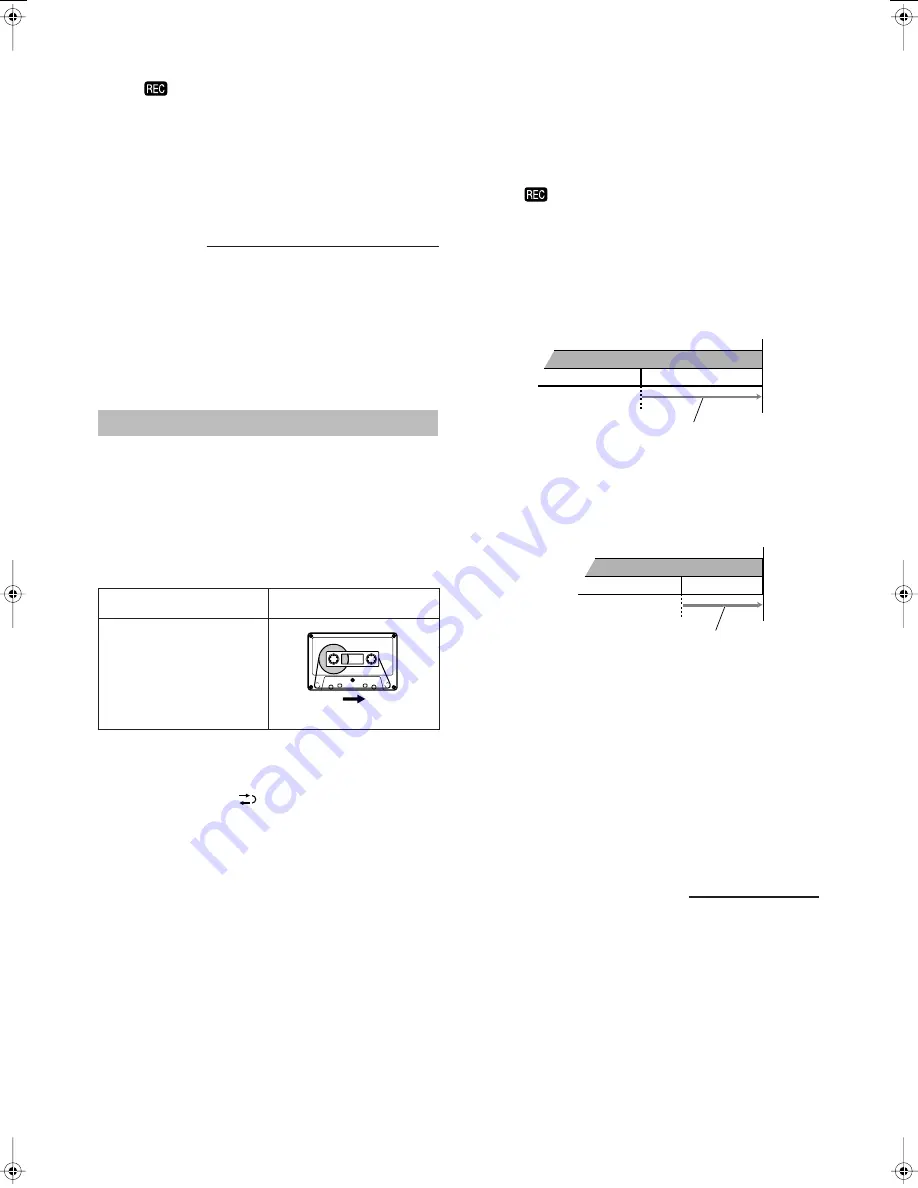
• When the tape reaches its end at the middle of a song in the
forward direction (
3
), the recording in the reverse direction
(
2
) will start from the beginning of that track (or previous
track). See diagram below.
Ex.: Case 1
[Recording direction
3
(forward)]
Ex.: Case 2
[Recording direction
3
(forward)]
• After the disc player has played the entire disc, or all the
programmed tracks, the tape automatically stops.
• Recording will also stop when the end of the reverse side (
2
)
is reached (even if the disc play is not yet over).
To stop at any time during the recording process,
press
7
.
The tape stops after four seconds.
Note:
When making SLEEP timer settings while performing disc direct
recording, set enough time to allow the disc to finish playing;
otherwise, the power will go off before recording is completed.
You can record the current track being played.
■
1. Insert a blank or erasable cassette tape
into the cassette deck.
■
2. Play the track you wish to record.
■
3. Press ONE TOUCH REC on the system.
The disc player returns to the beginning of that track and the
track is recorded on the tape. After recording, the disc player
and the cassette deck automatically stop.
Recording an AM station
on a tape
Disc direct recording
Tape direction indicator
Tape insertion direction
3
(Forward)
*
Recording will be made on
the tape side facing you.
(Front view)
One Track Recording
Track 1
Track 2
Tape end
more than 10 seconds
*
The recording in reverse side (
2
) starts from the beginning
of track 2.
Track 1
Track 2
Tape end
less than 10 seconds
*
The recording in reverse side (
2
) starts from the beginning
of track 1.
EN07-20_RV-NB10[J]2.fm Page 15 Thursday, January 12, 2006 2:27 PM
Содержание RV-NB10B
Страница 26: ...For U S A ...
Страница 27: ...For U S A ...
Страница 28: ...RV NB10B RV NB10W POWERED WOOFER CD SYSTEM 2006 Victor Company of Japan Limited 0106KMMMDWJEIN EN ...
Страница 54: ...RV NB10B RV NB10W POWERED WOOFER CD SYSTEM 2006 Victor Company of Japan Limited 0106KMMMDWJEIN EN FR ...
Страница 55: ...INSTRUCTIONS LVT1539 003A B POWERED WOOFER CD SYSTEM RV NB10B RV NB10W ...
Страница 78: ...RV NB10B RV NB10W POWERED WOOFER CD SYSTEM 2006 Victor Company of Japan Limited 0106KMMMDWJEIN EN ...


