OPERATION
-13-
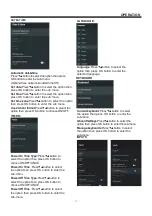
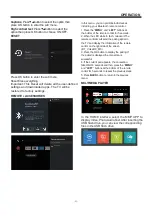
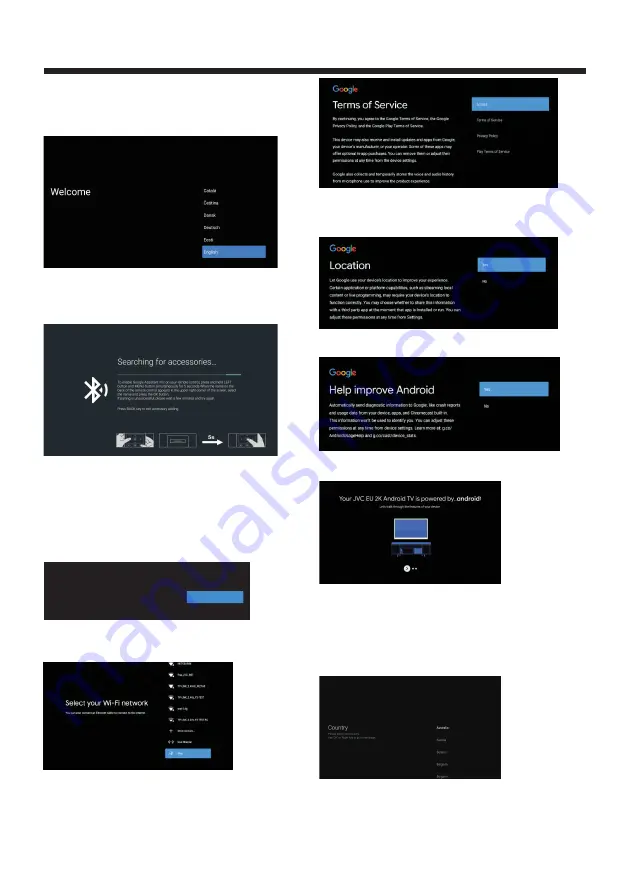
Allow Google to get the location information of your
device to access more features,choose YES to accept.
"
"
Allow to automatically send diagnostic information to
Google. Choose "YES" to accept
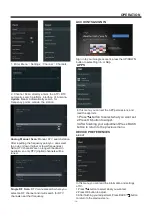
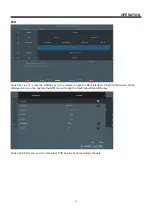
1. You will now see a screen saying your device is
powered by Android TV. Press the
▶
button to select
the browsing feature.
2
.
You
can
get
more
apps
from
Play
and
press
the
▶
button
to
go
to
the
next
screen
.
3
.
Transfer
photos
and
other
content
to
the
TV
via
the
built
-
in
chromecast
,
press
OK
to
complete
the
browsing
.
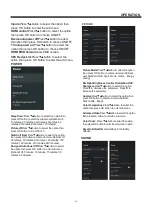
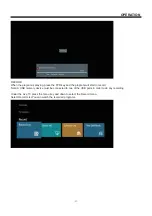
Press
▼▲
to
select
the
country
of
your
device
and
press
OK
to
confirm
.
INITIAL SETUP
P
Remote Control Pairing
ress
▼▲
to
select
the
system
language
and
press
OK
to
confirm
the
language
.
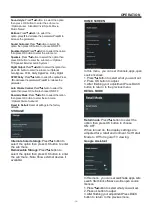
Connect
your
Android
phone
to
your
TV
,
select
Continue to
continue
the
connection
,
and
choose Skip to
skip
this
step
.
"
"
"
"
Press
▼▲
to
select
the
the
Wifi
to
connect
,
press
OK
and
enter
the
password
to
confirm
the
connection
is
successful
.
You can also use
Ethernet and skip select network.
t
Accept the
Terms
of
Service
to
improve
he
product
experience
,
select
Accept
to
accept
this
condition
.
"
"
Quickly set up your TV with
your Android phone?
You can easily transfer your Android phone’s Wi-Fi network and Google
Account to your TV
Continue
Skip
This step is to pair the Bluetooth remote control with
your TV. Follow the on-screen instructions to pair.
Select and click OK when the remote control code
'BT_VoiceRC_M3' appears on the screen.
After the code is successful,you can use the Bluetooth
remote control to operate the TV. If you don't need to
use the Bluetooth remote control, you can press the
BACK button to skip this step.
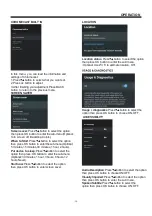
When you turn on your TV for the first time,the setup
wizard will guide you through setting up basic settings.
Please follow the on-screen instructions for first time
setup
Содержание LT-42N5125A
Страница 1: ...LT 42N5125A 42 Class RM C3416 ...
Страница 3: ... 2 WARNING AND PRECAUTIONS ...
Страница 4: ...IMPORTANT SAFETY INSTRUCTIONS 3 ...
Страница 5: ...IMPORTANT SAFETY INSTRUCTIONS 4 ...
Страница 9: ...INSTALLATION 8 M6 x 12 200 100 200 100 ...
Страница 27: ......
Страница 28: ...Register your product at jvctv com au warranty registration ...


