Setup
56
Special Setup
You can setup special parameters.
1
Press the
[
FNC
]
button.
h
h
Popup menu appears.
2
Touch
[
]
.
h
h
HOME screen appears.
3
Touch
[
]
.
h
h
SETUP screen appears.
4
Touch
[
Special
]
.
h
h
Special screen appears.
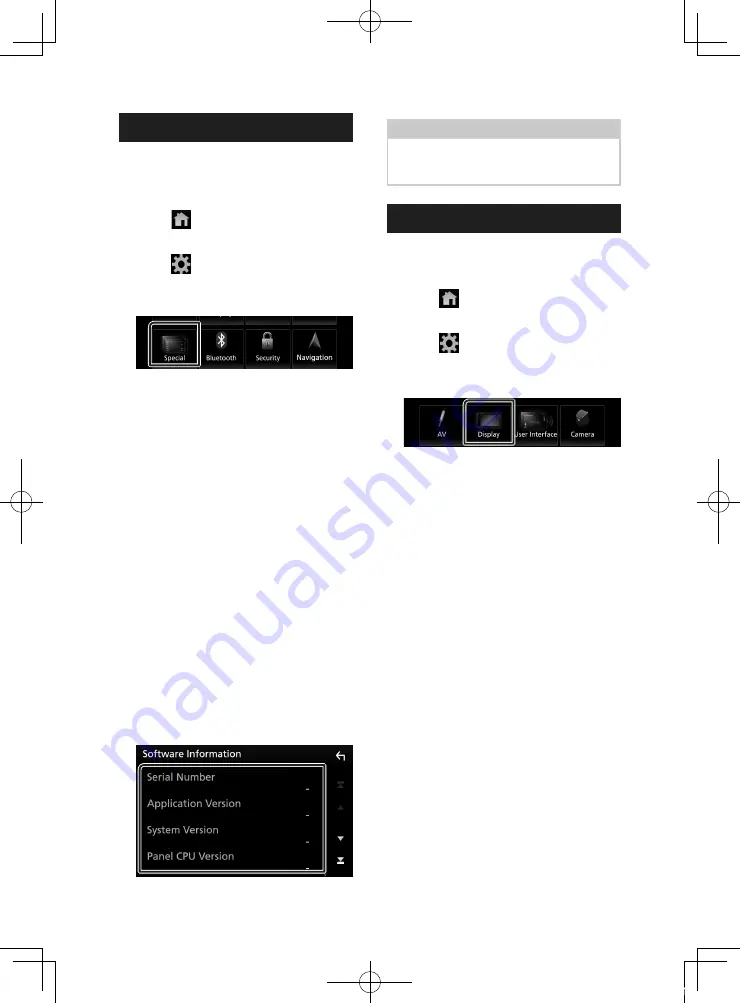
5
Set each parameter as follows.
■
[
DEMO
]
Select the demonstration mode. Default is
“ON”.
■
[
Software Information
]
Confirm the software version of this unit.
■
[
Open Source Licenses
]
Display the open source licenses.
■
[
Initialise
]
Touch
[
Initialise
]
and then touch
[
Yes
]
to set
all the settings to the initial default settings.
• Audio SETUP Memory is not initialized.
Ñ
Software Information
You can confirm the software version of this
unit.
1
Touch
[
Software Information
]
in the
Special screen.
2
Confirm the software version.
NOTE
• For how to update the software, see the relevant
update procedure manual which comes with the
software.
Display Setup
1
Press the
[
FNC
]
button.
h
h
Popup menu appears.
2
Touch
[
]
.
h
h
HOME screen appears.
3
Touch
[
]
.
h
h
SETUP screen appears.
4
Touch
[
Display
]
.
h
h
Display screen appears.
5
Set each parameter as follows.
■
[
Dimmer
]
Select the dimmer mode.
[
OFF
]
: Does not dim the display and buttons.
[
ON
]
: Dims the display and buttons.
[
SYNC
]
(Default): Turns the dimmer function
on or off when the vehicle light control
switch is turned on or off.
■
[
OSD Clock
]
Select if you want to display the clock while
watching DVD video, etc.
"ON" (Default)/ "OFF"
■
[
Wallpaper Customize
]
You can change the wallpaper image or
color.
■
[
Viewing Angle
]
If it is hard to see the image on the screen
evenly, adjust the viewing angle. The smaller
the (negative) value, the more whitish the
image on the screen looks.
"0" (Default)/ "-1"/ "-2"/ "-3"
!B5A-2488-00_18KWV_M_En.indb 56
2018/02/16 8:19


