1-10 (No.MA454<Rev.001>)
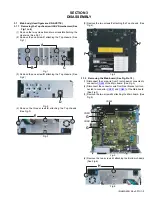
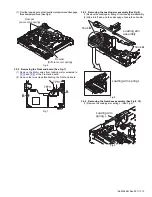
(5) Remove the two screws
J
attaching the Wire bracket. (See
Fig.7)
Fig.7
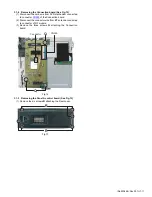
(6) Disconnect connector wire from Rear bracket connected to
connectors
CN861
,
CN871
,
CN921
,
CN922
,
CN923
and
CN981
of the Main board. (See Fig.8)
Fig.8
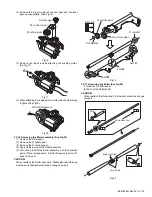
(7) Remove the two screws
K
attaching the Heat sink. (See
Fig.9)
(8) Remove the one screw
L
attaching the Antenna wire. (See
Fig.9)
(9) Remove the one screw
M
attaching the USB cable. (See
Fig.9)
Fig.9
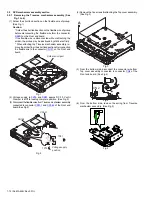
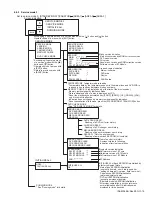
(10) Remove the one screw
N
attaching the Main board. (See
Fig.10)
Fig.10
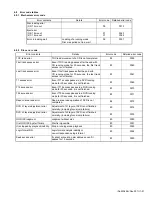
3.1.3 Removing the DVD mechanism (See Fig.11)
(1) Remove the three screws
P
attaching the DVD mecha-
nism.
Fig.11
J
CN981
CN861
CN871 CN823
CN921
CN922
L
M
K
N
P
P
P
Содержание KD-AVX55A
Страница 31: ......


