


GETTING STARTED
EN
21
GE
TTIN
G
ST
AR
TED
MasterPage: Start_Right
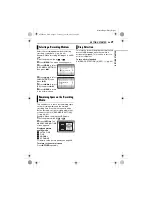
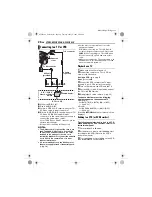
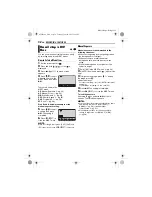
Select the recording medium before starting
recording or playback. (
墌
pg. 48, 49)
Example: When recording still images to an SD
card
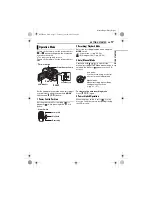
1
Set the power switch to
or
.
2
Press
MENU
. The menu screen appears.
3
Press
/
to select
[REC MEDIA SETTING],
then press
49
.
4
Press
/
to select
[IMAGE MODE], then
press
49
.
5
Press
/
to select
[SD], then press
49
.
6
Press
MENU
to return
to the normal screen.
This enables you to check the remaining space
on the recording media and the available
recording time for each picture quality mode.
Before checking, set the recording media that
you want to check in [REC MEDIA SETTING].
(
墌
pg. 48, 49)
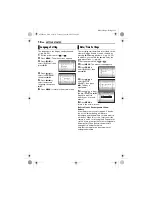
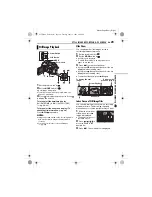
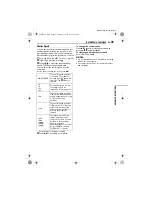
Example: When checking the HDD space
1
Set the power switch to
or
.
2
Press
INFO
/
. The
MAX RECORDING TIME
screen appears.
Displayed picture
quality mode
: ULTRA FINE
: FINE
: NORMAL
: ECONOMY
For details on the picture quality, see page 50.
To return to the normal screen
Press
INFO
/
repeatedly.
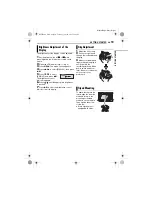
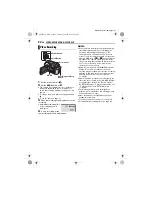
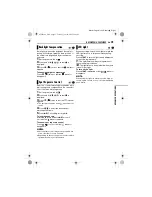
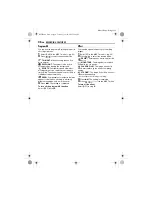
This function turns off the power automatically to
prevent HDD damage when the camera is
accidentally dropped. This function is set to on
at time of shipment.
To turn off this function
Set [DROP DETECTION] to [OFF]. (
墌
pg. 49)
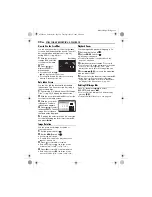
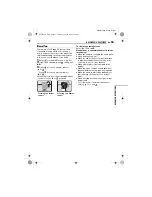
Selecting a Recording Medium
Remaining Space on the Recording
Media
DIS
CAMERA SETTING
BASIC SETTING
REC MEDIA SETTING
DISPLAY
QUALITY
WIDE MODE
NO. RESET
VIDEO MODE
IMAGE MODE
FORMAT
CLEAN UP
MAX RECORDING TIME
FREE
USED
Drop Detection
M5E3PAL.book Page 21 Tuesday, June 14, 2005 1:40 PM