30
Backup Files
Preparation:
•
Connect the camera to the DVD burner.
•
Select
!
or
#
mode.
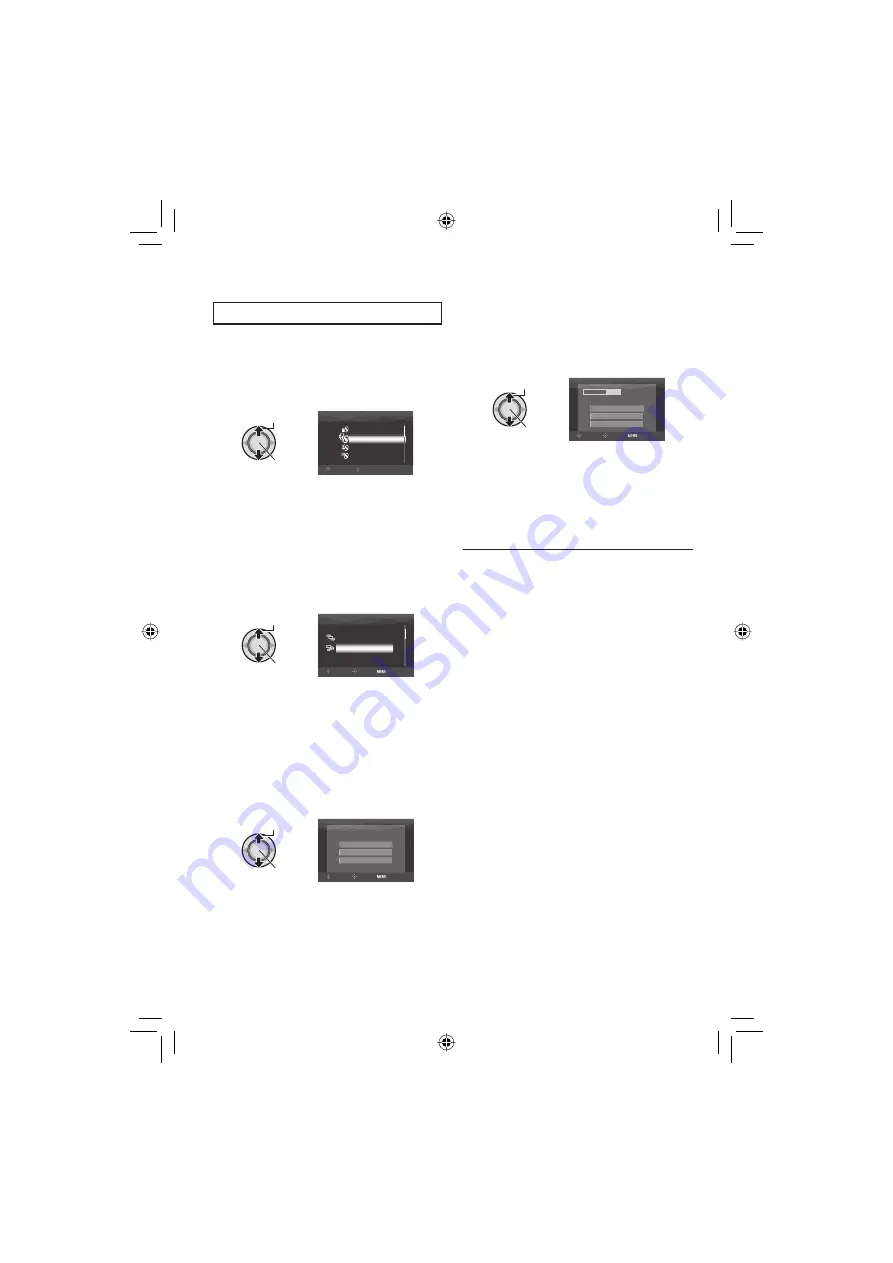
1
Select [NORMAL BACK-UP].
Select
Set
SELECT
SET
VIDEO
FINALIZE
SELECT BACK-UP
PLAYBACK
NORMAL BACK-UP
2
Select the desired menu.
•
[UNSAVED SCENES/FILES NOT
BACKED-UP]:
Files that have never been copied to a
DVD disc are automatically selected and
copied.
•
[ALL]:
All fi les in the recording medium are
copied.
Select
Set
NORMAL BACK-UP
SELECT
SET
TOP
UNSAVED SCENES
ALL
3
Select the desired menu.
•
[CONTINUE TO COPY]:
Files are added to the free space of a
disc. Displayed only when a recordable
disc is inserted.
•
[FORMAT]:
After the disc is formatted (all recorded
data on the disc is deleted), the fi les are
copied on the disc.
Select
Set
VIDEOS ARE RECORDED
CANCEL
CONTINUE TO COPY
FORMAT
SELECT
SET
TOP
4
Select [EXECUTE] or [EXECUTE AND
FINALIZE].
By selecting [EXECUTE AND FINALIZE],
the disc is fi nalized after the fi les are
copied.
Select
Set
DVD(DL)
DVD
3
5
CANCEL
EXECUTE
EXECUTE AND FINALIZE
SELECT
SET
TOP
•
The fi les are copied on the disc. When
[COMPLETED] appears, press down the
set lever to complete the operation.
•
When [COMPLETED. CHANGE DISC]
appears, change the disc. Remaining
fi les are copied on the second disc.
•
To cancel the copying, select [STOP].
8
To return to the top screen
Press the
MENU
button, then select [YES].
8
To fi nalize the disc after copy is fi nished
1) Connect the camera to the DVD burner.
2) Turn the camera’s power on.
3) Select [FINALIZE].
4) Select [EXECUTE].
5) When [COMPLETED] appears, select
[OK].
8
To play back the created disc using the
camera
1) Connect the camera to the DVD burner.
2) Turn the DVD burner on, then turn the
camera on.
3) Select [PLAYBACK].
4) Select the desired folder.
5) Select the desired fi le.
To return to the previous screen, press
the
INDEX
button.
Copying Files
(Continued)
Содержание GZ-HD5U
Страница 45: ...MEMO ...


