


Playing Back/Deleting Files on this Unit
Select and play back the recorded videos or still images from an index screen (thumbnail display).
.
The mode can also be switched by
pressing the PLAY/REC button on
this unit.
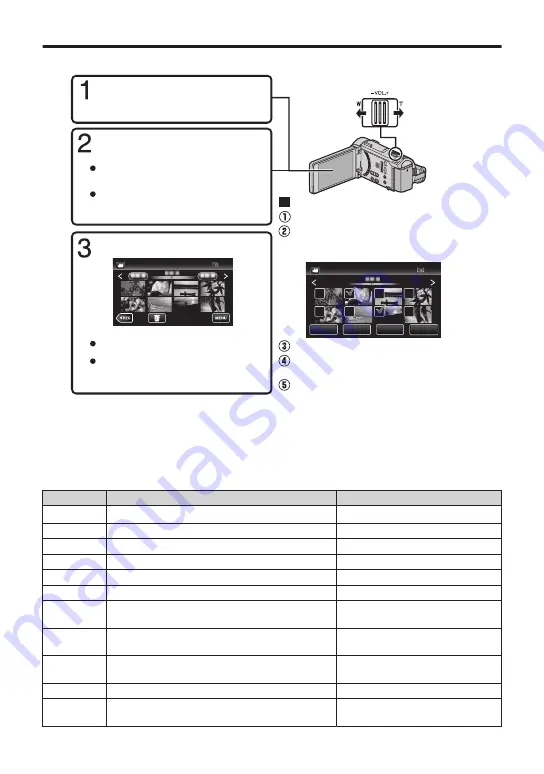
SET
REL ALL
SEL ALL
DELETE
QUIT
Tap on the files to delete.
Tap
A
.
To delete unwanted files
Turn up the
volume
Turn down
the volume
Volume adjustment during playback
Tap
u
to return to the video
index screen.
Tap on the file to play back.
Tap “SET”.
A delete mark appears on the selected file.
To remove the delete mark, tap again.
Tap
E
to return to the recording
mode.
Tap
F
on the touch screen
to select the playback mode.
Tap
e
to pause playback.
Tap “OK”.
Tap “EXECUTE” when the
confirmation message appears.
Tap
A
or
B
to select the video
or still image mode.
0
When playing back videos recorded in 50p mode (select “50p” in “SYSTEM SELECT”),
please refer to the “Detailed User Guide”.
o
To capture a still image during playback
Pause the playback and press the SNAPSHOT button.
o
Usable operation buttons during playback
During video playback
During still image playback
d
/
e
Playback/pause
Start/pause slideshow
u
Stop (returns to index screen)
Stop (returns to index screen)
g
Advances to the next video
Advances to the next still image
h
Returns to the beginning of the scene
Returns to the previous still image
i
Forward search
-
j
Reverse search
-
k
Forward slow-motion / Press and hold to
start slow playback
-
l
Reverse slow-motion / Press and hold to
start reverse slow playback
-
R
-
Rotates 90 degrees
counterclockwise
S
-
Rotates 90 degrees clockwise
T
-
Continuous playback of images
taken by continuous shooting
9


