43
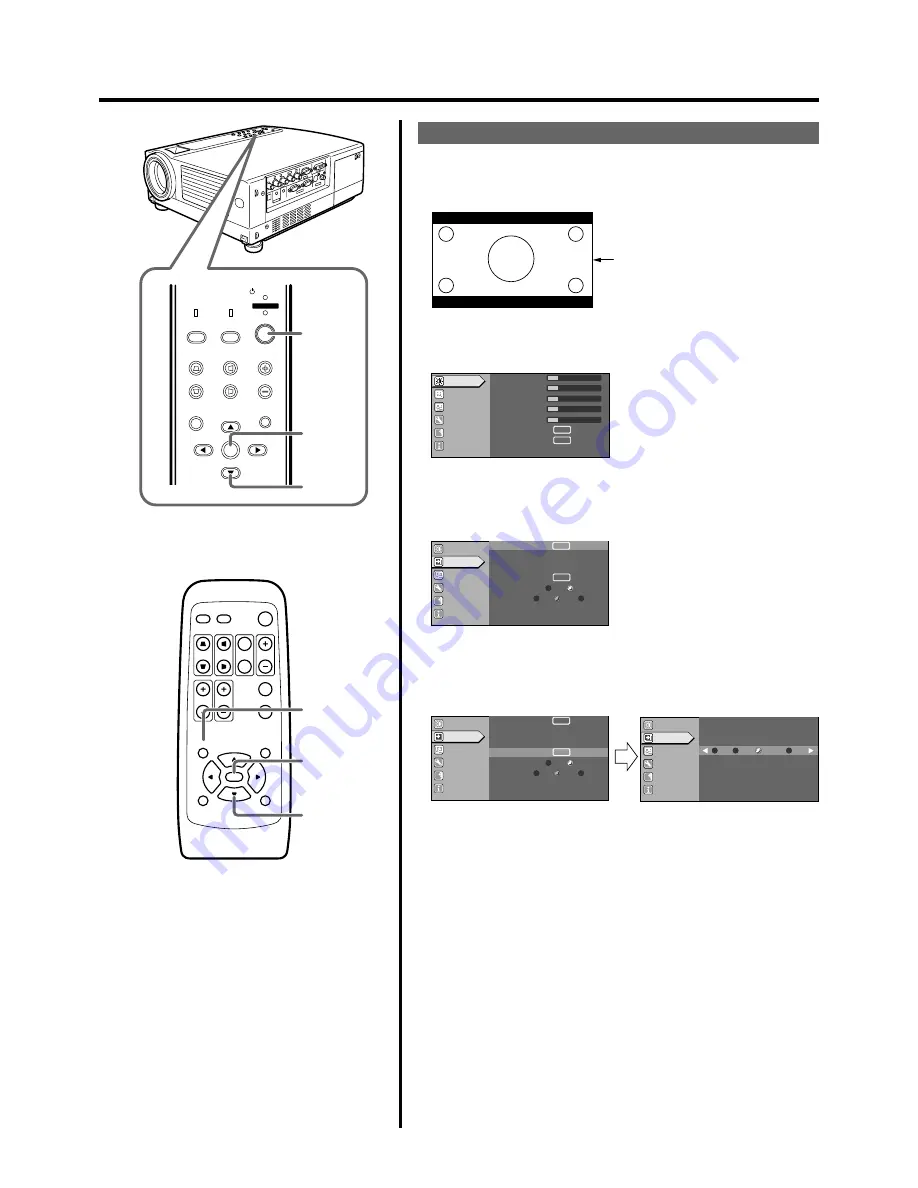
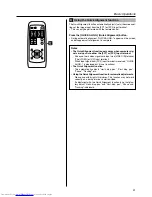
Setting “Aspect ratio” and “Resize”
1.
Project the image onto the screen
2.
Press the [MENU] button
• The main menu appears on the screen.
3.
Press the cursor buttons (
/
) to select “Set up” and
press [ENTER] or cursor (
)
• The “Set up” menu appears on the right side of the screen.
4.
Select “Resize” with the cursor buttons (
/
) and press
[ENTER]
• The “Resize” menu appears on the screen.
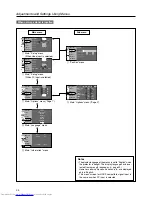
Setting the “Resize”
Set the “Resize” when HDCP image is input from [PC3] terminal.
QUICK ALIGN.
PC
VIDEO
VOLUME
PRESET
HIDE
ENTER
MENU
EXIT
FREEZE
OPERATE
V-KEYSTONE H-KEYSTONE
SCREEN
DIGITAL
ZOOM
FOCUS
W
S
MENU
V-KEYSTONE
PC
LAMP
H-KEYSTONE
VOL.
MENU
EXIT
ENTER
VIDEO
TEMP
STAND BY
OPERATE
3, 4
3, 4
2
2
3, 4
3, 4
A
12
12
1
12
12
ENTER
ENTER
Image adj.
Set up
Logo
Options
Language
Information
Contrast
Brightness
Color
Tint
Sharpness
Color temp.
Reset
A
G B
R
Image adj.
Set up
Logo
Options
Language
Information
ENTER
ENTER
Low
Std
High
ST
BP
12
123
Position
Tracking
Phase
Resize
Clamp
Sync level
ENTER
ENTER
A
G B
R
ENTER
Low
Std
High
ST
BP
12
123
Image adj.
Set up
Logo
Options
Language
Information
Resize
1:1
Panel
Zoom
Aspect
A
G B
R
Image adj.
Set up
Logo
Options
Language
Information
Position
Tracking
Phase
Resize
Clamp
Sync level
ENTER
4:3 image recorded in letterbox
(black bars above and below the
screen) such as in DVD software.


