27
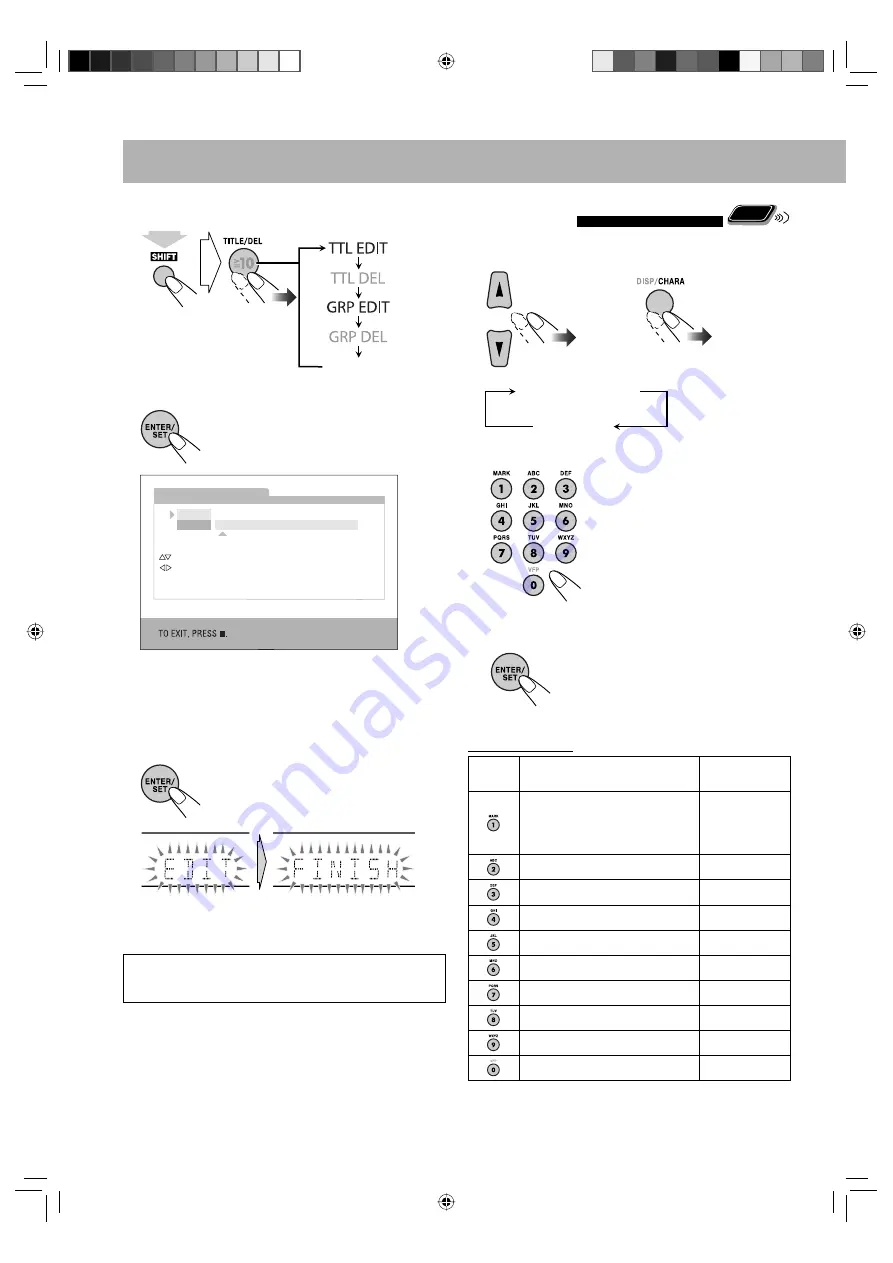
Entering Titles
Remote
ONLY
1
Select the character type.
2
Enter a character.
• Several characters are assigned
to one button. Press the button
repeatedly until the desired
character is displayed.
• For available characters, refer to
“Available Characters” below.
3
Confirm the entry.
“NO NAME” appears if no
characters is selected in step
2
.
Available Characters
Button
Uppercase character
Numerical
character
(Space) , ! , # , $ , % , & , ’, ( , ) , +, –,
. , = , @ , –
• Some symbols may not
appear on the display.
1
ABC
2
DEF
3
GHI
4
JKL
5
MNO
6
PQRS
7
TUV
8
WXYZ
9
–
0
3
Select the track/group title editing mode.
4
Confirm the selection.
5
Enter a title.
• For entering a title, see “Entering Titles” on the right
column.
6
Finish the procedure.
To give next title,
repeat steps
2
to
6
.
See page 42 for more information about the warning
message appears on the display.
(Canceled)
(while holding...)
GROUP TITLE EDIT
ABCDE
01234
GROUP01
[0 – 9] KEY
ENTER LETTERS
[CANCEL]
DELETE A LETTER
[ENTER]
REGISTER NEW NAME
CHANGE CHARACTER TABLE
MOVE CURSOR
Ex.: When “GRP EDIT” is selected in step
3
Upper case
Numeric
or
EN25-36_UX-G500V[U]1.indd 27
EN25-36_UX-G500V[U]1.indd 27
3/11/08 12:58:15 PM
3/11/08 12:58:15 PM


