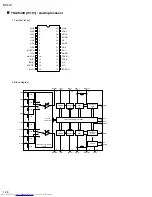
MX-K1
1-13
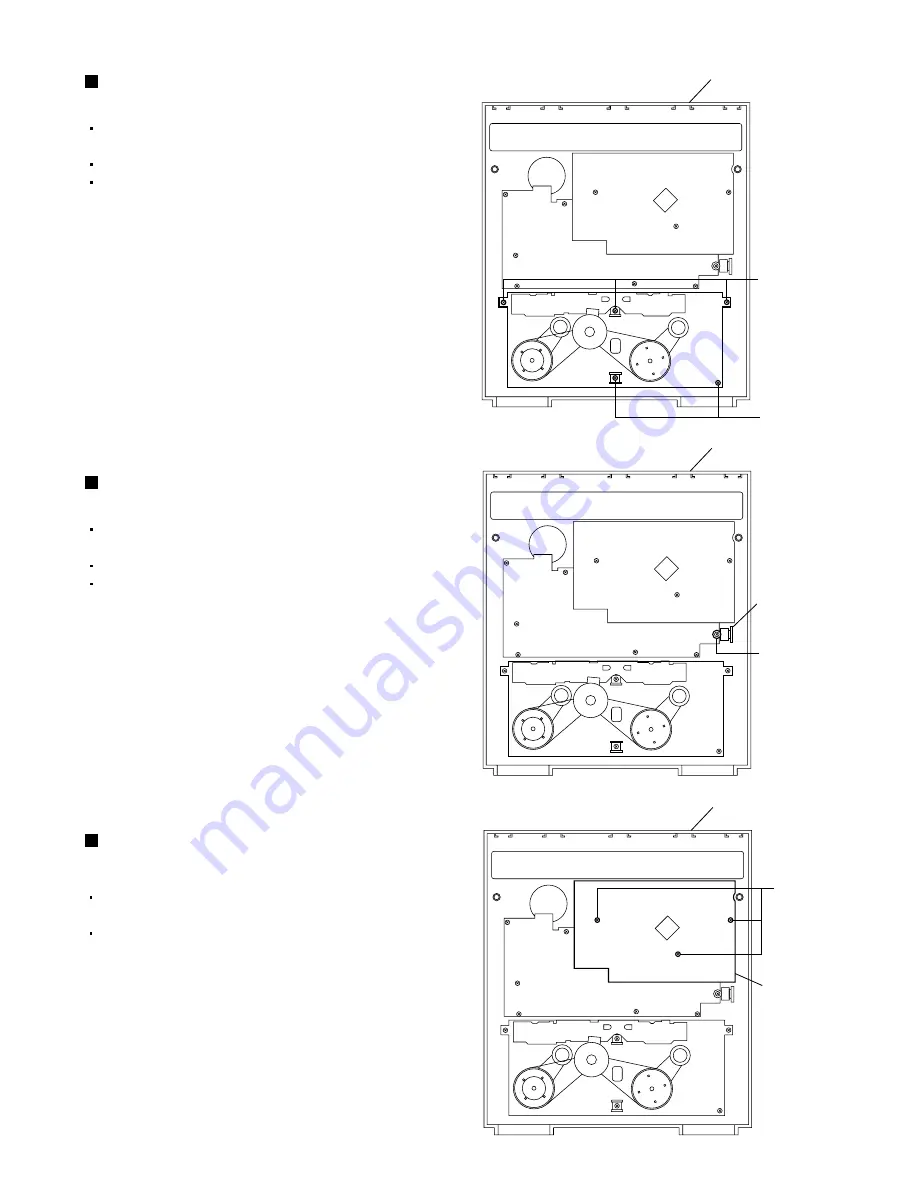
Prior to performing the following procedure, remove
the top cover.
Also remove the CD changer unit.
Also remove the front panel assembly.
1.Remove the five screws "O" retaining the cassette
deck mechanism from the back of the front panel
assembly.
Removing the cassette deck mechanism
(See Fig.21)
Prior to performing the following procedure, remove
the top cover
Also remove the CD changer unit.
Also remove the front panel assembly.
1. Remove the screw with the washer, "P" that retains
the earphone jack PCB from the back of the front
panel assembly.
Removing the earphone jack PCB
(See Fig.22)
Prior to performing the following procedure, remove
the top cover.
Also remove the CD changer unit.
1. Remove the three screws "Q" that retain the
control/FL PCB from the back of the front panel
assembly.
Removing the control/FL PCB
(See Fig.23)
O
O
Front panel
assembly
Fig.21
P
Front panel
assembly
Earphone jack
PCB
Fig.22
Q
Front panel
assembly
Control/FL
PCB
Fig.23
Содержание CA-MXK1
Страница 42: ...6 5 4 3 2 1 B C D E F G H I J A 7 MX K1 2 12 MX K1 Power amp and Power supply circuit board ...
Страница 43: ...MX K1 2 3 6 5 4 3 2 1 B C D E A 7 Power trans circuit board 2 13 ...
Страница 44: ...MX K1 2 4 MEMO 2 14 ...
Страница 45: ...MX K1 2 5 2 15 MEMO ...
Страница 47: ...MX K1 3 2 A B C 1 2 3 4 5 Exploded view of general assembly and parts list Block No M M M 1 54 ...
Страница 64: ...MX K1 3 19 Packing materials and accessories parts list Block No M M M 4 Block No M M M 5 A10 10 ...


