background image


21


Maintenance


To get the best performance of the System, keep your discs 
clean.


Handling discs


• Remove the disc from its case by holding it at the edge while 

pressing the center hole lightly.

• Do not touch the shiny surface of the disc, or bend the disc.
• Put the disc back in its case after use to prevent warping.
• Be careful not to scratch the surface of the disc when placing 

it back in its case.

• Avoid exposure to direct sunlight, temperature extremes, and 

moisture.


To clean the disc:


Wipe the disc with a soft cloth in a straight line from center to 
edge.


Cleaning the System


• Stains should be wiped off with a soft cloth. If the System is 

heavily stained, wipe it with a cloth soaked in water-diluted 
neutral detergent and wrung well, then wipe clean with a dry 
cloth.

• Since the System may deteriorate in quality, it become 

damaged or get its paint peeled off, be careful about the 
following:
– DO NOT wipe it with a hard cloth.
– DO NOT wipe it strong.
– DO NOT wipe it with thinner or benzine.
– DO NOT apply any volatile substance such as insecticides 

to it.

DO NOT allow any rubber or plastic to remain in contact with 
it for a long time.


Troubleshooting


If you are having a problem with your System, check this list for 
a possible solution before calling for service.


General:


Adjustments or settings are suddenly canceled before you 
finish.

]


There is a time limit. Repeat the procedure again.


Operations are disabled.

]


The built-in microprocessor may malfunction due to 
external electrical interference.


Unplug the AC power cord 

and then plug it back in.


Unable to operate the System from the remote control.

]


The path between the remote control and the remote sensor 
on the System is blocked. Remove the obstruction.

]


The batteries are exhausted.


No sound is heard.

]


Speaker connections are incorrect or loose (see pages 4 
and 5).

]


Headphones are connected. Disconnect the headphones.


Radio Operations:


Hard to listen to broadcasts because of noise.

]


Antenna connections are incorrect or loose (see pages 4 
and 5).

]


The AM loop antenna is too close to the System.

]


The FM antenna is not properly extended and positioned.


Disc Operations:


The disc does not play.

]


The disc is placed upside down. Place the disc with the label 
side up.


The disc sound is discontinuous.

]


The disc is scratched or dirty.


The disc tray does not open or close.

]


The AC power cord is not plugged in.

]


Tray Lock is in use (see page 17).

]


Program Play is in use. Exit from Program Play (see 
page 16).


USB Operations:


Unable to play back through the USB connection.

]


USB connection and setting is incorrect (see page 12).


The sound through the USB connection stops.

]


Noise and static electricity may stop the sound through the 
USB connection. In this case, do the following operations:
• Disconnect and connect the USB cable again
• Restart the music software on your PC
• Turn off and on the system


Timer operations:


Daily Timer does not work.

]


The System has been turned on when the on-time comes. 
Timer starts working only when the System is turned off.


If you still have a problem, reset the System.


While in standby...

Press and hold until the display flashes.
The factory default settings are restored and all the settings 
you have made are erased.

Main Unit

ONLY

HX-C6[J]-f.book Page 21 Monday, March 7, 2005 3:28 PM

Содержание CA-HXC6

Страница 1: ... and SP HXC6 INSTRUCTIONS For Customer Use Enter below the Model No and Serial No which are located either on the rear bottom or side of the cabinet Retain this information for future reference Model No Serial No LVT1350 001A J CA HXC6 SP HXC6 SP HXC6 ...

Страница 2: ...sence of important operating and maintenance servicing instructions in the literature accompanying the appliance CAUTION For U S A This equipment has been tested and found to comply with the limits for a Class B digital device pursuant to part 15 of the FCC Rules These limits are designed to provide reasonable protection against harmful interference in a residential installation This equipment gen...

Страница 3: ...s guidelines for proper grounding and in particular specifies that the cable ground shall be connected to the grounding system of the building as close to the point of cable entry as practical For Canada pour le Canada CAUTION TO PREVENT ELECTRIC SHOCK MATCH WIDE BLADE OF PLUG TO WIDE SLOT FULLY INSERT ATTENTION POUR EVITER LES CHOCS ELECTRIQUES INTRODUIRE LA LAME LA PLUS LARGE DE LA FICHE DANS LA...

Страница 4: ...ntrol operations are explained as listed in the table below Some related tips and notes are explained later in the sections Learning More about This System and Troubleshooting but not in the same section explaining the operations If you want to know more about the functions or if you have a doubt about the functions go to these sections and you will find the answers DO NOT install the System in a ...

Страница 5: ...justing the Volume 13 Reinforcing the Bass Sound 13 Selecting the Sound Modes 14 Selecting the Surround Modes 14 Turning On or Off the Key Touch Tone 14 Setting the Clock 14 Advanced Disc Operations 15 Programming the Playing Order Program Play 15 Playing at Random Random Play 16 Repeating Playback Repeat Play 17 Prohibiting Disc Ejection Tray Lock 17 Timer Operations 18 Turning Off the Power Auto...

Страница 6: ... and correctly Step 1 Unpack the package and check the accessories Step 2 Prepare the remote control Step 3 Hook up the components such as AM FM antennas the speakers etc Finally plug the AC power cord Now you can operate this System DO NOT use an old battery together with a new one DO NOT use different types of batteries together DO NOT expose batteries to heat or flame DO NOT leave the batteries...

Страница 7: ...ng the components Turn the power off to all components before connections To a wall outlet Plug the AC power cord only after all connections are complete Demonstration will start automatically To cancel it see page 8 AM loop antenna supplied Turn it until the best reception is obtained FM antenna supplied Extend it so that you can obtain the best reception To assemble the AM loop antenna Do not co...

Страница 8: ...from a TV so that they do not cause color irregularity on the TV When connecting the speaker cords match their polarity with that of the speaker terminals red blue to and black to Use only speakers with the same speaker impedance as indicated by the speaker terminals on the rear of the unit 1 Hold 2 Insert 3 Release Outdoor FM antenna not supplied Disconnect the supplied FM antenna and connect to ...

Страница 9: ...the buttons and controls Main unit Remote control 8 13 12 Remote sensor 5 11 8 12 8 9 7 10 10 14 16 17 8 19 8 10 13 8 9 14 8 10 13 21 9 10 17 8 12 19 9 11 15 13 9 11 14 16 19 14 16 18 19 18 14 18 14 10 16 9 11 8 13 8 13 10 15 10 17 11 15 13 14 8 10 12 9 14 19 16 13 14 Standby lamp ...

Страница 10: ...Track Repeat is activated 1 DISC lights when One Disc Play Repeat is activated 6 Audio level indicator 7 GROUP indicator Lights when the ALBUM mode is selected for MP3 playback 8 CD PLAY indicator Lights when CD is selected as the source 9 Disc indicators Each indicator shows the status of a disc placed on the corresponding disc tray DISC1 DISC5 Lights up when a disc is detected Flashes when the t...

Страница 11: ... same or similar name and marks 2 1 3 SET FM MODE MP3 DISC 1 5 REPEAT PROGRAM 7 4 1 1 3 2 3 10 keys 1 10 10 The standby lamp on the unit lights in red A small amount of power is always consumed even while on standby For private listening Connect a pair of headphones to the PHONES jack on the main unit The sound will no longer come out of the speakers Be sure to turn down the volume before connecti...

Страница 12: ...n 1 Select the band FM or AM 2 Select a preset number for the station you store You can also use the PRESET control on the unit To save the power consumption while on standby Eco mode While on standby The display illumination including the display demonstration disappears The MONO indicator lights on the display Reception will improve though stereo effect is lost monaural reception mode To restore...

Страница 13: ...To pause playback To select a playback disc Playback of the selected disc starts You can play all loaded discs continuously All Disc Play or one selected disc One Disc Play Before playback or while playing When using an 8 cm disc place it on the inner circle of the disc tray To start To stop Main Unit ONLY Remote control Main unit To release it press the button again To release it press CD Remote ...

Страница 14: ...BUM mode The System recognizes tracks files and albums groups on an MP3 disc You can play the MP3 disc according to the way how they are grouped The GROUP indicator lights up on the display Decreases the track numbers Increases the track numbers Fast forwards the track Fast reverses the track Remote ONLY Remote ONLY TRACK ALBUM In the TRACK mode Selects a track number on the current MP3 disc In th...

Страница 15: ...y install the USB drivers following the instructions on the PC s monitor 5 Check if the drivers are correctly installed 1 Open the Control Panel on your PC Select Start Settings Control Panel 2 Click System Hardware Device Manager Sound video and game controllers and Universal Serial Bus controllers The following window appears and you can check whether the drivers are installed The installed driv...

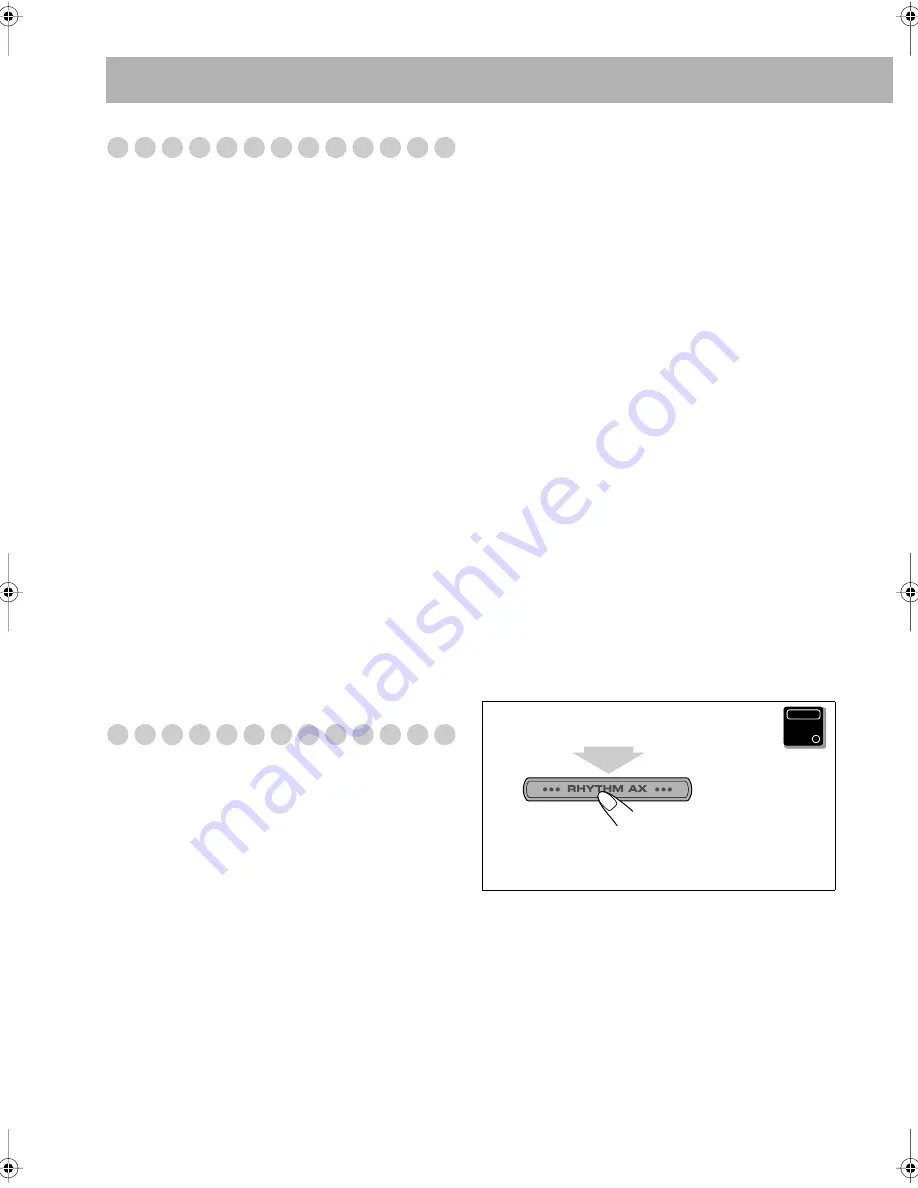
Страница 16: ... gradually You can select the subwoofer level from level 0 minimum to level 2 maximum To emphasize rhythm feeling RHYTHM AX This function emphasizes bass attack feeling and also changes the subwoofer level SET DISPLAY SUBWOOFER LEVEL VOLUME BEEP SOUND MODE FADE MUTING RHYTHM AX CANCEL CLOCK TIMER 4 SUBWOOFER LEVEL SUBWOOFER LEVEL VOLUME BEEP SOUND MODE SURROUND MODE RHYTHM AX Main unit Remote Cont...

Страница 17: ...epeatedly in step 1 until the clock setting mode is selected 1 Enter into clock setting mode 2 Adjust the hour then minute Now the built in clock starts working To check the current time during play Remote control Main unit ROCK Boosts low and high frequency POP Good for vocal music CLASSIC Good for classical music DANCE Increases resonance and bass HALL Adds depth and brilliance to the sound STAD...

Страница 18: ...and 3 until you program all tracks you want 5 Start playback When all the programmed tracks played the System exits from Program Play SET RANDOM REPEAT PROGRAM DISC 1 5 CANCEL 7 4 CD 3 8 7 0 Main unit Remote Control 10 keys 1 10 10 Examples To select track 5 press 5 To select track 15 press 10 then 5 To select track 30 press 10 10 then 10 The tracks you have selected are played back in the order y...

Страница 19: ...ll the contents of the disc are played To exit from Random Play while playback To pause To stop To release it press the button again The System exits from Program Play To skip To erase the last step To erase the entire program To add steps in the program Repeat steps 2 and 3 on page 15 Remote ONLY in the programmed order in the reverse order To pause To stop To release it press the button again Th...

Страница 20: ...s closed 1 Push up and hold 0 for any disc tray while holding 7 2 Release 7 then 0 If you try to eject discs while Tray Lock is in use LOCKED appears to inform you that the disc trays are locked To cancel the prohibition repeat the same procedure UN LOCKED appears on the display REPEAT 1 Repeats the current track REPEAT 1 DISC Repeats all tracks on the current disc REPEAT ALL DISC Repeats all trac...

Страница 21: ...ith your favorite song To correct a misentry during the process press CANCEL You can return to the previous step 1 Select the timer setting mode for Daily Timer TIMER ON SET CANCEL CLOCK TIMER SLEEP STANDBY ON 4 STANDBY ON Main unit Remote Control If you press the button repeatedly you can change the shut off time Remote ONLY SLEEP 10 SLEEP 20 SLEEP 30 SLEEP 60 OFF SLEEP 120 SLEEP 90 Canceled Remo...

Страница 22: ...s off To turn on the timer again How Daily Timer actually works Once the Daily Timer has been set the timer indicator and DAILY indicator are lit on the display Daily Timer is activated at the same time everyday until the timer is turned off manually see the next column When the on time comes The System turns on tunes in to the specified station or start playing the specified source and sets the v...

Страница 23: ... AC power cord Resume Play is back to on Daily Operations Sound and Other Adjustments see pages 13 and 14 Adjusting the Volume Be sure to turn down the volume before connecting or putting the headphones When you turn off the System with the volume level set to VOL 16 or higher the volume level is reset to VOL 15 next time you turn on the System Adjusting the Sound This function also affects the so...

Страница 24: ...nce Unplug the AC power cord and then plug it back in Unable to operate the System from the remote control The path between the remote control and the remote sensor on the System is blocked Remove the obstruction The batteries are exhausted No sound is heard Speaker connections are incorrect or loose see pages 4 and 5 Headphones are connected Disconnect the headphones Radio Operations Hard to list...

Страница 25: ...umption 90 W 110 VA at operation 11 W on standby with power saving off Normal mode 1 2 W on standby with power saving on Eco mode Dimensions W H D approx 175 mm x 373 mm x 389 mm 6 15 16 in x 14 11 16 in x 15 3 8 in Mass approx 9 8 kg 21 6 lbs Supplied accessories See page 3 Speaker section SP HXC6 Type 4 Way Front Twin Woofer Speaker Systems Subwoofer 16 cm 6 5 16 in cone x 1 Woofer 16 cm 6 5 16 ...

Страница 26: ......

Страница 27: ......

Страница 28: ...0305TMMMDWSAM EN 2005 Victor Company of Japan Limited HX C6 COMPACT COMPONENT SYSTEM ...

Отзывы: