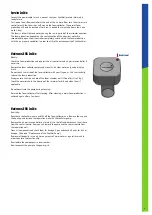
SeaSkim Maintenance of the JUWEL Eccoflow Pump
The JUWEL Eccoflow SeaSkim pump should be checked and cleaned at regular intervals
(at least once a month).
Please proceed as follows:
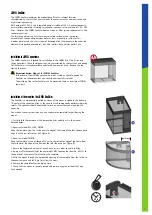
1. Disconnect all electrical devices that are operated inside the water.
2. To now remove the pump from the SeaSkim, proceed as described in the
"Maintenance JUWEL SeaSkim Quarterly" section.
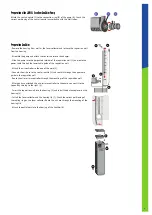
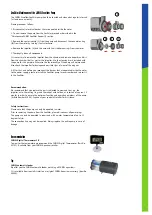
3. Remove the venturi nozzle (C) from the pump and disconnect the connection ring
(B) from the motor by turning it anti-clockwise.
4. Remove the impeller (A) and the axle with their rubber bearings from the motor.
5. Thoroughly clean all components.
It is necessary to remove the impeller from the chamber and remove deposits and dirt
from the chamber itself as well as the impeller. Use the cleaning brush included with
the pump for this purpose. Otherwise the functionality of the pump will be impaired.
Also check the impeller for damage and possible signs of wear of the magnet.
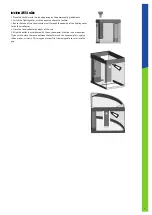
6. After that, and before you reconnect the devices that are operated inside the water
to the power supply, please reinstall the SeaSkim pump in reverse order and reinsert it
in the SeaSkim.
3
C
B
A
Recommendation:
We recommend that you replace the parts subjected to wear and tear, e.g. the
impeller, axle, the sealing rings and the rubber axle holders, at intervals of approx. 12
months in order to ensure the optimum function and operating quietness of the pump.
(Article Number 85098). Inquire at your specialist retailer for assistance.
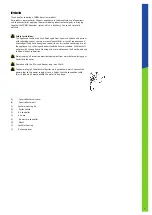
Safety instructions:
Please note that the pump can only be operated in water.
Prior to removing the pump from the SeaSkim, please disconnect all power plugs.
The pump can only be operated in rooms and with a water temperature of up to 35
degrees Celsius.
The connection line may not be repaired. Always replace the entire pump in case of
damage.
Recommendation
JUWEL Digital Thermometer 2.0
To monitor the temperature we recommend the JUWEL Digital Thermometer (Part No.
85702). Available from your JUWEL Aquarium retailer.
Tip:
JUWEL automatic feeder
We offer you the JUWEL automatic feeder matching all JUWEL aquariums.
It is available from specialist retailers as original JUWEL Aquarium accessory (item No.
89000).
7


