background image

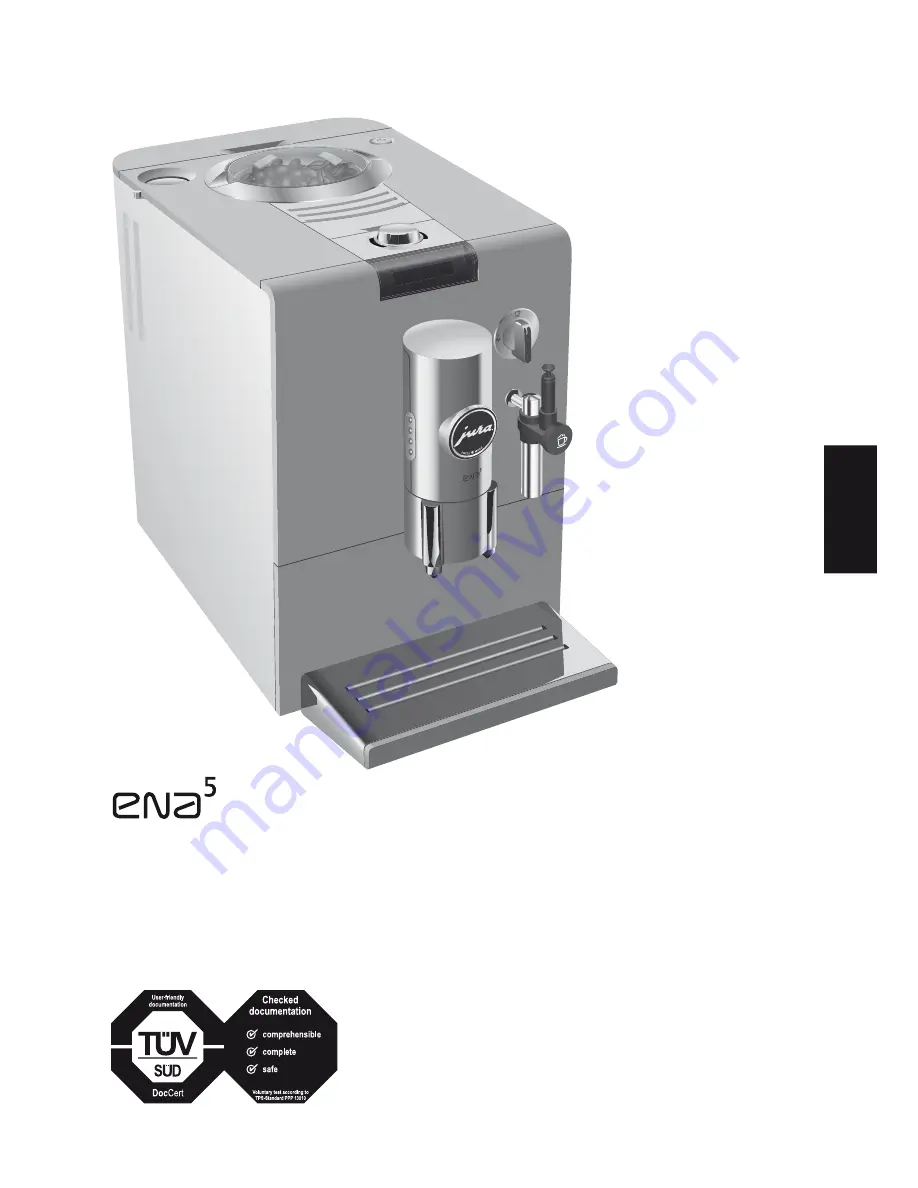
The ‘ENA 5 Instructions for Use’ has been awarded the 
seal of approval by the independent German Technical 
 Inspection Agency, TÜV SÜD, due to its easy-to-understand 
style, its thoroughness and coverage of safety aspects.

Instructions for Use

de

fr

it

en

it

Содержание ENA 5

Страница 1: ...or Use has been awarded the seal of approval by the independent German Technical Inspection Agency TÜV SÜD due to its easy to understand style its thoroughness and coverage of safety aspects Instructions for Use de fr it en it ...

Страница 2: ...ppliance with a damaged cord or plug or after the appliance malfunctions or has been damaged in any manner Return appliance to the nearest authorized service facility for examination repair or adjustment The use of accessory attachement not recommended by the appliance manufacturer may result in fire electric shock or injury to persons Do not use outdoors Do not let the cord hang over the edge of ...

Страница 3: ...contact a qualified electrician Do not modify the plug in any way or attempt to defeat this safety feature To reduce the risk of fire or electric shock do not remove any service covers No user serviceable parts inside Repair should be done by authorized personnel only This appliance is for household use Any servicing other than cleaning and user maintenance should be performed by an authorized ser...

Страница 4: ...an hopper In case of doubt call your dealer Never fill anything other than coffee beans into the bean container no chocolate no rice no nuts no spices nothing other than roasted coffee beans Never do anything with the machine which is not described in the User s Manual In case of doubt call your dealer Z Z Z Z NEVER DO or you will void your warranty protection NEVER DO or you will void your warran...

Страница 5: ...5 ENA 5 de fr it en it ...

Страница 6: ...ton 17 2 coffees at the touch of a button 17 Pre ground coffee 17 One off setting before and during preparation 18 Entering a default setting for the amount of water for a cup size 19 Cappuccino with the Professional Cappuccino Frother 19 Cappuccino with the Easy Cappuccino Frother 20 Cappuccino with the 2 stage frothing nozzle 20 Heating milk with the Professional Cappuccino Frother 21 Heating mi...

Страница 7: ...34 7 Troubleshooting 35 8 Transport and environmentally neutral disposal 36 Transport Emptying the system 36 Disposal 36 9 Technical data 36 10 Contacts 37 Index 38 Symbol description Warnings J CAUTION Always take note of any information marked with the CAUTION or WARNING symbol The signal word WARNING points out potential risk of serious injury and the signal word CAUTION potential risk of sligh...

Страница 8: ...d coffee 3 Coffee grounds container 4 Drip tray 5 Cup platform 6 Bean container cover 7 l Switch for hot water and steam preparation 8 Connector System for removable nozzles 9 Easy Cappuccino Frother 10 Rotating coffee spout Control elements ENA Figure ENA 5 Blossom White ...

Страница 9: ...ntenance button 6 g Rotary Switch 7 Display 8 Professional Cappuccino Frother 9 Easy Cappuccino Frother 10 2 stage frothing nozzle 11 Hot water nozzle The following nozzles are available from stockists and can be fitted to the Connector System 8 9 10 11 Figure Open cover de fr it en it ...

Страница 10: ...proved service centres using original spare parts and accessories Z Z Z Z Z Z There is a risk of scalds and burns from the spouts or the nozzle Place the machine out of the reach of children Do not touch any hot parts Use the handles provided Be careful to ensure that the appropriate nozzle is correctly installed and clean The nozzle or parts of the nozzle could become detached if the parts are no...

Страница 11: ...for each cup of coffee and a compact machine which is operated intuitively and easily These Instructions for Use will teach you everything you need to know about operating the machine and its customised settings Other subjects covered include how to solve the problem of limescale and important tips on care By the way ENA comes from Greek and means one In this sense we wish you many stimulating Z Z...

Страница 12: ...plied as standard JURA ENA fully automatic coffee machine Instructions for Use Filler funnel for pre ground coffee Measuring spoon for pre ground coffee CLARIS plus filter cartridge JURA cleaning tablets Aquadur test strip Grinder key Your JURA ENA is equipped with the Connector System for interchangeable nozzles The nozzles supplied with the machine may vary depending on the model Setting up When...

Страница 13: ...anger of electric shock Never use a machine which has a defective power cable Precondition The water tank must be full Insert the mains plug into a power socket Q T Press the on off button to switch the machine on SPRACHE DEUTSCH T T T T T T T E J T T g T Turn the Rotary Switch until LANGUAGE ENGLISH is displayed k T Press the Rotary Switch to confirm the language setting OK the language is then a...

Страница 14: ...TAP E E T T T T T T T l T Turn the switch to position m FILTER RINSING water is discharged from the nozzle Rinsing of the filter can be interrupted at any time To this purpose turn the switch clockwise The water may be slightly discoloured This is not harmful to health and does not affect the taste Rinsing of the filter stops automatically CLOSE TAP y T Turn the switch to position o HEATING READY ...

Страница 15: ... the grinder is not operating the grinding wheel could be damaged Only adjust the fineness of grind when the grinder is running The fineness of grind setting is correct if the coffee flows regularly from the coffee spout A fine thick crema is also formed Our recommendations Select a fine setting for a light roast T T Z If the fineness of grind setting is too fine the coffee only drips from the cof...

Страница 16: ...hieve perfect results In addition to the simple preparation at the touch of a button you can also adapt the coffee or espresso to suit your own individual taste Various setting options are provided to this purpose Give it a try Coffee strength The coffee strength can be changed before preparation or during the grinding operation by turning the Rotary Switch This setting changes the coffee powder q...

Страница 17: ... T 2 coffees at the touch of a button Precondition READY appears on the display Turn the coffee spout to the 2 cup position Place two cups under the coffee spout g T Turn the Rotary Switch until 2 CUPS is displayed k T Press the Rotary Switch to start coffee preparation 2 CUPS the pre set amount of water flows into the cups preparation stops automatically READY Pre ground coffee You can also use a...

Страница 18: ...eparation T T T T T T E One off setting before and during preparation The coffee strength can be changed before preparation or during the grinding operation The following coffee strength options are possible for 1 coffee Mild Normal Strong 2 coffees are always prepared with the coffee strength mild The pre set amount of water can be changed during the brewing operation by turning the Rotary Switch...

Страница 19: ... coffee spout is set to the 1 cup position Remove the protective cover from the Professional Cappuccino Frother Connect the milk pipe to the nozzle Insert the other end of the milk pipe into a milk carton or connect it to a milk container Place a cup under the nozzle E T E T T T T Set the selector lever of the nozzle to the milk foam p position g T Turn the Rotary Switch until STEAM is displayed k...

Страница 20: ...the coffee preparation 1 CUP the pre set amount of water flows into the cup Preparation stops automatically T T T T E T To ensure that the Easy Cappuccino Frother works perfectly it should be rinsed and cleaned regularly refer to Chapter 4 Maintenance Easy Cappuccino Frother Cappuccino with the 2 stage frothing nozzle Precondition READY appears on the display and the coffee spout is set at the 1 c...

Страница 21: ...eated l T Turn the switch to position m STEAM the hot milk is being prepared y T Turn the switch clockwise to position o when there is sufficient milk in the cup T T T T T T You can prepare more hot milk within about 40 seconds To ensure that the Professional Cappuccino Frother works perfectly it should be rinsed and cleaned regularly refer to Chapter 4 Maintenance Professional Cappuccino Frother ...

Страница 22: ...e is dispensed per cup when 2 cups are prepared 2 coffees are always prepared with the coffee strength mild E J T T Z Z Z Z Z 2 coffees are prepared at the same tempera ture which is set for 1 coffee Default settings in programming mode always follow the same model Example Changing the default setting for the strength of one coffee from NORMAL to STRONG Precondition READY appears on the display Op...

Страница 23: ...y Switch to exit program ming mode READY Z U U Z U U T Automatic switch off You can save energy with the automatic switch off function on the ENA The automatic switch off time can be adjusted between 0 5 and 9 hours or deactivated HRS Example Changing the automatic switch off time from 5 HRS to 2 HRS Precondition READY appears on the display Open the cover behind the Rotary Switch P T Press the P ...

Страница 24: ... Z Z Z Z Z Z Z T k T Press the Rotary Switch to confirm the setting OK the language is then adjusted LANGUE g T Turn the Rotary Switch until EXIT is displayed k T Press the Rotary Switch to exit program ming mode PRET 4 Maintenance The ENA has the following integrated mainte nance programmes Rinse machine Change filter Clean machine Descale machine Clean or descale the machine or change the filter...

Страница 25: ...r cartridge is not activated you will not be prompted to change the filter T T T T E E E Precondition READY FILTER is displayed Open the cover behind the Rotary Switch c T Press the maintenance button INSERT FILTER Remove and empty the water tank Open the cartridge holder and remove the old filter cartridge Insert the filter cartridge into the water tank exerting slight pressure Close the cartridg...

Страница 26: ...cts The cleaning programme only lasts about 15 minutes Do not interrupt the cleaning programme The quality of cleaning will be impaired if you do so JURA cleaning tablets are available from stockists Precondition CLEAN READY is displayed Open the cover behind the Rotary Switch c T Press the maintenance button EMPTY TRAY T T T E E E T Empty the coffee grounds container and drip tray and replace PRE...

Страница 27: ... damage to the machine and residues in the water if the wrong descaling agent is used Only use original JURA care products CAUTION Risk of damage to the machine if the descaling operation is interrupted Do not interrupt the descaling operation T T J T T T T CAUTION Risk of damage if the descaling agent comes into contact with sensitive surfaces Remove splashes immediately The descaling programme l...

Страница 28: ...witch P T Press the P button until RINSE appears k T Press the Rotary Switch to enter the programme item RINSE T T T T T T g T Turn the Rotary Switch until DE SCALE is displayed k T Press the Rotary Switch EMPTY TRAY Continue with the third prompt to take action indicated by T as described in the section Descaling the machine following a prompt Rinsing the Professional Cappuccino Frother To ensure...

Страница 29: ... READY appears as soon as the ENA is sufficiently heated l T Turn the switch to position m STEAM the nozzle and pipe are cleaned T E E T T T T T y T Turn the switch clockwise to position o as soon as the receptacle holding the Auto Cappuccino Cleaner is empty Rinse the receptacle thoroughly fill with 250 ml of fresh water and immerse the milk pipe in the water Empty the receptacle under the nozzle...

Страница 30: ...maged and or detergent residues could be left in the water Only use original JURA care products E T T T T The ENA will not prompt you to clean the Easy Cappuccino Frother The JURA Auto Cappuccino Cleaner is available from stockists Remove the milk pipe from the milk carton or milk container Pour 250 ml of fresh water into a receptacle and add one capful max 15 ml of Auto Cappuccino Cleaner Immerse...

Страница 31: ...ON Danger of burns on the hot nozzle and nozzle connector Wait until the nozzle has cooled before cleaning Carefully remove the nozzle from the Connector System T T T T J T T Unscrew the nozzle using the opening on the measuring spoon for pre ground coffee Rinse all three nozzle parts thoroughly under running water Reassemble the nozzle and attach it to the Connector System Removing foreign object...

Страница 32: ...remove the cartridge Descale the tank with a mild commercially available descaling agent in accordance with the instructions of the manufacturer Rinse the water tank thoroughly If a CLARIS plus filter cartridge is used replace the cartridge Fill the water tank with cold fresh water and replace the tank 5 CLARIS plus filter cartridge Water for perfect coffee Use of a CLARIS plus filter cartridge gu...

Страница 33: ...prompt You can return used filter cartridges to the stockist Maintenance and storage The CLARIS plus filter cartridge only needs to be removed from the water tank if you are away for a prolonged period of time or if you wish to clean or descale the tank using a conventional product If you do plan to be away for some time e g on holiday we recommend that you store the filter cartridge as follows Re...

Страница 34: ...r to Chapter 1 Preparing and using for the first time Filling the bean container T CLEAN The ENA is prompting you to clean the machine Clean the machine refer to Chapter 4 Maintenance Cleaning the machine following a prompt T DE SCALE The ENA is prompting you to descale it Descale the machine refer to Chapter 4 Maintenance Descaling the machine following a prompt T FILTER Once 50 litres of water h...

Страница 35: ... cartridge is activated Deactivate the CLARIS plus filter cartridge in programming mode T FILL BEANS is displayed although the bean container has been filled The grinder is not yet completely filled with beans Prepare a coffee speciality T FILL WATER TANK is displayed although the water tank is full The water tank float is trapped Descale the water tank refer to Chapter 4 Maintenance Descaling the...

Страница 36: ... G 8 Transport and environmentally neutral disposal Transport Emptying the system Keep the packaging of your ENA It should be used to protect the machine during transpor tation In order to protect the ENA from frost during transportation the system must be emptied Precondition READY appears on the display g T Turn the Rotary Switch until STEAM is displayed k T Press the Rotary Switch HEATING READY...

Страница 37: ...450 W Safety test S F D G Power consumption ECONOMY Approx 13 5 Wh Power consumption ECONOMY p Approx 8 Wh Pump pressure Static max 15 bar Holding capacity of water tank 1 1 l Holding capacity of bean container 125 g Holding capacity of coffee grounds container Approx 10 servings Cable length Approx 1 1 m Weight Approx 9 3 kg Dimensions W x H x D 23 8 x 36 x 44 5 cm de fr it en it ...

Страница 38: ...fessional Cappuccino Frother 21 Hot water 22 Hot water nozzle 9 I Internet JURA on the Internet 11 Knowledge Builder 11 Index 2 stage frothing nozzle 9 Dismantling and rinsing 31 3 colour plain text display 12 A Adjusting Energy saving mode 23 Grinder 15 Language 24 Units of water 23 Automatic switch off 23 B Barista tips 16 Bean container Cleaning 32 Filling 13 C Cappuccino With the 2 stage froth...

Страница 39: ...sing 29 Rinsing 28 Programming mode Automatic switch off 23 Prompt to take action Symbol description 7 R Rating plate 10 36 Rinsing Easy Cappuccino Frother 30 Machine 24 Professional Cappuccino Frother 28 Rotating coffee spout 8 S Safety For your safety 10 Settings Default in programming mode 22 One off setting before and during preparation 18 Setting up 12 Supplied as standard 12 Switch off Autom...

Страница 40: ... illustrations used in the ENA 5 Instructions for Use show the ENA 5 Blossom White model Your ENA could incorporate minor changes Feedback Your opinion is important to us Use the contact link at www jura com The Instructions for Use contain information which is protected by copyright It is not permit ted to photocopy or translate these Instructions for Use into another language without the express...

Отзывы: