2 Standard Features
21
2. Pull the cover out of the ports, then gently pull the curved
rubber retainers out of the holes they are in.
3. Insert the replacement rubber cover back into the holes.
4. Screw the cover into the back of the Mesa.
Note: The I/O Port Cover is not required to maintain the seal of
the connectors or the tablet. The cover is intended as a port dust
cover.
2.7 Micro SD and Nano SIM Cards
The Mesa Pro has a slot for an SD card and a SIM card located in
the battery compartment. The card slot and tray are designed
to hold the card securely in place so it will not come out or
disconnect if the tablet is dropped. To insert or remove a card,
follow these steps:
1. Power off the tablet.
2. Remove the battery door. Before doing this, review the proper
procedure for removing the battery door in
Install the Battery Packs on page 9
CAUTION: Always power off the tablet before removing the
battery. Failure to do so may cause loss of data or damage to
the tablet.
3. Remove the battery pack by pulling up on the black tab on
the battery pack.
CAUTION: The Mesa Pro is not sealed against water and dust
when the battery pack and battery door are not installed
properly.
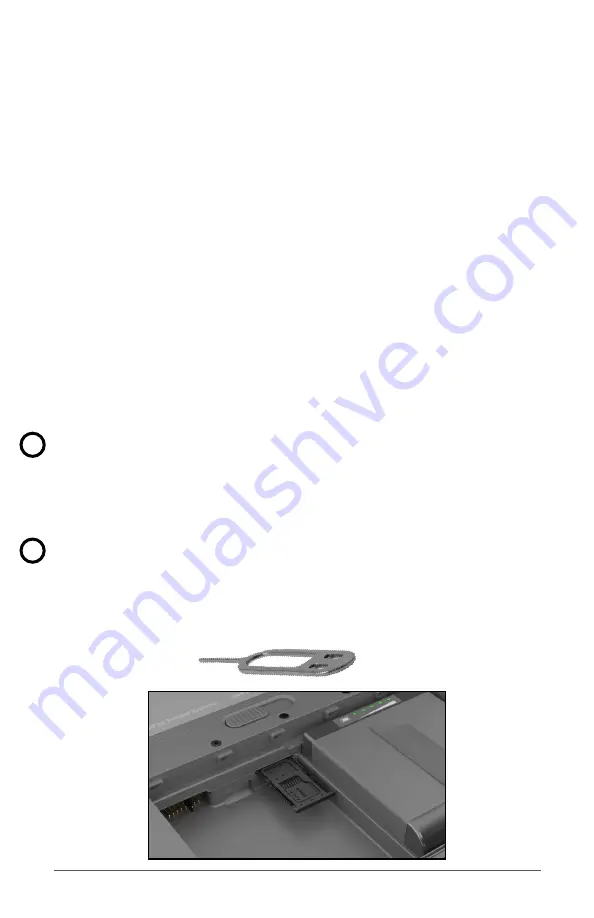
4. Use the card tray eject pin that came with your Mesa Pro to
pop out the card tray.
!
!
Содержание Mesa Pro
Страница 1: ...mesa pro U S E R S M A N U A L ...
Страница 6: ...1 Getting Started ...
Страница 13: ...1 Getting Started 13 ...
Страница 14: ...2 Standard Features ...
Страница 29: ...2 Standard Features 29 ...
Страница 30: ...3 Optional Features and Accessories ...
Страница 41: ...3 Optional Features and Accessories 41 ...
Страница 42: ...4 Storage Maintenance and Recycling ...
Страница 45: ...4 Storage Maintenance and Recycling 45 ...
Страница 46: ...5 Warranty and Repair Information ...
Страница 52: ...6 Warnings Regulatory Information and Licensing ...
Страница 59: ...6 Warnings Regulatory Information and Licensing 59 ...
Страница 60: ...7 Specifications ...
Страница 71: ...7 Specifications 71 ...
Страница 72: ...8 Index ...


