background image

Prosurv CE Installation and Quick Start Guide for Allegro CE 

Page 2 

Installing Prosurv CE to the Allegro CE 

Important Notes 


Installation of Prosurv CE is done through your PC


Be sure that you have installed ActiveSync on your PC (version 3.0 or later), and that 
communication between your Allegro and PC has been established through ActiveSync (ie a 
partnership has been established)


ActiveSync should display that the Allegro is ‘synchronized’


Extract your Prosurv CE Installation files to a new folder on your PC


Important:   

1. Prosurv CE requires a 64MB RAM Allegro or above.  If your Allegro does not have at least 64MB 

of on-board RAM memory (not storage memory), then Prosurv CE will not function properly, and 
may not install. 

2. Be sure that you install Prosurv CE to a ‘clean’ Allegro.  If another program (ie survey DC program) 

exists on the device, you must uninstall that program before installing Prosurv CE.  It is 
recommended that you perform a System Restore, found in Start—>Programs—>Utilities—
>Restore System on your Allegro CE. 


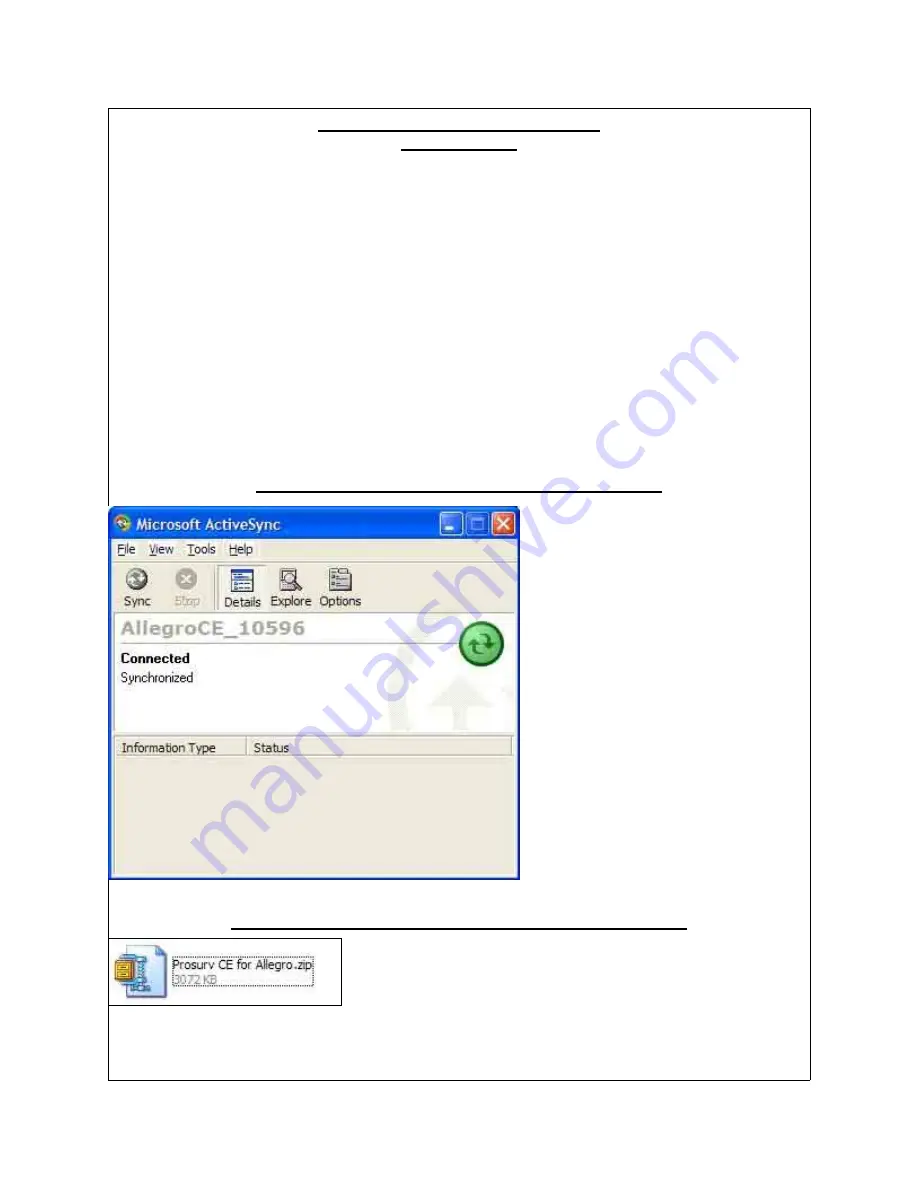
Step 1: Establish a PC Connection With Your Allegro CE 


Before you begin, your ActiveSync 
connection with your Allegro CE should 
resemble the picture to the left. 
 
If you do not see “Connected” and 
“Synchronized”, please read the Allegro 
CE installation guide, or refer to the 
Microsoft ActiveSync documentation. 


Step 2: Extract Files From 

Prosurv CE for Allegro Installation.zip


Extract the files in 

Prosurv CE for Allegro.zip

 to a new folder on 

your PC. 


Содержание Allegro CE

Страница 1: ...for Allegro CE Page 1 Prosurv CE Allegro CE Installation And Quick Start Guide Contact Information Prosurv LLC 185 Louis L amour Lane Clark WY 82435 Toll free 888 647 9500 Web site www prosurv com E m...

Страница 2: ...emory not storage memory then Prosurv CE will not function properly and may not install 2 Be sure that you install Prosurv CE to a clean Allegro If another program ie survey DC program exists on the d...

Страница 3: ...exe file to begin the installation Important Do not click on any of the other included files Double clicking the Installer exe file will activate the window shown on the left You should see Prosurv L...

Страница 4: ...PC has finished installing to your Allegro the Allegro s own installer will take over and complete the installation process automatically A shortcut to run Prosurv CE is provided for you on the Alleg...

Страница 5: ...the left so that Program memory has at least 40000KB 40MB RAM By default your Prosurv Jobs will be stored to the C_Drive folder of your Allegro CE a non volatile storage area So you don t need to worr...

Страница 6: ...s Prosurv CE and your Allegro s desktop you can make the Taskbar pop up by holding the Blue key and pressing the Start key located above the Yellow key on the Allegro s keyboard You re now ready to ru...

Страница 7: ...see the main Prosurv CE screen as shown here Tip Most of the Main Menu will not be accessible until you create or open a Prosurv CE Job If you see the Sample cdb file in your extracted files please f...

Страница 8: ...re information The ProsurvCE_Defaults txt file also contains default information for your instrument digital level and com port Your installation files may have come pre set with the Leica Robotic 110...

Страница 9: ...Inverse Report or use the Data Collection 3D Inverse routine SETS Stores selected points into a new SET for easy graphics plotting ie Draw SETS stakeout out of points Inverse Reports and more Routines...

Страница 10: ...sh Info Screen Exit Data Collection View Plot Screen while in DC Activate Hot Keys Robotic Parameters and Control Viewing the Plot Screen while in Data Collection Tap the Plot button while in Data Col...

Страница 11: ...s creates points Convert and Re compute your Raw Data View Edit Find Delete points Print Numeric point list to screen Add New Points Renumber Copy points Assign or Search Replace Feature Codes Check y...

Страница 12: ...llation and Quick Start Guide for Allegro CE Page 12 9 Different Reports Up to 500 points per report Save reports as text files or view on screen All Coordinate Geometry ProGo functions are found unde...

Страница 13: ...Prosurv CE Installation and Quick Start Guide for Allegro CE Page 13 Set your Decimals and Units Select a SPC Zone or UTM Zone Close the Job and exit Prosurv CE View the current version of Prosurv CE...

Страница 14: ...e Available point numbers set auto point Key In coordinates Add new points Perform a new Setup BS Instrument HI Take Shot Topo Sideshot X Sections 2 or 3 point Resections 13 point Least Squares Resect...

Страница 15: ...ameters About Prosurv Data Collection Comm Port settings overrides default in strument settings Exit Data Collection Load Control Codes ie Begin Line End Line Load Feature Codes Unlimited of codes Imp...

Отзывы: