background image

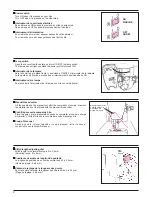
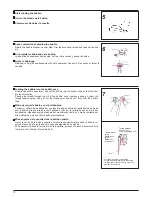
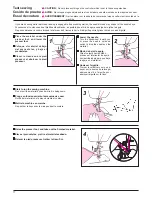
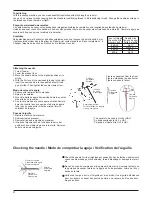
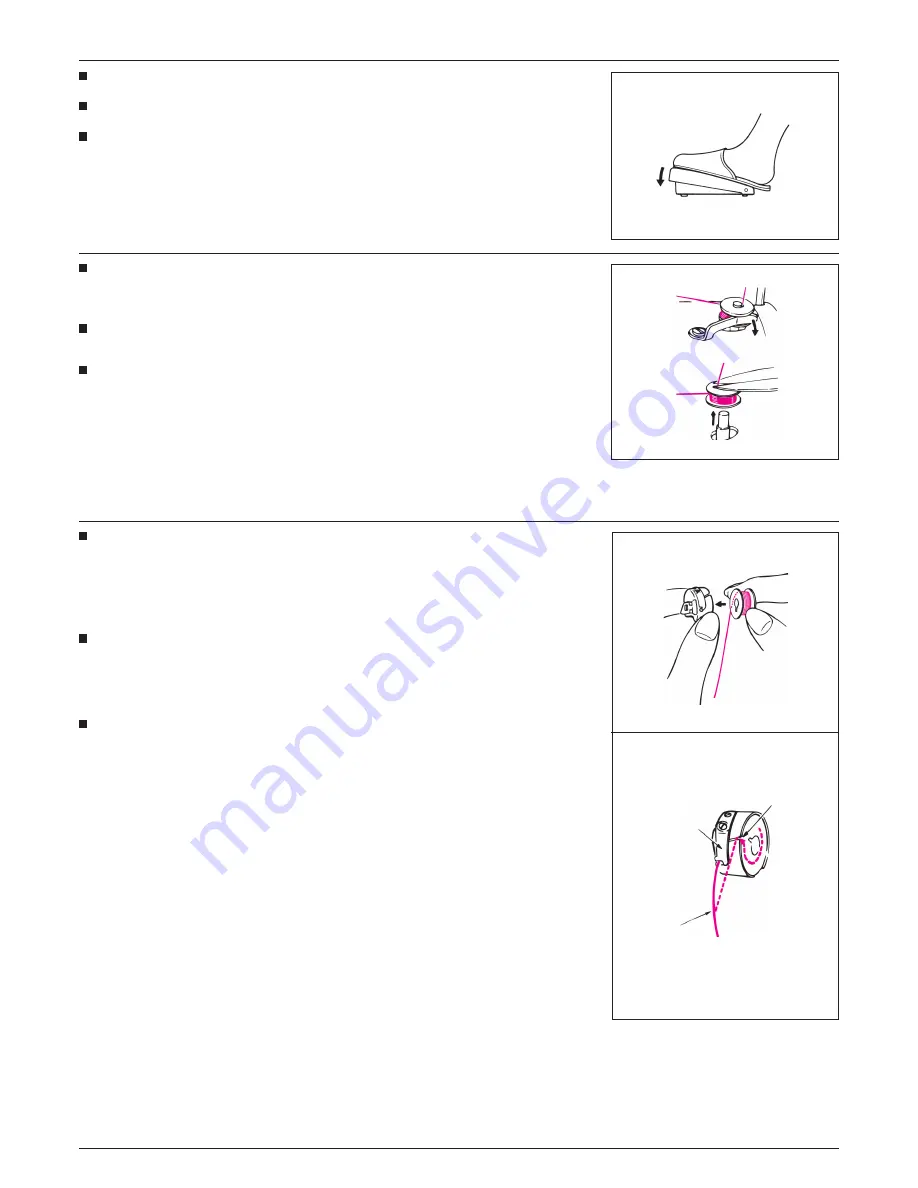
Start winding the bobbin.

Inicie el bobinado de la bobina.

Commencer à bobiner la canette.

5

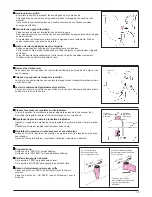
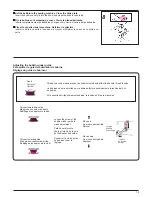
Upon completion of winding the bobbin.

Return the bobbin presser on your side. Trim the excessive thread and take out the bob-

bin.

Al completar el bobinado de la bobina.

Vuelva el dedo posicionar hacia usted. Corte el hilo excesivo y saque la bobina.

Après le bobinage.

Ramener le doigt de positionnement du côté opérateur. Couper le fil en excès et retirer la 

canette.

6

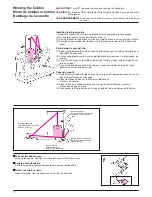
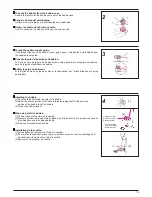
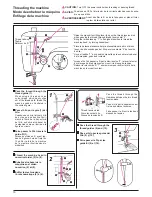
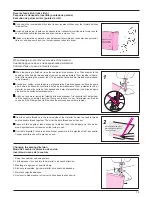
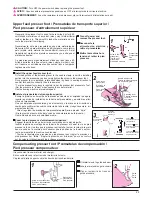
Loading the bobbin into the bobbin case.

Snap in the bobbin case latch, and put the bobbin into the bobbin case so that the bob-

bin runs clockwise. 

Passing  the  thread  through  the  slit  of  the  bobbin  case,  continue  passing  it  under  the 

thread  tension  spring,  and  pull  out  the  thread  open  end  about  10cm  from  the  bobbin 

case.

Modo de cargar la bobina en el portabobina.

Accione el cerrojo del portabobina, y coloque la bobina dentro del portabobina de modo 

que la bobina gire hacia la derecha. Pasando el hilo por la rendija de paso del hilo del 

portabobina, siga pasándolo por debajo del muelle tensor del hilo, y tire del extremo del 

hilo visible más o menos 10cm desde el portabobina.

Mise en place de la canette dans la boîte à canette.

Ouvrir le verrou de la boîte à canette et mettre la canette en place dans la boîte à ca-

nette de façon qu’elle tourne dans le sens des aiguilles d’une montre. 

Faire passer le fil dans la fente de la boîte à canette, puis sous le ressort de tension et le 

tirer d’environ 10cm par l’ouverture de fil.

7

Thread tension 

spring

Muelle tensor 

del hilo

Ressort de 

tension de fil

Thread passage

Paso del hilo

Fente de passage du fil

10cm

* The bobbin should run clockwise.

* La bobina deberá girar hacia la derecha.

* La canette doit toumer dans le sens des 

  aiguilles d’une montre.

13

Содержание TL-98QE

Страница 1: ...using your sewing machine Retain this instruction manual for future reference IMPORTANTE Lea cuidadosamente todas las recomendaciones con respecto a la seguridad y comprendalas per fectamente antes de...

Страница 2: ...eep ngers away from all moving parts Special care is required around the sewing machine needle 6 Always use the proper throat plate The wrong plate can cause the needle to break 7 Do not use bent need...

Страница 3: ...su distribuidor para su reparaci n 4 No bloquee las aperturas de refrigeraci n de la m quina mientras la est usando Mantenga estas aperturas abiertas y limpias de suciedad y de residuos Tambi n manten...

Страница 4: ...ri cation technique ou lectrique 4 Ne jamais utiliser cet appareil dans un lieu d pourvu d a ration Maintenez une ventilation suf sante autours de la machine et du rh ostat et viter la poussi re et le...

Страница 5: ...invertido Cuando se marca un nudo en el lado equivocado del material Modo de ajustar la tensi n del hilo 19 Relaci n tabulada entre el material el hilo y la aguja 20 Pespunta entrelazado de remates 21...

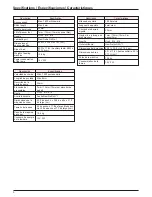
Страница 6: ...le bar stroke Lift of presser foot Needle Lubricating oil Dimensions of sewing machine Size of bed Description Speci cation Max 1 500 stitches min Max 6mm 32mm 7mm 12mm 12mm by knee lifter HLx5 14 16...

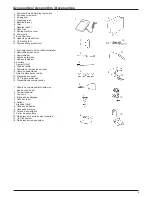
Страница 7: ...lo de limpieza 5 Bobinas 4piezas 6 Aceitera 7 Agujas HLx5 8 Tapa de canilla 9 Cubierta de la m quina de coser 10 Cable de alimentaci n 11 Palanca elevadora a rodilla 12 Prensatelas superior 13 1 4 Pie...

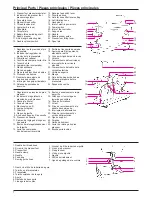
Страница 8: ...16 Anti vibration cone 17 Handwheel 18 Inlet of electric power cord 19 Power switch 20 Inlet of the controller 21 Support rod 22 Handle 23 Bobbin winder guide 24 Presser foot lifting lever 25 Spool pi...

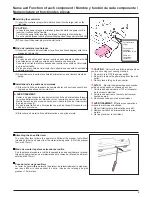
Страница 9: ...N AVISO En caso de que estos enchufes se inserten erroneamente cuando el cable de alimentacion ya esta conectado esto causara una anomalia Conecte la corriente el trica despu s de insertar el enchufe...

Страница 10: ...pe ouvrir le couvercle frontal Manual thread cutter Lift the needle and the presser foot after the completion of sewing draw out the material and cut the thread with the manual thread cutter Cuchilla...

Страница 11: ...perilla a NO FEED para pespunte de bordado libre Bouton d entra nement simple par griffe Placer ce bouton sur FEED entra nement pour la couture normale Placer ce bouton sur NO FEED pas entra nement p...

Страница 12: ...tournant l g rement jusqu ce que le loquet de positionnement s engage 2 Placer la grande bobine sur le c ne anti vibrations ou Presseur de canette 3 Placer la bobine usage domestique sur la tige du po...

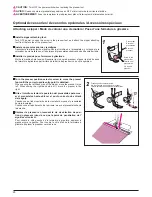
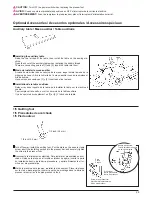
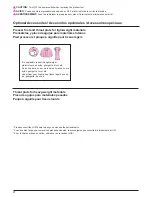
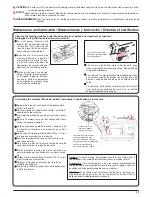
Страница 13: ...te canette Ouvrir le verrou de la bo te canette pour sortir la canette 2 3 Installing the bobbin 1 Pass the thread through the hole of the bobbin 2 Adjust the convex portion of the bobbin thread windi...

Страница 14: ...case Modo de cargar la bobina en el portabobina Accione el cerrojo del portabobina y coloque la bobina dentro del portabobina de modo que la bobina gire hacia la derecha Pasando el hilo por la rendija...

Страница 15: ...Correct Thread unevenly wound around the bobbin would badly affect the bobbin thread tension Un bobinado de hilo enrollado en la bobina afectar adversamente la tensi n del hilo de bobina Si la canett...

Страница 16: ...e nyl n que se desliza f cil mente a fuera de la trayectoria del hilo enhebre el cabezal de la m quina como se ilustra en la gura en c rculo Faire passer le l travers le guide l 1 Lorsqu on utilise un...

Страница 17: ...ent faire sortir le l de canette Bobbin thread is drawn out Sale el hilo de bobina Le l de canette sort Draw both the needle thread and bobbin thread for about 10cm Bring both the needle and the bobbi...

Страница 18: ...car le l d aiguille pourrait glisser hors du chas d aiguille Place the material under the presser foot and lower the presser foot Coloque el material debajo del prensatelas y baje el prensatelas Plac...

Страница 19: ...l aiguille et le pied presseur Tirer ensuite le l d aiguille et le l de canette en arri re d environ 10cm avec le tissu Ou sur l interrupteur au pied de coupe du l le l d aiguille et le l de canette s...

Страница 20: ...i la tensi n del hilo no est debidamente ajustada se formar n bultos en el material puntadas de cientes o se romper el hilo Si la tension du l est mal r gl e il en r sultera un froncement du tissu des...

Страница 21: ...Wool Denim Canvas Tweed Arti cial leather Synthetic thread 80 90 Light weight materials No 9 11 Medium weight materials Heavy weight materials Cotton thread 60 80 Synthetic thread 80 90 Synthetic thre...

Страница 22: ...do 4 Con la cara plana de la nueva aguja mirando hacia la derecha inserte la nueva aguja en la barra de aguja todo lo que pueda entrar Ahora apriete el tornillo sujetador de la aguja Pose de l aiguill...

Страница 23: ...main dans le sens de la couture pour s assurer que la position de la fourche est cor recte puis remettre la machine sous tension Tourner le r gulateur de pression du pied presseur pour r gler la pres...

Страница 24: ...ste el dentado de transporte a su posici n inferior Placer la griffe d entra nement sur sa position inf rieure Position stitch length adjusting dial 0 Rotate presser foot pressure regu lator until gre...

Страница 25: ...eedle and bobbin thread ends with your left hand turn the handwheel by 3 or 4 rotations until you are sure that the material edge is rolled into the groove Then hem the material edge while pinching th...

Страница 26: ...correcto de entrada de la aguja Cuando cosa el lado izquierdo de la cremallera mueva el prensatelas hacia la izquierda Cuando cosa el lado derecho de la misma mueva el prensatelas hacia la derecha D p...

Страница 27: ...iliaire Relever les deux loquets de la table puis installer la table sur la machine coudre Pour remplacer la canette ouvrir le couvercle de la table auxiliaire Il y a des points d accouplement en 1 et...

Страница 28: ...etc Les utiliser pour coudre des tissus l gers que ny lon georgette tricot etc Please consult the JUKI dealer when you purchase the optional parts Cuando usted tenga que comprar las piezas opcionales...

Страница 29: ...t avec les yeux les rincer im m diatement avec de I eau En cas d absorption accidentelle d huile consulter imm diatement un m decin Maintenance and lubrication Mantenimiento y lubricaci n Entretien et...

Страница 30: ...nsumo de energ a de la l mpara 12V 3W Placer l interrupteur d alimentation sur arr t Ouvrir le couvercle frontal Retirer la partie de support de la lampe Retirer la lampe Consommation de la lampe 12V...

Страница 31: ...ad used 1 The bobbin thread tension is too high 2 The rubbing of the bobbin case spring has produced a slot 3 Scratches on the needle hole in the throat plate 1 The needle is bent or has been installe...

Страница 32: ...guja no est balancee ada con la del hilo de bobina 1 Se ha acumulado polvo en el dentado de transporte 2 Se ha gastado el aceite en la m quina bebido a uso prolngado 3 Se est usando aceite diferente a...

Страница 33: ...la poussi re dans la griffe d entra nement 2 L huile est puis e car la machine a t longtemps utilis e 3 On a utilis une huile autre l huile sp ciale pour machine coudre 4 Des d bris de ls se sont acc...

Страница 34: ......

Страница 35: ......

Страница 36: ...ght 2005 JUKI CORPORATION All rights reserved throughout the world 8 2 1 KOKURYO CHO CHOFU SHI TOKYO 182 8655 JAPAN PHONE 03 3480 5034 FAX 03 3480 5037 http www juki co jp E mail hsm juki co jp A9250Q...

Отзывы: