6
©2014 Johnson Level & Tool - Rev. 3
6. Operating Instructions
Battery Installation
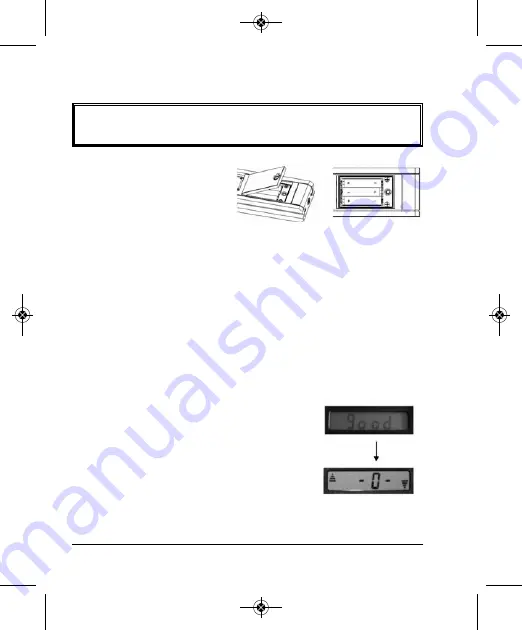
1. Open the battery cover
by turning the screw
counter-clockwise,
and then put the 3 “AAA” batteries into the battery case
according to the polarity shown in the battery slot.
2. Snap the battery cover back, and then tighten the screw clockwise.
Note:
1. Take out the batteries if the instrument is not going to be used
for a long time.
2. Replace the batteries when the voltage gets low.
3. Turn the instrument off while taking out the old batteries from
the battery case.
Display After Installing the Batteries
1. After installing the new batteries the LCD
will display “good”.
2. Then the LCD will display “-0-”.
3. Calibrate the instrument following the
calibration procedure in Section 8.
IMPORTANT:
It is the responsibility of the user to verify the
calibration of the instrument before each use.
7876H-All_Manuals 3/19/14 11:48 AM Page 6


