14
English
• Once all the connections have been com-
pleted, you are ready to switch on the
TRS-5000.
The followings messages will be displayed
after the TRS-5000 has been switched on:
After which, the TRS-5000 will be fully ope-
rative.
As an example, these are the messages that
should appear if you are going to clone an
OEM key, in this case a FORD key with a TP20
transponder.
Insert the OEM key and press the READ
button:
In order to ensure that communica-
tion between the TRS-5000 and the
TPX Cloner will be fully operative, the
TPX Cloner’s status LED must change
from the initial red to green.
If this does hot happen, reinitiate the
TPX cloner, unplugging the power su-
pply and plugging it back in again.
JMA TRS-5000
Version 2.02
JMA TRS-5000
Hw rel. 1.1
JMA TRS-5000
TPX CLONER found
READY TO READ
Press READ
PLEASE WAIT
…………………
Tp20 TEX CR FORDT
Copy on TPX2
READY TO COPY
Press COPY
Connecting
and operating the TPX CLONER
4
Once the USB drivers install procedure has
been completed, you should complete the
last part of the installation. Follow the steps
detailed below:
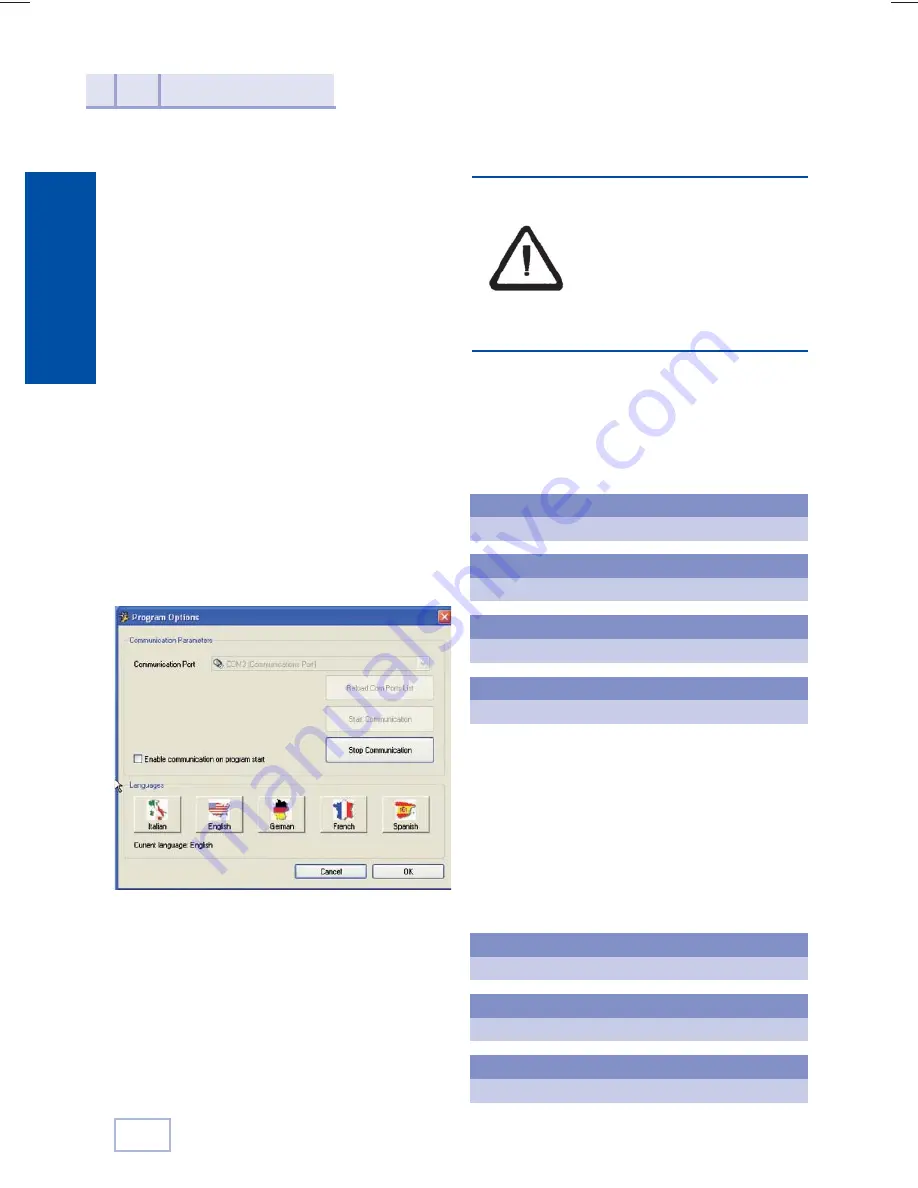
• Start up the TRS-5000 PC software appli-
cation program again.
• As explained earlier, in the OPTIONS
menu, in Settings press the Reload Comm
Por List button. This will load the new
USB port to handle the TRS-5000 in the
Communication Port scroll down bar on
the menu.
• Depending on the programs that you
have installed and the default ports that
they use, there will be a different TRS
port assigned. In the example, the TRS
port is COM3, with different ports pos-
sible. (The ones that interest us are the
ones that have an USB symbol on the
left):
• Immediately after, press the Start
Communication button and communica-
tion with the TRS-5000 will be established
through the USB connector.
• As explained earlier, in the OPTIONS
menu, in Upload program, you have to
start downloading the final version of
the firmware (trs5200.bin), which will
enable you to use the TPX Cloner.
Содержание TPX CLONER
Страница 2: ......


