No Diving or Jumping. Observe all Safety Rules
1-4
GENERAL INSTRUCTIONS - BRACELESS OVAL POOLS
GROUND PREPARATION
Section
1
B. PREPARE THE FOUNDATION OF YOUR POOL
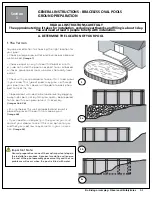
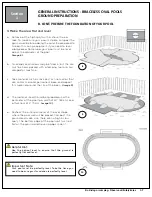
1. Mark out the Area
a. The next following steps will show you how to
mark out the area you need for the oval pool.
This marked area will be larger than the pool size
itself, but this space is needed. Find a site where
the ground is stable, level and well drained. Once
you have selected your site, determine where the
middle of your pool will be.
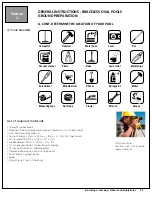
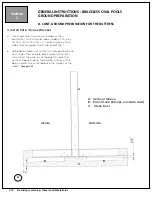
b. Drive a peg into the ground at the centre point.
(Image 1)
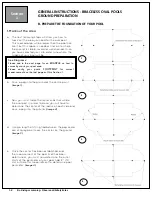
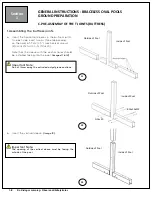
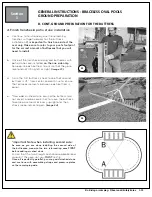
c. Now you must make the round ends that will be
the oval part. In order to do so, you will have to
determine the center of the radius on each side and
drive a peg into the ground.
(Image 2)
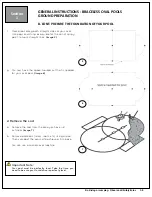
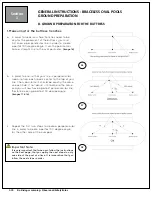
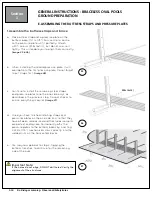
d. Using a length of string tied between the peg and a
can of spray paint mark the circles on the ground.
(Image 3)
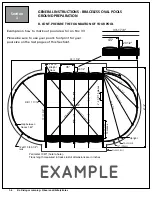
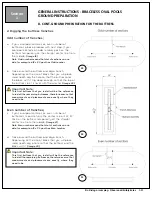
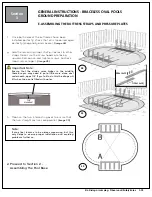
e. Once the center has been established, and
the measurement of the pool itself has been
determined, you must now determine the outer
limits of the perimeter of your pool. Add 12” (30
cm) outside this measurement to determine pool
perimeter.
(Image 4)
1
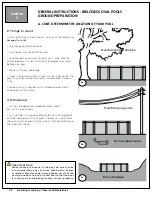
See Diagrams:
Please see in the next page for an
EXAMPLE
on how to
correctly mark your pool area.
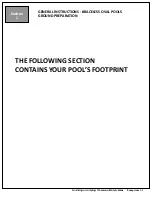
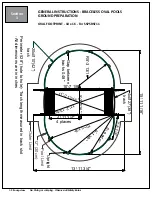
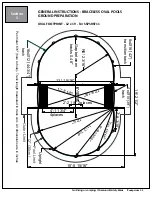
Please verify your pool’s
FOOTPRINT
for correct
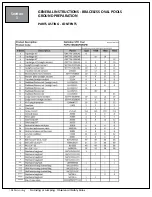
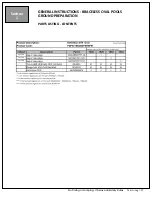
measurements on the last pages of this Section 1.
3
4
2
Содержание Definition STR
Страница 1: ...INSPIRATION REGENCY STR RTR LX DEFINITION 04 19 V35034 INSTALLATION MANUAL BRACELESS OVAL POOLS...
Страница 2: ......
Страница 59: ......
Страница 79: ......

