background image


User Type 


Standard User  

         Power User    


Multimedia User 


Application  

Office, Internet, Email 

Database, DTP- and   

Sound, Movies/MPEGs  

SOHO Application 


Graphic –Applications  

Graphic Applications  

max. 3 simultaneous   

10 applications  

Processor    

>= 1.2 GHz    


>= 1.2 GHz    


>=1.2 GHz  

RAM  


min. 256MB    


min. 384MB    


min. 512MB  

VGA Port 


NVIDIA Dual Head AGP VGA Card ( Purchased Separately)* 

OS


Windows XP Home or Professional Edition with Service Pack 1 


* You do not need to purchase separately a dual head VGA card if your system is equipped with 
motherboard of NVIDIA nForce2 integrated graphic chipset. Please refer to MagicTwin 
Hardware Installation section of MagicTwin XP manual for detail. 
 

Preparation for Installation 

The Quick Installation Guide is intended to provide you with the basic information regarding the 
barebone system and help you complete the installation successfully. Upon receiving the system, 
please first check the package and the content. 
 

Package Content 

Bare-bone System Unit 
Accessory Box  


Power Cord 


Driver CD 


Manual 


Screw Set and Cable Set 


Cable Set  

CPU Cooler Set (inside of case) 
Remote Control (Optional) 
 

Before You Start 

The voltage of PSU (power supply unit) is either 220V or 110V, without switch. Make sure the 
power supply voltage is matching your AC power input before plugging the power cord. 
 

Hardware Installation


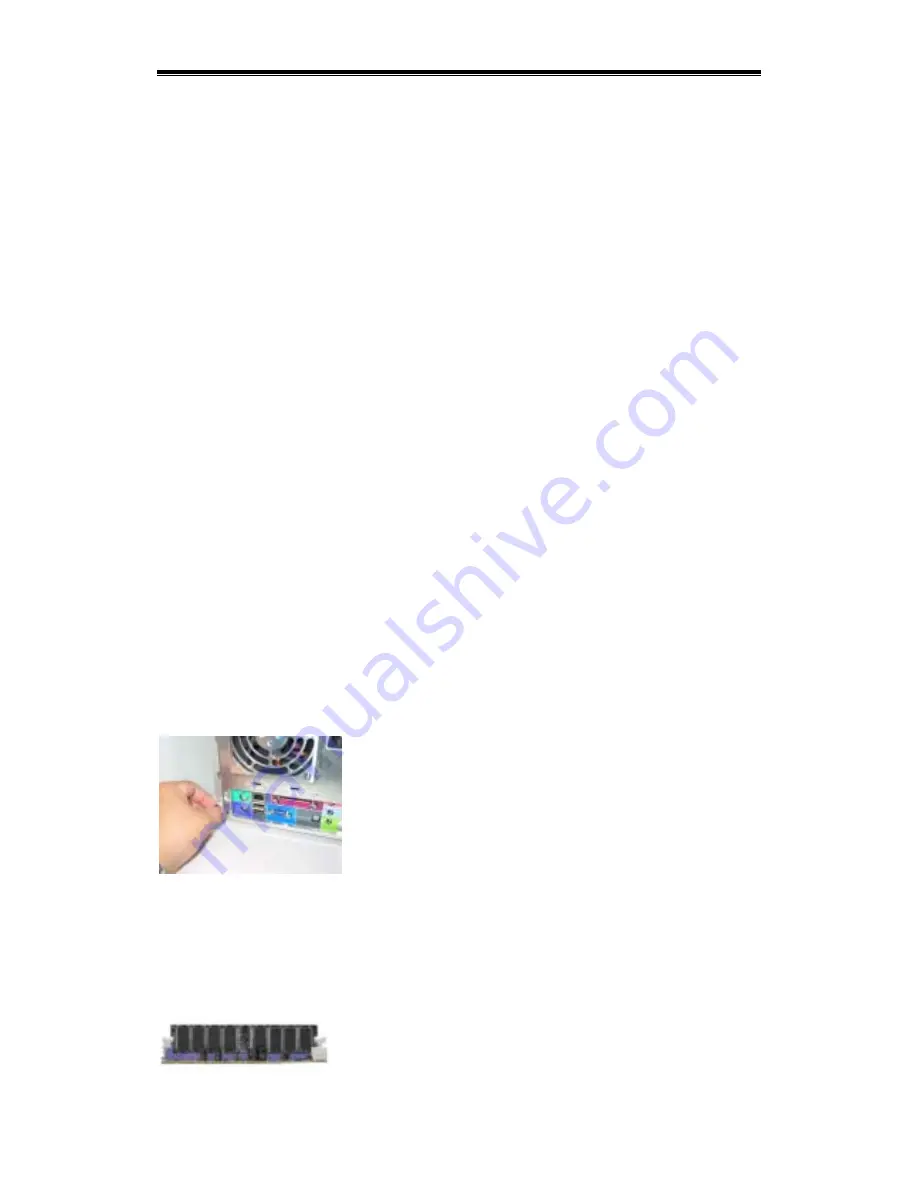
First, loosen the three thumbscrews from the rear of the system unit to remove the top cover. 
Hold both sides of the top cover, push the back panel, and lift upward to open the case. Please 
follow the installation procedure and sequence described in this guide for smooth assembly. 


Installing DIMM Module 

To install the memory module, first open the two locking levers on the DIMM socket. Align the 
DIMM to the socket and push vertically down firmly from the top edge of the DIMM. Click back 
the locking levers toward the DIMM. The DIMM module can only fit in one direction according to 
the keyed notch.  


Содержание 2USER-QIG-MINIQ-R1.1

Страница 1: ...Quick Installation Guide Rev 1 1 G03 MQ2R2...

Страница 2: ...4 System Requirements and Recommendations 5 Preparation for Installation 6 Package Content 6 Before You Start 6 Hardware Installation 6 Installing DIMM Module 6 Installing CPU 7 Installing Hard Disk...

Страница 3: ...onnecting 2 Sets of Input Output Devices MagicTwin Technology for 2 Users to Share One System Built in LCM Display for PC Health Information Wireless Operation by Remote Control on Host Optional Ultra...

Страница 4: ...e Check List inclusded in the package for detail It comes with a friendly user interface upon powering up the system for direct web browsing email accessing CD playing and video playing with a touch o...

Страница 5: ...e browser will go to the home page set for the browser Zoom This key will let you zoom in and out the cursor vicinity screen or activate the application built in scale feature It is arranged in rotati...

Страница 6: ...of the sound LCM Display There are two type of front panels Certain models come equipped with LCM display on the front bezel Please check specifications The LCM screen provides you with the system hea...

Страница 7: ...lay after 1 minute of display of CPU temperature SYS temperature and CPU FAN rpm mode Clock Adjustment press both left and right button simultaneously to enter into clock adjustment mode when in TIME...

Страница 8: ...on receiving the system please first check the package and the content Package Content Bare bone System Unit Accessory Box Power Cord Driver CD Manual Screw Set and Cable Set Cable Set CPU Cooler Set...

Страница 9: ...n module in correct direction Follow the instructions and precautions from CPU heatsink and cooling fan to complete the installation Installing Hard Disk Drive Loosen screw and pull out the HDD bracke...

Страница 10: ...evel and push forward to align the mounting holes of optical device with case mounting holes Tighten the screw to fix the device in place You might need to adjust forward or backward to locate the app...

Страница 11: ...differ in size To make sure the optical device has fine contact with the EJECT button in the back of front bezel of MiniQ system the 5 25 device bay bracket has two kinds of screw hole for micro adju...

Отзывы: