


7
C.
Adjust album and track number.
D.
Divide Record Type: Choose whether the software will auto-divide tracks. Tracks can be
divided based on time or muting.
E.
Album and track information can be recorded or changed.
8.
Recording
:
To start recording, you must first press the “Play” button on the JSCR-50 and then
immediately click the “Record” button in the CassetteMate software.
9. To stop recording, press the “Stop” button in the software first, and then press the “Stop” on
the JSCR-50.
10. You can separate the tracks by either stopping the recording and re-starting it at the correct
moment, or using the AutoDivide feature. Click the
button at the moment where you
would like the software to divide the tracks. See FAQ for additional information on this
feature.
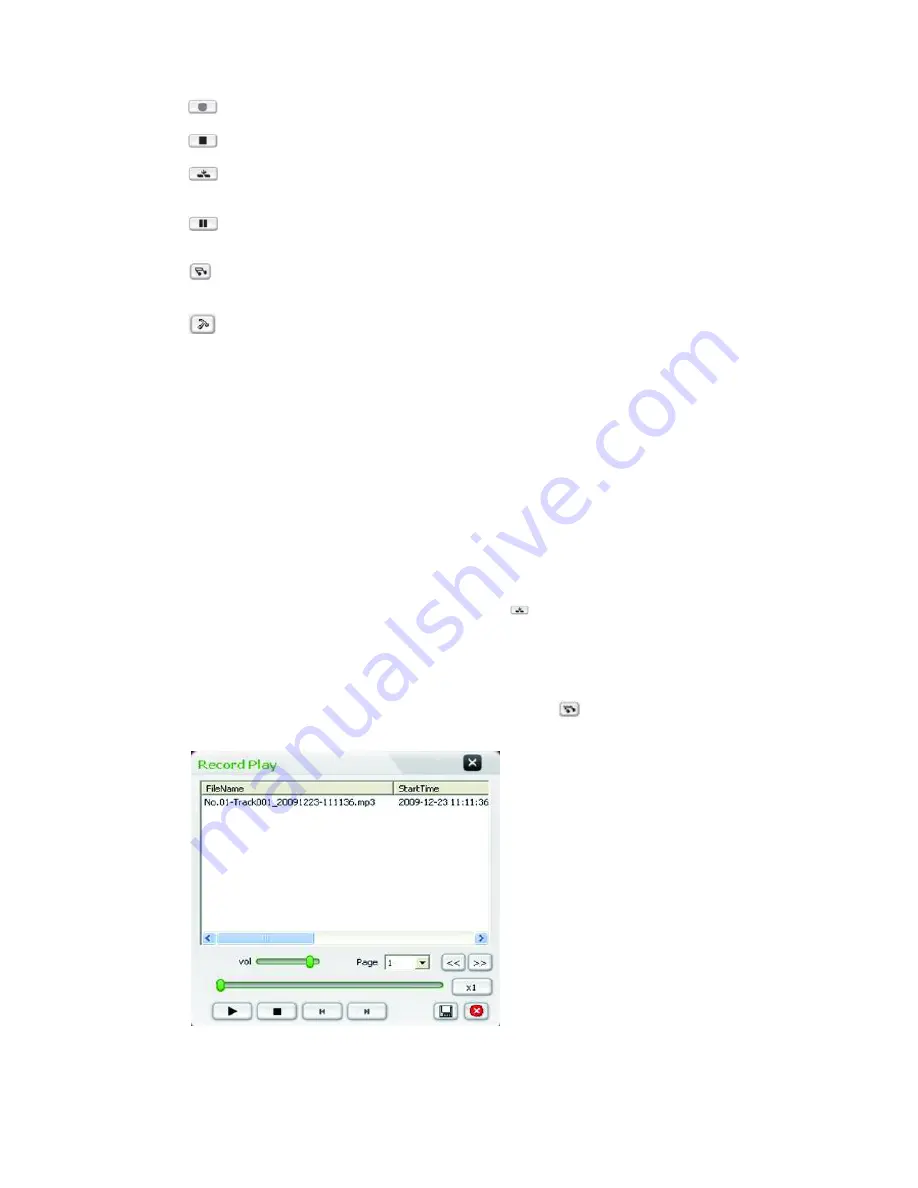
11.
Playback
:
You can playback the recorded tracks by first pressing the
button, then click the track
you want to play and finally press “
” to start.
Note:
If you cannot hear the tracks you have recorded, see the FAQ section at the end of this
Starts the Recording
Stops the Recording
Creates a break in the recording. Stops the current track and creates a new
one automatically
Pauses the recording (Note: Does not stop playback on the JSCR-50.)
Opens the Record Play Menu: This is where you can listen to and save the
recorded tracks.
Open the tools menu. Adjust language, format, volume, and balance settings
Содержание JSCR-50
Страница 1: ......


