10
TAKING PICTURES WITH SELF-TIMER
This function is useful for taking pictures where you want to be included in the photograph. Fix the
camera securely on a tripod or the flat surface for self-timer shooting.
1. Power on the camera.
2. Set the camera to Self-Timer capture mode (
). (p.8)
3. Frame your subject with the LCD or viewfinder.
4. Press the
Shutter
button to activate the Self-Timer.
While the self-timer is functioning, the self -timer lamp on the front of the camera will blink. As
the time to take the picture is closer, the lamp blinks faster, normally for 7 seconds, fast for the
following 3 seconds, then the image will be captured.
To deactivate the Self-Timer,
set the camera mode to other capture mode.
SETTING IMAGE RESOLUTION
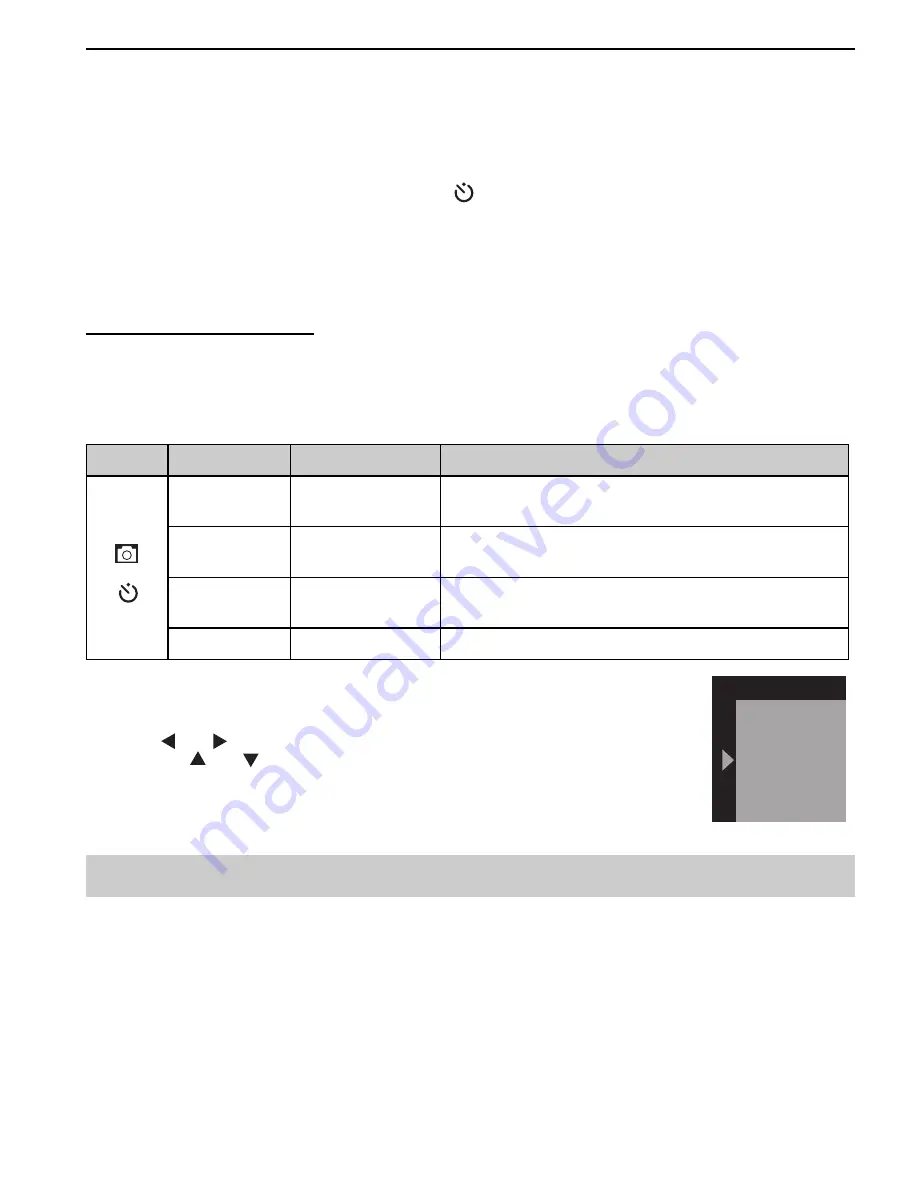
The camera provides four image resolutions:
Mode
Resolution
Indicator
Description
or
Super
2304 x 1728
(interpolated)
Large picture size: produces higher picture
resolution and larger file size.
High
2048 x 1536
Standard picture size: produces normal picture
resolution and moderate file size.
Middle
1600 x 1200
Small picture size: pictures are of lower resolution
and file size is small.
Low
1280 x 1024
Even smaller picture size.
1. Power on the camera.
2. Make sure the camera to set at Single capture mode. (p.8)
3. Press the
Menu
button.
4. Press or
button to highlight
Resolution
.
5. Press the or
button to highlight
Super, High, Middle
or
Low
.
6. Press the
Menu
button again to confirm. The selected resolution will be
shown on the LCD.
Note:
The setting remains until you change it.
Resolution
Cancel
Super
High
Middle
Low
TAKING PICTURES AND VIDEO CLIPS


