23
ACCLIMATION
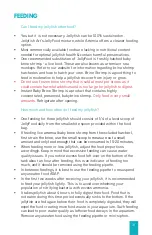
1. Jellyfish arrive in an insulated shipping container. Ensure that the
caretaker is available to receive the jellyfish shipment. Tracking information
for shipments are sent via email to the purchaser. Acclimate jellyfish as
soon as possible within 8 hours. Take a picture of the jellyfish within the bag
upon arrival. Remove jellyfish bags from the insulated
packaging. Allow the jellyfish bag to adjust to the room
temperature in which the aquarium is housed before
proceeding with acclimation. Do not tear the outermost
plastic bag; this was included in your shipment to be
used as the acclimation bag.
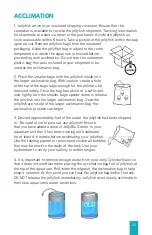
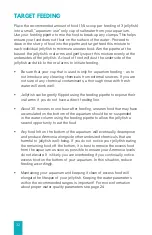
2. Place the smaller bags with the jellyfish inside into
the larger acclimation bag. With caution, create a hole
at the top of the bags large enough for the jellies to be
removed safely. Once the bag has a hole of a sufficient
size, lightly turn the smaller bags upside-down to release
the jellyfish into the larger acclimation bag. Once the
jellyfish are inside of the larger acclimation bag, the
acclimation process can begin.
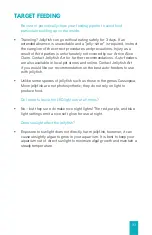
3. Discard approximately half of the water the jellyfish had been shipped
in. Be careful not to pour out any jellyfish! Ensure
that you have added a dose of JellyBio Starter to your
aquarium and that it has been running with saltwater
for at least 4-6 weeks before acclimating your jellyfish.
Use the feeding pipette to remove and visible air bubbles
that may be stuck to the walls of the tank. Use your
hydrometer to verify your salinity is within ranges.
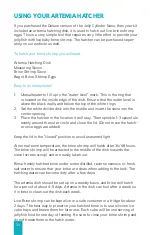
4. It is Important to remove enough water from your Jelly Cylinder Nano so
that it does not overflow when placing the acclimation bag full of jellyfish at
the top of the aquarium. Roll down the edges of the acclimation bag to help
keep it oriented. At this point you can float the jellyfish bag within the tank.
DO NOT release the jellyfish immediately. Jellyfish must slowly acclimate to
their new aquarium’s water conditions.


