


ELIGHT
OPERATING INSTRUCTIONS
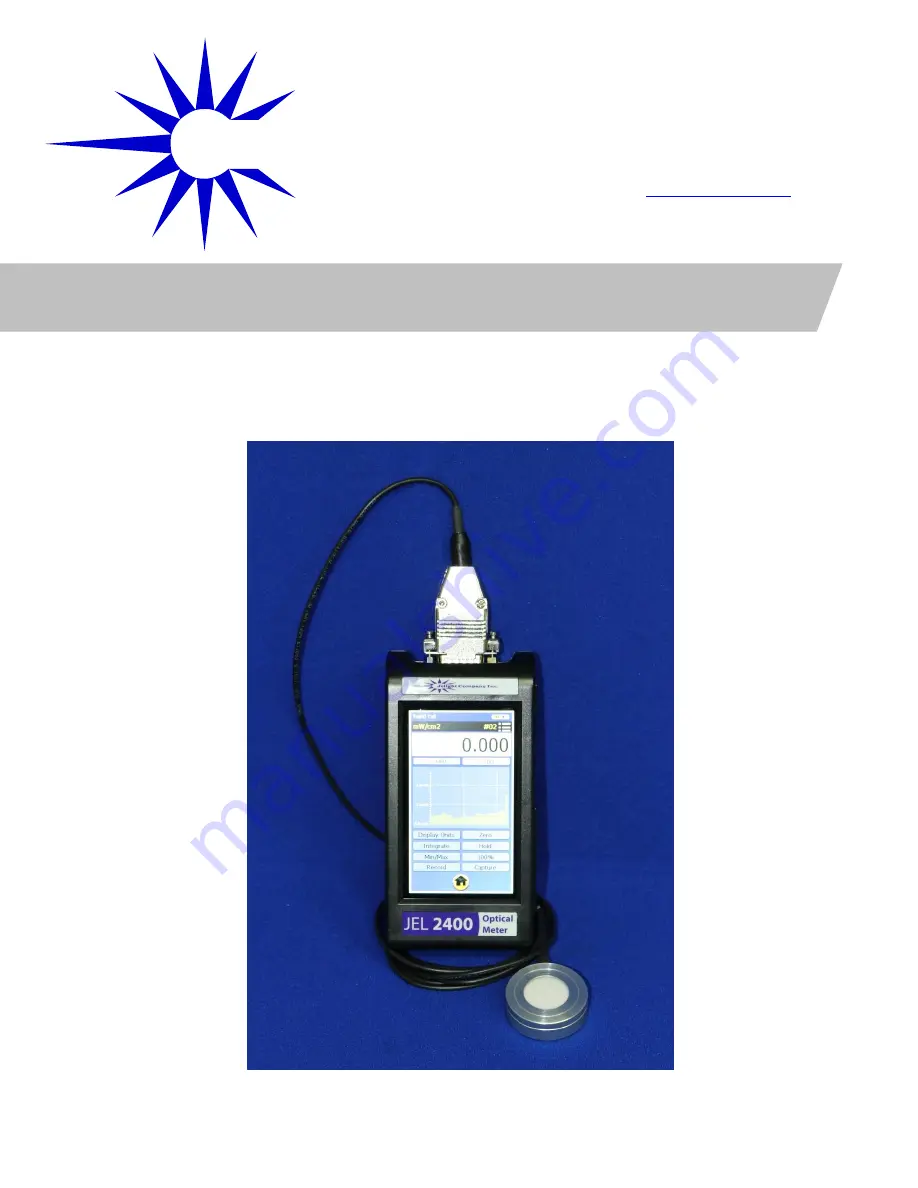
JEL-
2400
RADIOMETER/PHOTOMETER
Rev X
J
Jelight Company, Inc.
2 Mason, Irvine CA 92618 USA
Tel: +1-949-380-8774
Fax: +1-949-768-9457
http://www.jelight.com
e-mail:[email protected]


