5: Z-Calibration
Assuming you have already powered on the printer, and everything appears
functional, you can do the Z-calibration.
The aim of the Z-calibration is to get the extruder as close as possible to the printer
bed (when Z=0) without actually touching it, as this will damage the kapton surface.
The manual goes into some detail about changing the firmware to complete the
calibration, but this is not necessary for a good calibration. You’ll probably find that
ongoing adjustment of the calibration is necessary, and having to reload the firmware
every time you need to make a minor tweak is very time-consuming. We’re going to
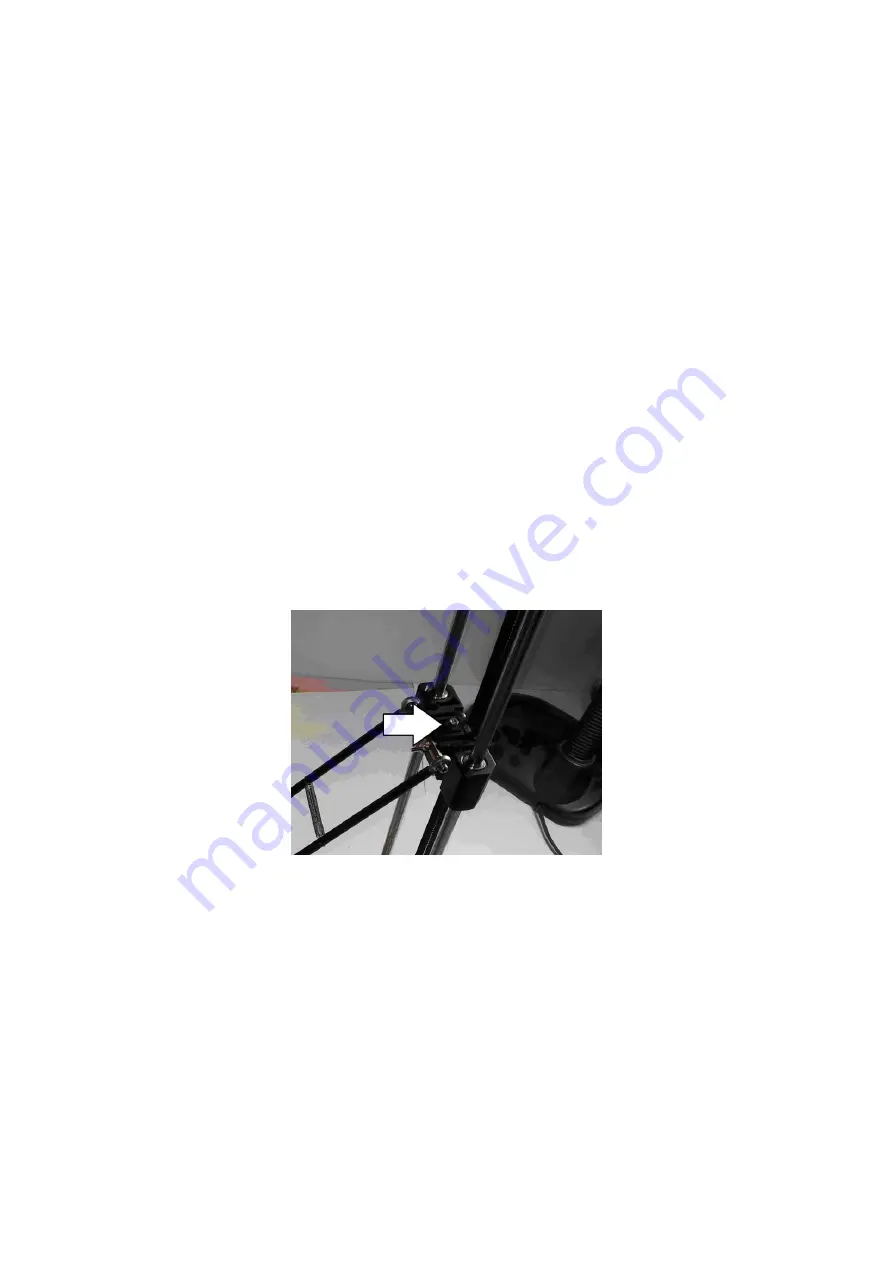
adjust the small screws on the top of each carriage to complete the calibration. A safe
place to start is to screw all the calibration screws down, which gives us the most
clearance above the bed.
The procedure is as follows:
1.
Home printer.
2.
Move extruder towards bed, and check height at various places around bed.
3.
Adjust calibration screws and repeat from step 1 until calibration is good.
Note that the printer does not recognise changes to the calibration screw positions
until it has completed a homing sequence.
You’ll need to open Repetier and ensure your printer is connected and
communicating. I’ve used version 1.60 of Repetier, but any new or recent version will
work. Switch to the Manual Control Tab.
Note the manual arrow controls can be used to move the extruder around, but the
following instructions use the script buttons to run G-code commands to precisely
locate the extruder, as well as entering in G-code commands manually.


