3 ADJUSTMENTS
12
3.13 REEL TO BEDKNIFE _______________________________________________________
(Pre-adjustment Check)
1.
Check the reel bearings for end play or radial play. If
there is any abnormal movement of the reel, up and
down or side to side, adjust or replace components as
needed.
2.
Inspect the reel blades and bedknife to insure good
sharp edges without bends or nicks.
a.
The cutting edges of the reel blades and bedknife
must be sharp, free of burrs, and show no signs of
rounding off.
b.
The bedknife and bedknife backing must be
securely tightened. The bedknife must be straight
and sharp.
c.
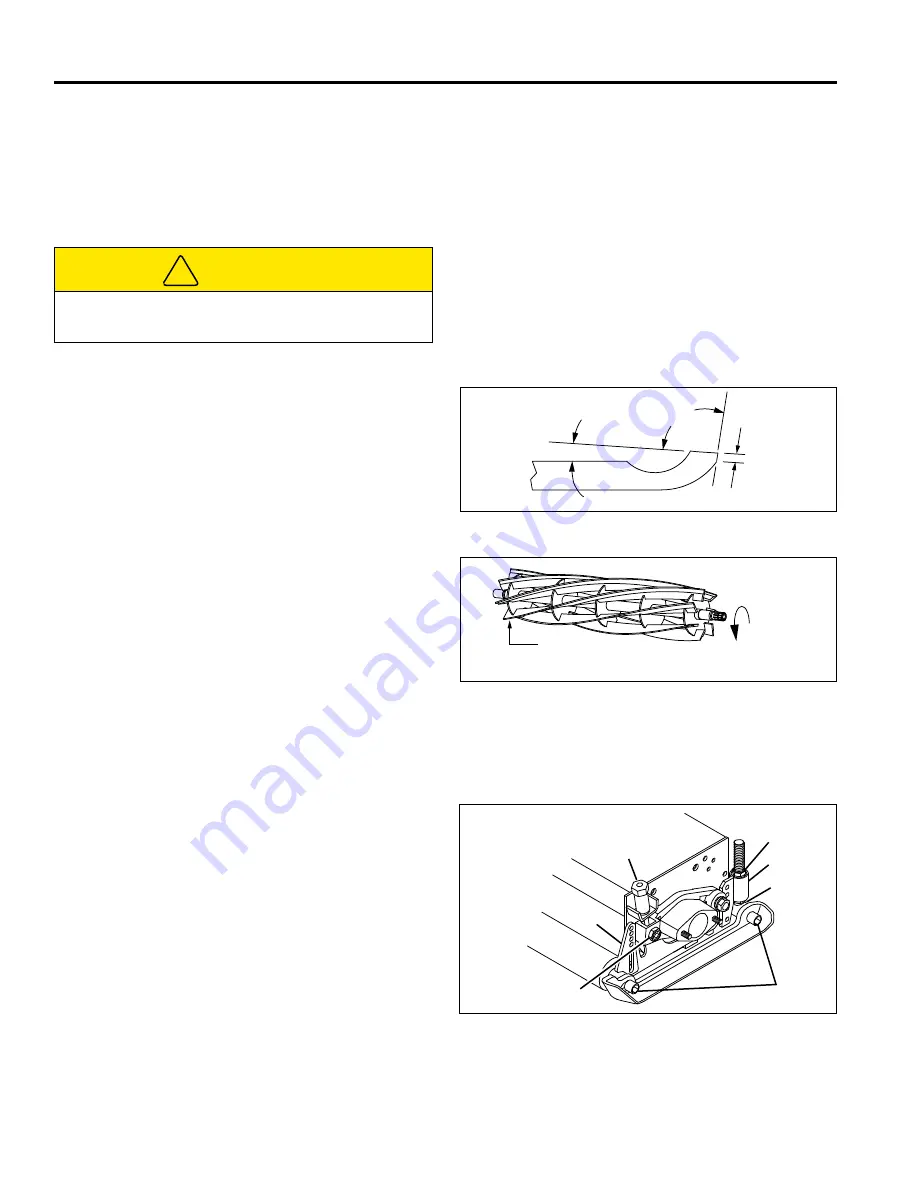
A flat surface of 5/32 in. (4 mm) minimum must be
maintained on the front face of the bedknife. Use a
standard flat file to dress the bedknife.
3.
If wear or damage is beyond the point where the reel
or bedknife can be corrected by the lapping process,
they must be reground.
4.
Proper reel-to-bedknife adjustment is critical. A gap of
0.001 to 0.003” (0.025 to 0.076 mm) must be
maintained across the entire length of the reel and
bedknife.
5.
The reel must be parallel to the bedknife. An
improperly adjusted reel will lose its sharp edges
prematurely and may result in serious damage to the
reel and bedknife.
6.
Grass conditions will also affect the adjustment.
a.
Dry, sparse conditions will require a wider gap to
prevent heat buildup and damage to the reel and
bedknife.
b.
High quality grass with a good moisture content
requires a closer gap (near zero).
Figure 3L
3.14 REEL TO BEDKNIFE ADJUSTMENT __________________________________________
1.
Read
Section 3.13
before making the adjustment.
2.
Start adjustment at the leading edge of the reel,
followed by the trailing end.
The leading end of the
blade is the end that passes over the bedknife first
during normal rotation.
3.
Loosen nut (
C
) 1/4 turn on both ends of the cutting
unit.
a.
Turn adjuster (
A
) in 1/16 to 1/8 turn increments.
b.
Slide a feeler gauge or shim stock.001 in. (.025
mm) between the reel blade and the bedknife.
Do not turn reel.
c.
Adjust the trailing end of the reel in the same
manner then recheck the adjustment at the
leading end.
d.
Tighten all hardware and recheck the
adjustment.
e.
When properly adjusted, the reel will spin freely,
and you should be able to cut a piece of
newspaper along the full length of the reel, when
the paper is held at 90°.
Figure 3N
CAUTION
To prevent personal injury and damage to the cutting
edges, handle the reel with extreme care.
!
5 -6
93
5/32 in.
°
°
Leading
Edge of Reel
Normal
Rotation
A
B
C
E
D
F
G
Содержание Tri King 67043
Страница 29: ......
Страница 82: ...54 5 6 3 1 2 4 7 8 15 9 10 11 12 17 18 16 14 13 9 19 20 21 22 23 TRI KING 13 1 Engine and Pump Serial No All ...
Страница 94: ...66 1 2 3 7 8 9 8 10 11 12 13 14 15 16 16 17 18 19 20 21 6 22 5 4 17 1 5 7 11 TRI KING 18 1 Tanks Serial No All ...
Страница 135: ......


