4 MAINTENANCE
18
4.13 HYDRAULIC FILTER _______________________________________________________
The hydraulic system is protected by a 10 micron return line
filter. Flow though the filters is monitored during operation.
When pressure drop across the filters is too high the
hydraulic oil filter warning light will come on. To ensure
continued protection to the hydraulic system, replace filter
as soon as possible after light comes on.
To replace hydraulic filter:
1.
Remove the old filter.
2.
Install new filter. Hand tighten only.
3.
Operate engine at idle speed with hydraulic system in
Neutral for five minutes. The oil level alarm may sound
during this time.
4.
Check hydraulic oil level in reservoir and fill to full mark
on dipstick.
4.14 ELECTRICAL SYSTEM _____________________________________________________
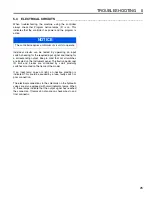
General precautions that can be taken to reduce electrical
problems are listed below.
1.
Make certain all terminals and connections are clean
and properly secured.
2.
Check the interlock system, fuses and circuit breakers
regularly.
If the interlock does not function properly and the
problem cannot be corrected, contact an authorized
Jacobsen Dealer.
3.
Keep the wire harness and all individual wires away
from moving parts to prevent damage.
4.
Make sure the seat switch harness is connected to the
main wire harness.
5.
Check the battery and battery charging circuit.
6.
Do not wash or pressure spray around electrical
connections and components.
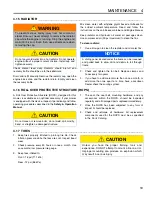
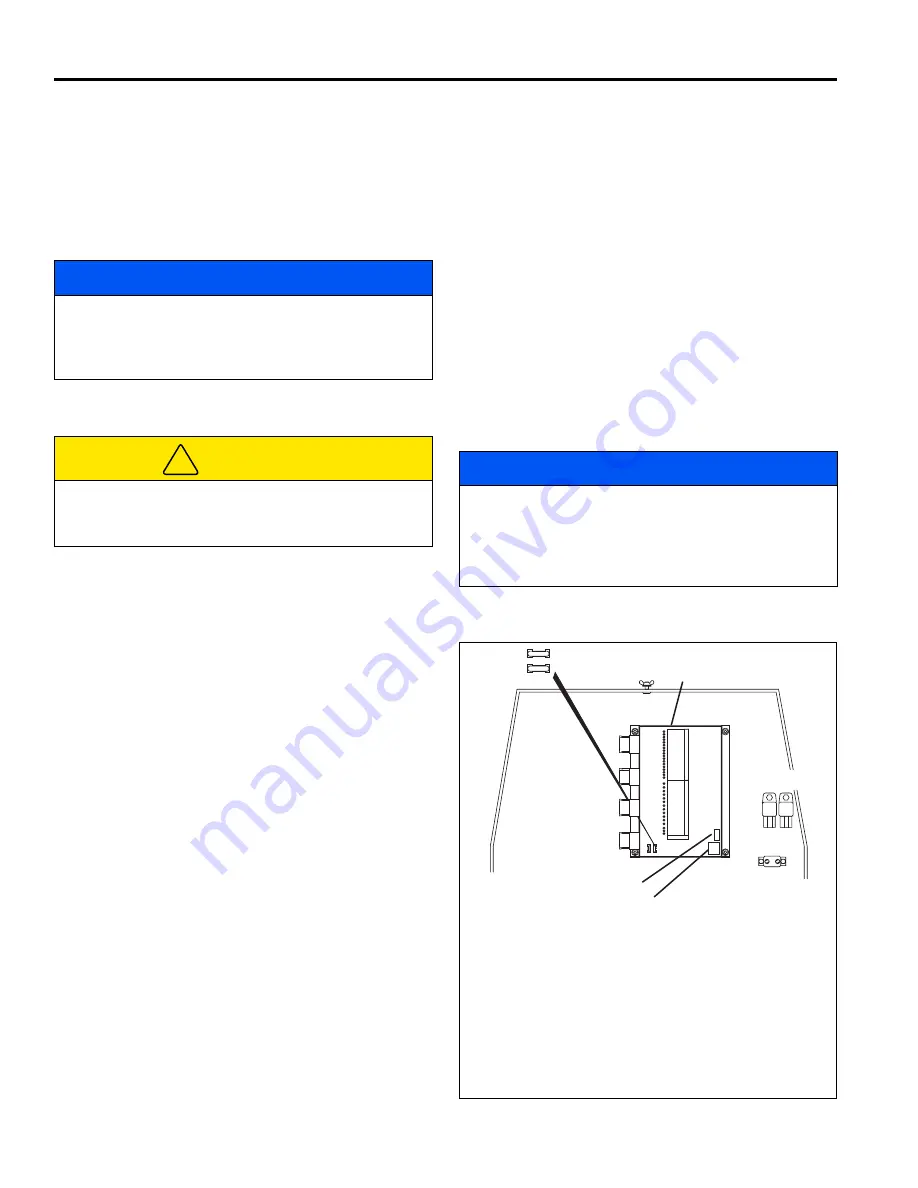
The electrical system is monitored and controlled by the
electronic controller
(C)
located behind the operator’s area.
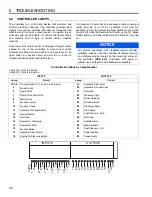
The controller is equipped with two banks of LED’s which
can be used when troubleshooting the electrical system.
See Section 5.2.
Circuits are protected by a circuit breaker, fuses and relays
mounted on or near the controller.
Figure 4B
NOTICE
During cold weather the warning light may come on until
oil has warmed up to operating temperature. Wait until oil
has warmed up and light goes out before operating
mower.
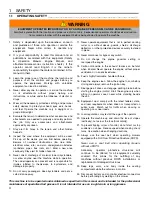
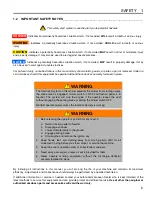
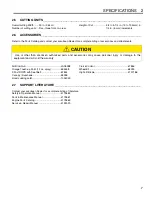
CAUTION
Always turn the ignition switch OFF and remove the
negative battery cable (BLACK) before inspecting or
working on the electrical system.
!
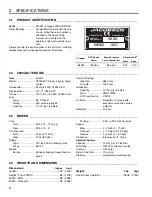
NOTICE
For factory assistance with troubleshooting controller
problems, please note the controller hardware revision
and software version located on the lower right corner of
the controller. Controllers with equal or greater revision
levels will be backward compatible.
F1
F2
C
K1
CB1
K2
Software Version
Hardware Revision
CIRCUIT BREAKER
CB1
50 A CIRCUIT BREAKER
FUSES
F1
20 A ALTERNATOR, GAUGES, SWITCHES
F2
20 A LIGHTS
RELAYS
K1
GLOW PLUG
K2
STARTER

