The JA-158P wireless outdoor PIR detector
The JA-158P wireless outdoor PIR detector
2 / 2
MMY51504
Setting up the optical part of the PIR
detector
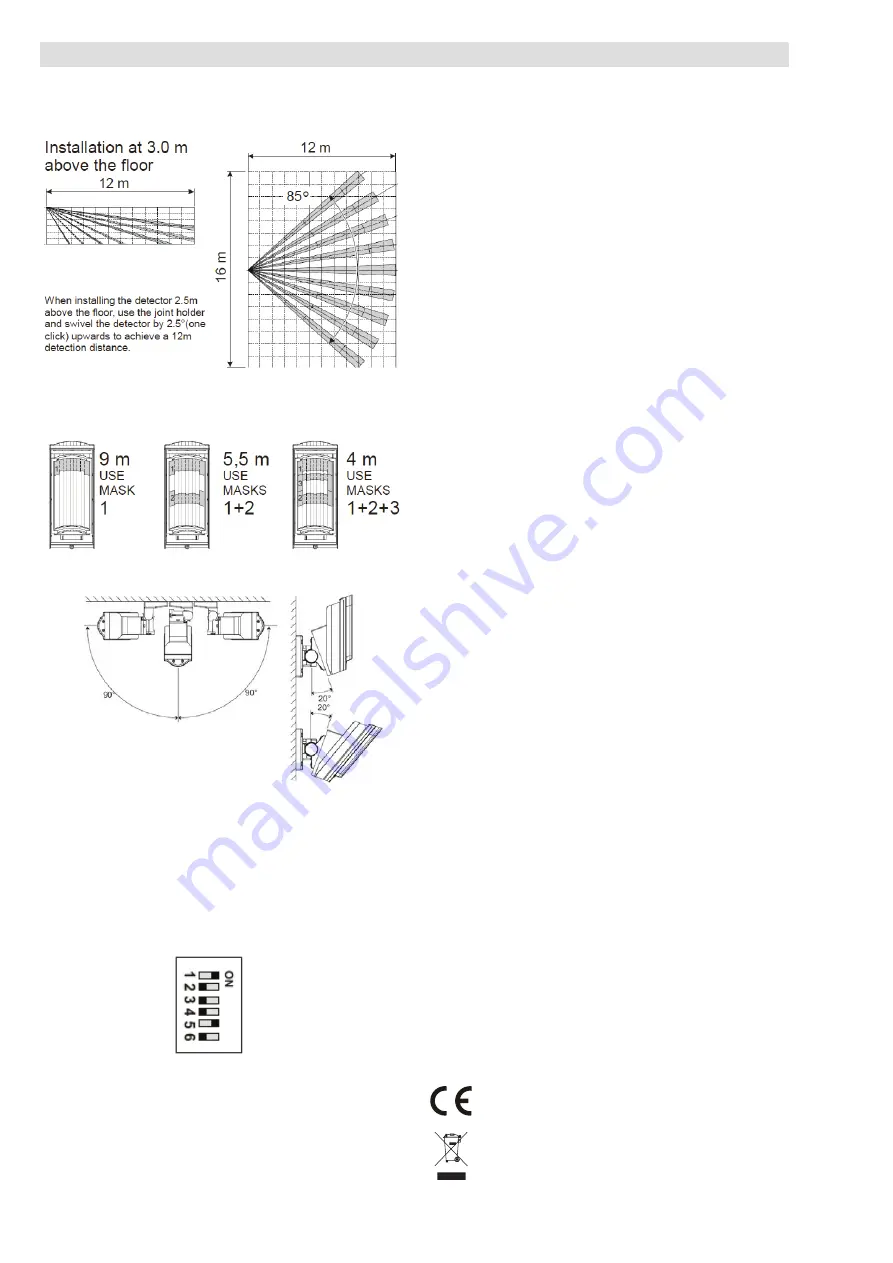
The above-mentioned detection characteristics apply if the detector
is installed vertically in the guarded area. If a shorter detection range
is required, do not tilt the detector on the joint. Use the supplied self-
adhesive mask foils:
Masking using strips of the supplied foil can also be used to avoid
unwanted moving objects (e.g. a tree). Use the supplied protective hood
for protection against the sun and rain.
Setting up the electronic part of the PIR
detector
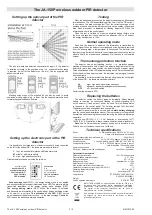
It is possible to set three levels of detector sensitivity using the switch
on the left of the bottom PIR – the levels are marked with letters:
L
low – low sensitivity for places with false alarm risks
M
middle – medium sensitivity
H
high – high detection sensitivity
Other parameters can be set using the switches:
normal mode
test mode
save mode 120 s
5 s
standard immunity
high immunity
Fault output N.C.
do not set this
do not set this fault is not alarm
LED disabled
LED enabled
Area coverage test
(DIP1) – the energy saving mode is not applied
and each detectable movement is indicated by an LED. The alarm is always
transmitted regardless of the energy saving mode settings (DIP2).
The energy saving mode
(DIP2). When the detector is activated
and transmits the information to the control panel, it stops detecting motion
in its view for a set time.
The activation of the LED
(DIP6) serves
as an indication of the detector function – i.e. the area coverage. Disable the
LED to save the batteries in ordinary operation.
Testing
When the batteries are connected, the detector needs approx. 90 seconds
for stabilization. The LED keeps flashing all the time. Use the DIP switch 1
to commence the area coverage test. Test the correct coverage of the
guarded area and whether the detector detects motion outside the guarded
area. Each movement is indicated by flashing detector LED and the
information is sent to the control panel.
When the test is finished to meet the declared battery lifetime, stop
the area coverage test, check whether the indication LED is off and set
the energy saving mode to 120 s.
Normal operating mode
Each time the detector is activated, the information is transmitted by
a radio signal. When the detector cover is opened or the detector is removed
from the bearing plate, a tamper signal is transmitted. The detector also
regularly (every 9 minutes) transmits control signals which serve the control
panel to check the presence and readiness of all devices in the installed
system.
The masking protection function
The detector has an anti-masking function – i.e. protection against
masking of the detector´s field of sight. If an object is detected in front of the
detector for more than three minutes, the detector sends a tamper signal.
Three short flashes of the LED indicate masking (the LED must be enabled).
When the object has been removed, the indication (tamper signal) ceases
after one minute.
It is possible to set three levels of this function using the switch on the right
of the bottom PIR – the levels are marked with letters:
HI
high – high masking detection sensitivity
STD
standard – standard masking detection sensitivity
OFF
off – function disabled
Factory settings pre-set to STD.
Replacing the batteries
The detector checks the battery status automatically. Nearly drained
battery is reported by continuous flashing of yellow signalling LED
on the detector (1 flash per sec) and at the same time low battery status
is reported to the control panel. The detector remains fully functional.
The battery should be changed as soon as possible.
The control panel must be in service mode
before battery changing
(see the control panel installation manual). Tamper contact must be pressed
several times after opening the cover and removing the battery to discharge
capacitors
.
Always use CR123A (3 V, 1.4 Ah) batteries or alternatively LS(T)
14500 (3,6 V AA) batteries. Always replace all batteries simultaneously.
Note
: Use 2x lithium batteries however if needed it is possible to use
3x batteries in to increase the detector’s lifetime.
Technical specifications
Power:
2x Lithium battery type CR123A (3.0 V/1.4 Ah)
Please note: Batteries are not included
Current consumption (nominal/maximal)
50
μ
A/54 mA
Average battery lifetime
2 x (3 x) CR123A, approx. 3 years (4 years)*
Alternative power
2 x Lithium battery type CR14500 (AA) 3.6 V/2.45 Ah
Average battery lifetime
2 x (3 x) CR14500, approx. 3 years (4 years)*
* valid for enabled 120 s saving mode
Communication band
868.1 MHz
RF range – distance from the control panel
up to 300 m (open area)
Optex detector parameters
Detection characteristics
12 m / 85°; 94 segments
Recommended installation height
2.5 – 3.0 m
Object motion speed
0.3 – 1.5 ms
-1
Battery saving timer
adjustable 5 s or 120 s
Detector cover conformance
IP55
Max. relative humidity of the environment
95%
Operational environment according to EN 50131-1
IV
Operating temperature range
-20 °C to +60 °C
Security grade
according to OPTEX
Complies with
ETSI EN 300 220, EN 50130-4,
EN 55022, EN 60950-1
Weight
620 g
Can be operated according to
ERC REC 70-03
JABLOTRON ALARMS a.s. hereby declares that the JA-158P is in a
compliance with the relevant Union harmonisation legislation:
Directives No: 2014/53/EU, 2014/35/EU, 2014/30/EU, 2011/65/EU.
The original of the conformity assessment can be found at
www.jablotron.com - Section Downloads.
Note: Although this product does not contain any harmful materials
we suggest you return the product to the dealer or directly
to the producer after use.


