


J.Sikora
–
Initial
and
Initial MAX
Turntable Manual
6
© 2021 Notable Audio Products | www.notableaudio.com
I. General Information
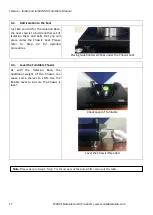
1.
Initial
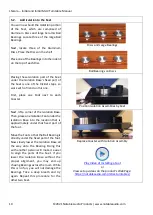
Turntable Weight and Dimensions
Total weight: 28 kg (61.7 lbs.)
Dimensions [W x D x H]: 440 x 330 x 160 mm
(17.4” x 13” x 6.3”
)
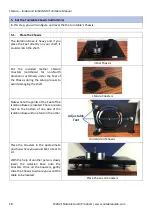
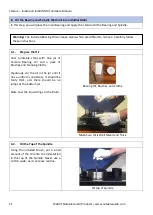
Platter
Motor
Optional
Clamp
Armboard
Belts
Turntable Chassis
Foot and Disc
Speed
Controller
Optional
Glass Mat
Arm Tower
Tonearm
Not Included


