


22
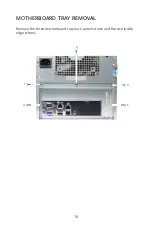
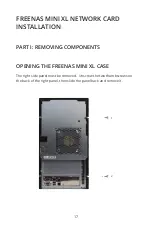
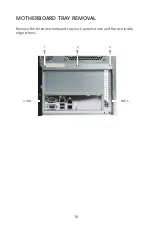
MOTHERBOARD TRAY INSTALLATION
Slide the motherboard tray gently back into place. Replace the three
motherboard tray back panel screws and the two inside edge screws.
CLOSING THE FREENAS MINI XL CASE
The removed side panel has metal tabs on the inside that hook onto the
chassis. Align the metal tabs with the chassis and guide the panel towards
the front of the system until it slides into place.
Placing the Mini XL on its side with a towel underneath makes it easier to
engage the metal tabs on the sides. Do not force the panel into place as
this may bend the metal tabs. If the cover does not slide on easily, remove
it and try again.
Replace the two thumbscrews to hold the panel in place.
4
5
2
1
3
Содержание FreeNAS Mini
Страница 4: ...2 FREENAS MINI Motherboard Tray PCIe Slot PARTS LOCATION FREENAS MINI XL Motherboard Tray PCIe Slot...
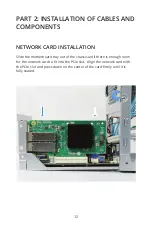
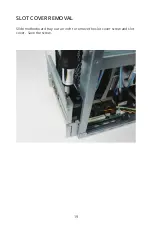
Страница 15: ...13 Use the slot cover screw removed earlier to attach the new network card to the back panel...
Страница 23: ...21 Use the slot cover screw removed earlier to attach the new network card to the back panel...


