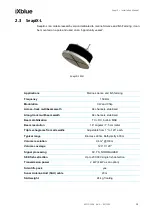


SeapiX
–
Installation Manual
SSD-C-1306 Ed. A
–
01/2020
29
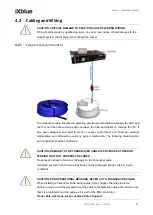
Before plugging, please
follow the cable manufacturer’s recommendations.
1.
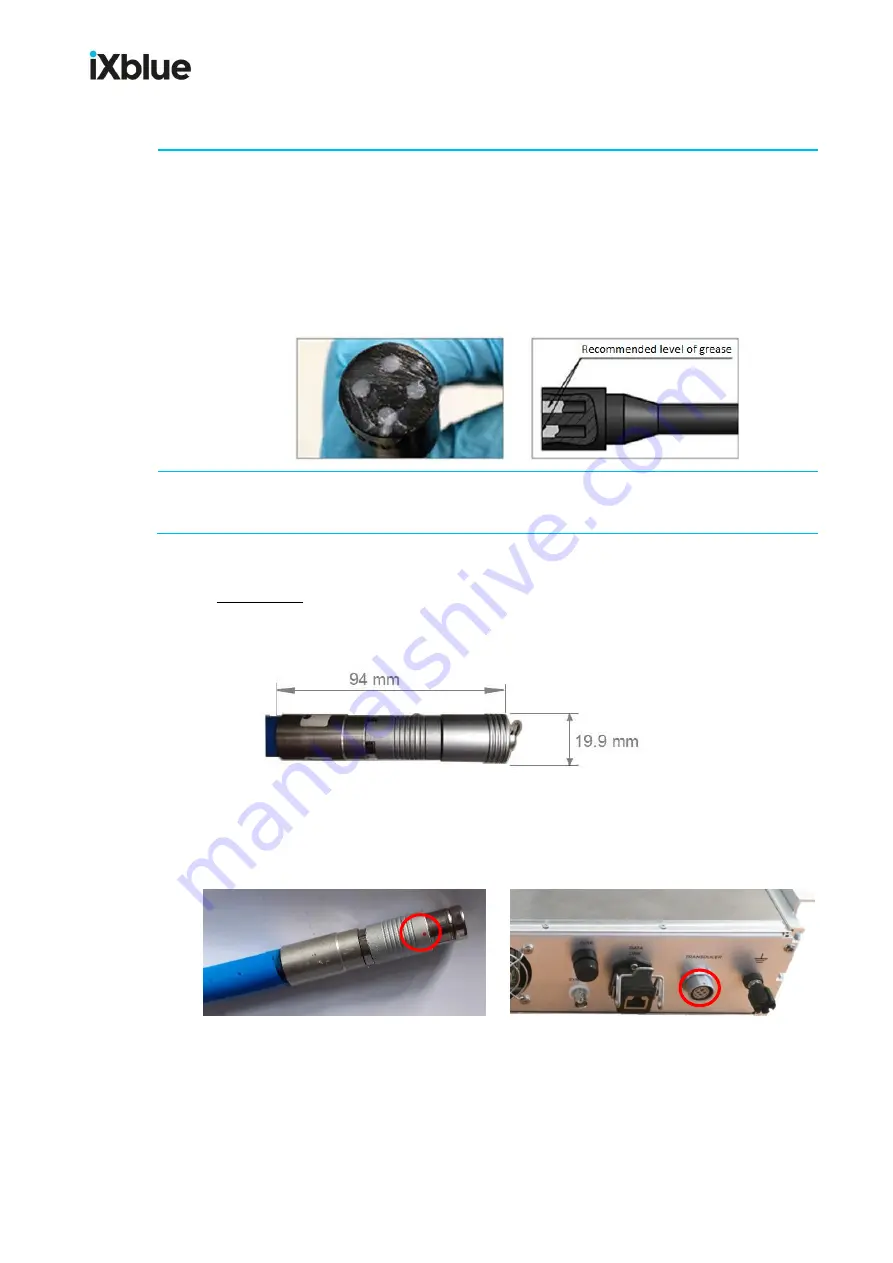
Grease the connectors with Molykote 44 Medium (or Novagard Versilube G624) before
mating.
A layer of grease corresponding to approximately 1/3 of the socket depth should be
applied to the female connector.
All sockets should be completely sealed, and a transparent layer of grease left visible on
the connector face.
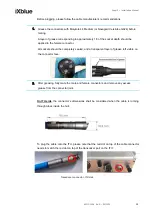
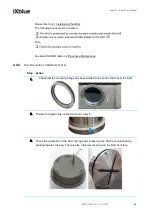
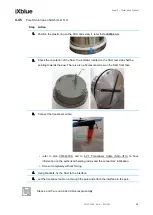
2.
After greasing, fully mate the male and female connectors and remove any excess
grease from the connector joint.
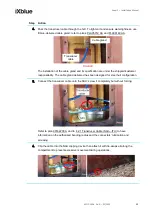
On ITU side
, the conne
ctor’s dimensions shall be considered when the cable is running
through tubes inside the hull.
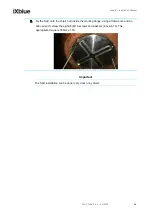
To plug the cable onto the ITU, please note that the red dot on top of the cable connector
needs to match the red dot on top of the transducer port on the ITU:
Transducer connector, ITU side


