6
CHAPTER 1. INSTALLATION
1.2 Disk installation
It is possible to connect up to six SATA or SATA 2 disks (disk types can be combined) to IPCorder, four
internal and two external.
Each of internal disks must be inserted into one of the llers at the front of the device. Use this
procedure for installation a disk into the ller:
1. remove the ller
2. remove the cover
3. insert the disk and secure it with screws
4. insert the ller back into the device
External disks are to be connected to IPCorder using eSATA interface. Proper connectors marked
eSATA 1 and eSATA 2 are on the back side of the device. External disks must have its own power
source.
Do not remove already installed disks without rst correctly removing them from the system (see Section
1.4).
1.3 IPCorder connection
1.3.1 Connecting
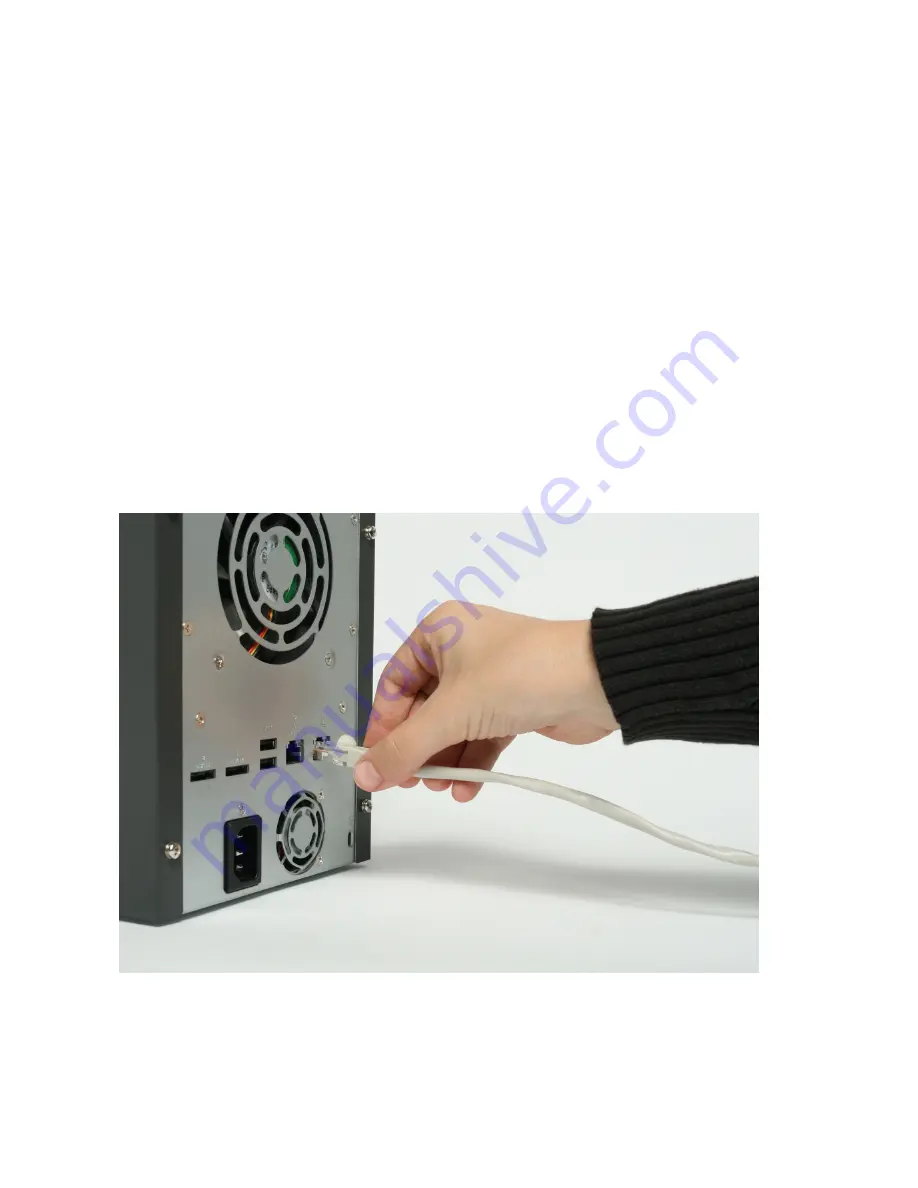
Connect the IPCorder to the computer network (use a net connector marked 1, the other is unused). The
RJ-45 socket is located between the power socket and the reset switch (Figure 1.2).
Figure 1.2: Connecting the computer network
Connect the IPCorder to the mains power. The power supply socket is located at the base of the rear
panel (Figure 1.2). If the cable is connected correctly the LED marked POWER will light and the device
will start up.
Содержание KNR-412
Страница 1: ...IPCorder KNR 412 Installation manual September 28 2008...
Страница 2: ...2...
Страница 4: ...4 CONTENTS...
Страница 10: ...10 CHAPTER 2 LED INDICATORS AND BUTTONS OF THE DEVICE...
Страница 12: ...12 CHAPTER 3 UPGRADING THE FIRMWARE Figure 3 1 Firmware upgrade...
Страница 14: ...14 CHAPTER 4 FACTORY RESET...
Страница 16: ...16 CHAPTER 5 TROUBLESHOOTING IN RESCUE MODE...
Страница 18: ...18 CHAPTER 6 EXCHANGING DISC...


