background image

15

2. Adjusting video settings   

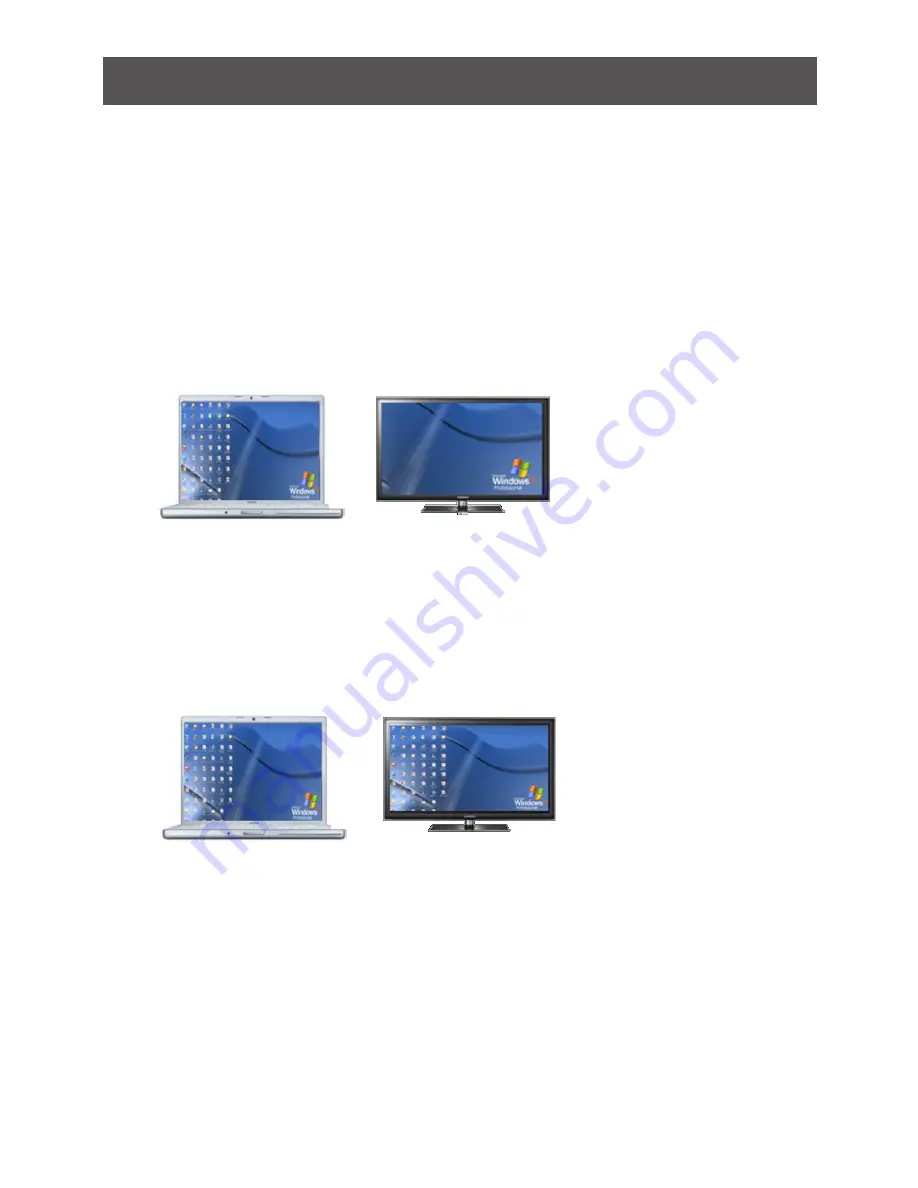
A. Selecting Extended mode or Mirror mode   

You can choose to set the USB to VGA Adapter’s video output signal to Extend mode or 

Mirror mode. The default setting is Extend mode.

Extend mode 

extends your desktop space across multiple monitors, so that you can 

display different information on each monitor connected to your computer. This provides 
a number of advantages to increase productivity, including the ability to:

• 

View large spreadsheets across two screens 

• 

Multitask more effectively without overlapping windows 

• 

Compare two documents simultaneously across two screens 

• 

View videos/TV on one screen and reviews on the other  

Mirror mode

 duplicates the image on your computer screen on the external monitor(s) 

connected to USB to VGA Adapter. This mode is useful if, for example, you want to view 
information on a larger, external desktop monitor instead of a smaller, built-in computer 
screen. In Mirror mode, the Adapter automatically adjusts the external monitor’s resolu-
tion, color quality, and refresh rate settings to provide the best overall image quality 
based on your computer’s settings.

Содержание GUWAVKIT4

Страница 1: ...www iogear com User Manual Wireless 1080p Computer to HD Display Kit GUWAVKIT4 PART NO M1227 a...

Страница 2: ......

Страница 3: ...tions 5 Overview 6 Prepare to Software Installation Windows 6 Software Installation Windows 7 Hardware Installation 10 Using the IOGEAR Wireless Software Windows 12 Troubleshooting and Support 21 Fede...

Страница 4: ...r to HD Display Kit allows users to watch and share any notebook or PC content such as pictures movies and presentations and any Internet content on their HDTV projector or monitor without cable limit...

Страница 5: ...kHz 16 bit Stereo via audio jack or HD connector Whip Antenna 5VDC Power Adapter LED power and Tri color signal strength indicators PC Adapter USB Type A male Internal transmission antenna Standards...

Страница 6: ...HIS SOFTWARE IN YOUR SYSTEM THIS WILL CAUSE THE IOGEAR WIRELESS SOFTWARE NOT TO WORK PROPERLY 2 Go to Control Panel Programs and Features and look through your programs to ensure you do not see any UW...

Страница 7: ...gged from the PC Software Installation 1 Insert the installation CD in the PC CD ROM drive 2 The installation CD License Agreement menu is displayed below 3 Check the I agree to the license terms and...

Страница 8: ...is already installed on your PC 2 An Operation Progress screen will appear during the Uninstall process 3 Once the Uninstall process is completed an Operation Successful screen will appear Click on Re...

Страница 9: ...wireless software is already installed on your PC 2 An Operation Progress screen will appear during the Repair process 3 Once the Repair process is completed an Operation Completed screen will appear...

Страница 10: ...e to the TV Projector or external monitor Hardware Installation 1 Connect the Wireless USB PC Adapter 1 Connect the Wireless USB PC Adapter to a high speed PC USB port 2 The system will automatically...

Страница 11: ...ight will either glow green good signal orange fair signal or red weak signal depending how far away the PC PC Adapter is from the Receiver Base For best video image results please position the PC PC...

Страница 12: ...wing software to manage the IOGEAR Wireless Software to adjust settings to suit your needs 1 UWB Connection Manager 2 Adjusting Video Settings 3 Adjusting Audio Settings You can also refer to this sec...

Страница 13: ...e UWB Connection Manager right click on the connected GUWAVKIT4 and unselect Set as Default Once the device is no longer the default device you can then either a double click on the device or b right...

Страница 14: ...on Automatic If you manually select a channel that is being used by another GUWAVKIT4 in the vicinity the channel bandwidth will be shared by both devices To maximize performance there are eight chan...

Страница 15: ...readsheets across two screens Multitask more effectively without overlapping windows Compare two documents simultaneously across two screens View videos TV on one screen and reviews on the other Mirro...

Страница 16: ...XP Vista Extend to Specify the extension direction if you are using multiple monitors and Extended mode This setting should match the physical orientation of the connected monitors relative to each ot...

Страница 17: ...itor Check the options Use this device as the primary monitor in Windows Vista This is my main monitor Click OK to save the new settings 3 Configuring the Display in Windows 7 1 In windows 7 there is...

Страница 18: ...s Select the appropriate display name in the Display scroll down options You should select the name of the TV or Monitor or Projector connected to your Receiver Base Select the desired value in any of...

Страница 19: ...need to change the default settings To change the default settings you may need to manually adjust the audio settings in Windows as described in this section For example if you want to use the PC s a...

Страница 20: ...lume Properties In the Sounds and Audio Devices Properties screen select the Audio tab In the Sound Playback Default Device drop down box select the USB PnP Sound Device Click OK to save the new setti...

Страница 21: ...ke sure that the external monitor is securely connected to the Receiver Base Check the external monitor settings Refer also to the computer user s manual and to the external monitor s documentation No...

Страница 22: ...at www IOGEAR com Ensure the PC is within 30ft of the TV Monitor and the Wireless USB PC Adapter has direct line of site to the Receiver Base Double click on the UWB Connection Manager icon in the sys...

Страница 23: ...AVKIT4 is set as the primary display To enable Mirror mode set the computer s built in display as the primary display in the Windows Display Properties dialog box Scalable Link Interface SLI mode is n...

Страница 24: ...GUWAVKIT4 and then restart your media player application The audio port on the IOGEAR GUWAVKIT4 may become disabled To enable the port follow the instructions in Configuring audio ports on page 19 Th...

Страница 25: ...he USB adaptor to the computer USB device does not work Make sure the GUWAVKIT4 is connected to your computer and the computer is docked indicator light on the Receiver Base is green Check that the ca...

Страница 26: ...provide reasonable protection against harmful interference in a residential setting This product generates uses and can radiate radio frequency energy and if not installed and used as directed it may...

Страница 27: ...AR USA Phone 949 453 8782 19641 Da Vinci Foothill Ranch CA92610 www iogear com support iogear com Contact Limited Warranty 2013 IOGEAR Part No M1227 IOGEAR the IOGEAR logo are trademarks or registered...

Страница 28: ...2013 IOGEAR...

Отзывы: