5
Product Introduction
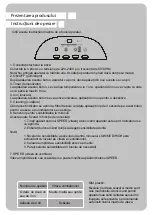
4. Ion
Press the “Ion” button to turn on and off the ionization mode.
5. Cleaning
The filter indicator will illuminate when it is time to clean the filter. After the filter has
been cleaned, press and hold the filter button for three seconds for the light to go away.
6. Odor Sensitivity Sensor
You can adjust the odor sensitivity sensor according to your personal needs.
1. When the unit is in standby state, press and hold the “Speed” button. The “Speed”
indicator will illuminate.
2. Release the button after reaching the required sensitivity.
Note:
1. The “Big, Medium, and Small” settings of the odor sensitivity correspond with the
“High, Medium, and Low” settings of the speed.
2. The default state of the unit is “Medium”.
3. Consumers can adjust the sensitivity according to their personal needs.
7. AUTO
Press the “Auto” button for the unit to automatically set the speed according to the rooms
air conditions.
8. Air Quality Indicator
The “Odor Sensor” detects the pollutants in the air and reports the results by illuminating
different colors
Blue light - GOOD Orange light - NORMAL Red light - BAD
Note:
When the unit is first turned on it will take 3 minutes for any odor results to appear.
These test results are for reference only.
Tips:
The machine uses an odor sensor, which is sensitive to hydrogen, carbon monoxide,
methane, odor, ethyl alcohol, etc. but insensitive to formaldehyde gas, etc. The device
does not detect dust, pollen, and other particles. It does, however, purify the above
pollutants.
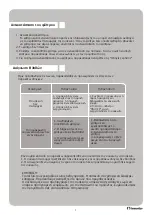
9. SPEED
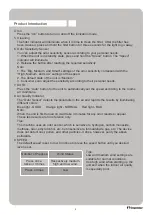
The default speed is set to low. Continue to press the speed button until you desired
level is set.
Number of Presses
Press once,
twice or 3 times
Press 4 times
Wind Status
Respectively medium,
high and low wind.
Low
Tips:
Low and medium wind settings are
suitable for normal conditions.
Use high wind when starting up the
unit and when the indoor air quality
is especially poor.

