and the antenna switch box. This type of
device- a balun - is commonty avail
able at local television or hi-fi stores.
1.
Disconnect the antenna cable from
your television. Screw the cable into
the end of the impedance
matching transformer
(6).
Connect
the wires from the transformer to
the ANTENNA connections (2) on
the antenna switch box
( 1 ).
2. Connect the lead-in wires from
the antenna switch box to the VHF
antenna terminals
(3)
on the tele
vision.
3.
Unwrap the computer signal cable
(4)
from its keeper on the back of
the console. Insert the end of this
cable into the antenna switch
box at the receptacle labelled
Getting ready to use the computer.
COMPUTER (5).
Once the antenna switch box is
attached, proceed with the remainder of
the assembly as follows,
4.
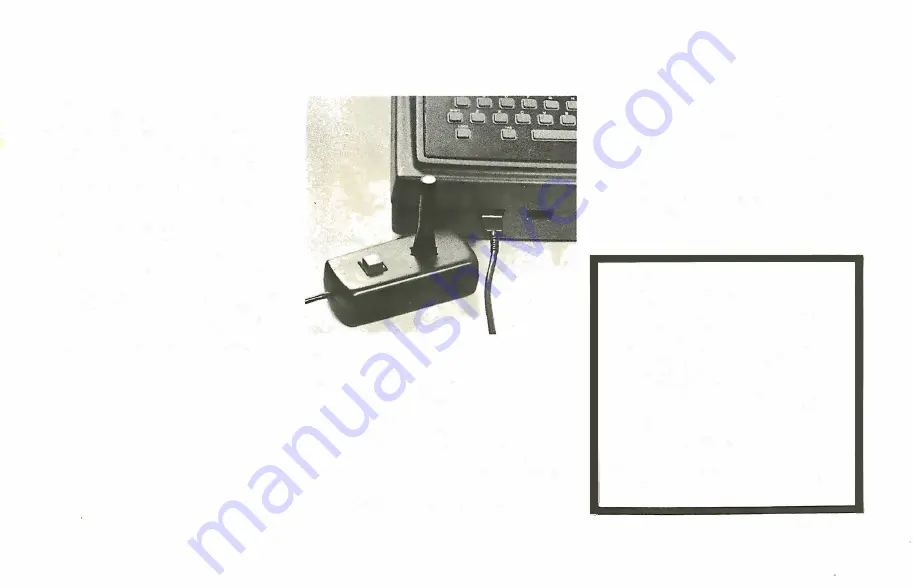
Install the joysticks by plugging
them into the front of the computer
console.
Be
certain that you match
the mating connectors correctly
and that the connectors are firmly
seated.
5. Plug the AC adaptor into a
11
0 I
120-volt outlet.
6.
Turn the television channel selector
to channel
3,
and move the switch
on the antenna switch box to the
COMPUTER position. (In order to
return to conventional television
reception, just move the switch
back to the
TV
position.)
7.
Turn the computer console on by
pressing the ON-OFF switch .
Notice
FCC regulations prohibit,
1. Using any more flat twin lead-in wire
between the antenna switch box
and the television than is provided
with the unit
2.
Connecting flat twin lead-in wire
between the
TV
connection on the
antenna switch box and any tele
vision antenna or cable
TV
outlet
3.
Attaching loose wires to your tele
vision antenna while the Interact
computer is operating
4. Connecting the computer to more
than one television at a time
Any of these actions could result in inter
ference with other television sets in the
area.
5


