


3
4
Confirm each updated
battery charges with new
charger
Connect updated battery to new charger.
Observe if LEDs begin flashing.
•
Flashing LED lights will indicate charging has begun.
The battery firmware update was successful.
Proceed with step 5.
•
If LED lights do not flash, the firmware update
was not successful. Repeat step 2.
Note: A partially depleted battery is required to confirm
charging. Fully charged batteries will not charge further.
5
Update firmware for all
remaining batteries
Install two additional batteries into F8+.
6
Power on UAV and CTR
Once a connection is established between the F8+ and
CTR, battery firmware will begin updating automatically.
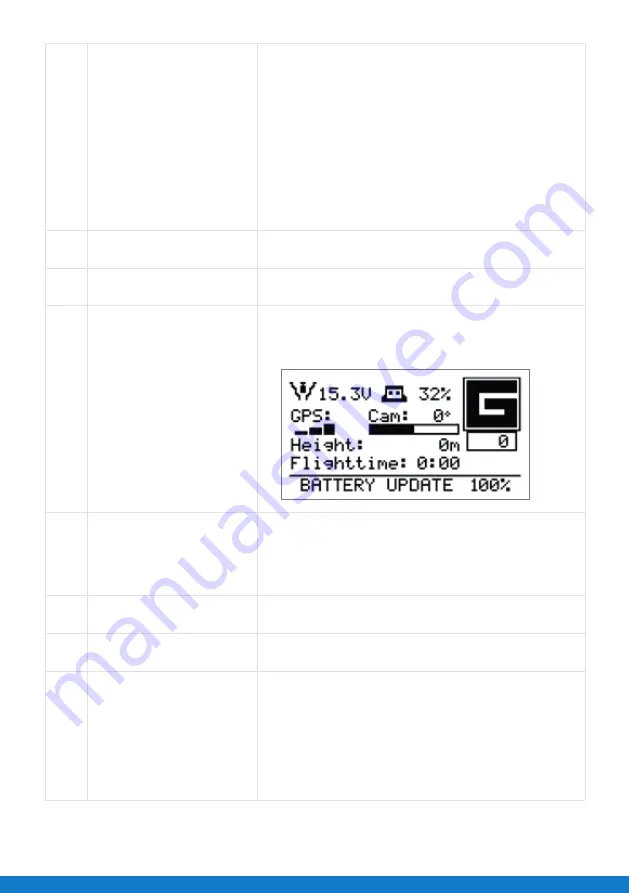
7
Monitor battery firmware
update
View UAV battery update progress on CTR status menu.
Each battery update status will reach 100% when
complete (<1 minute).
8
Continue updating one battery
at a time with UAV powered on
Remove one updated battery, and insert non-updated
battery into free slot (hot-swap).
Confirm each updated battery charges with new charger
as shown in step 4.
9
Mark updated batteries with
blue sticker
Apply enclosed blue circle sticker to each updated
battery as shown in step 3.
10
Update remaining batteries
Repeat steps 8 and 9 for each battery, including battery
installed in CTR.
11
Deploy new charger for all
future charging
•
Use new charger for all future battery charging.
•
Old chargers are no longer compatible with updated
batteries. Discard old chargers according to local laws.
•
Visit Intel Download Center for more information.
•
If battery does not properly function after update, contact
Intel Customer Support. Resource link on last page.
--- End of Document ---


