- 17 -
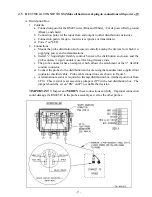
Figure 13
Figure 12
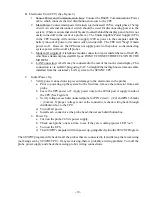
- Data Storage availability
with the probe serial number, is always the current set of measured data for that probe. The bottom line
of the data pair, whose button shows UPDATE or HOLD at the left side, can be user selected and placed
on ‘HOLD’ to capture the measurements of a given moment (or set of system conditions.) This is a most
unique capability of the
RheoVac SENTRY
System, allowing the engineer/operator to capture a “before”
set of measured parameters and then evaluate the monitored parameters “after” a known set of operating
conditions have changed. For example, when one of two exhausters is taken down for maintenance;
capture data by placing the second data line on HOLD before the exhauster removal. The live data after
removing the exhauster (the top line) can be compared to the held data to quantify the change.
Disk Info
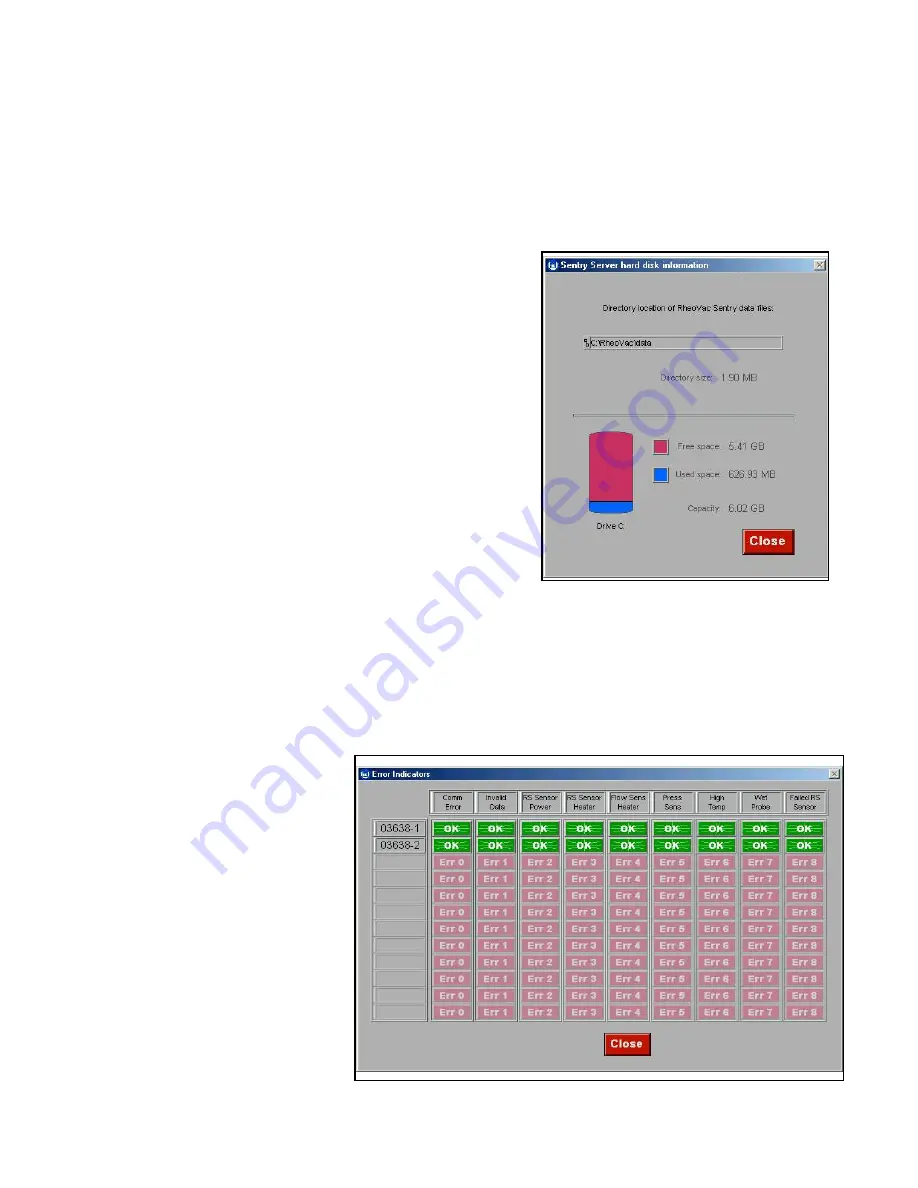
Selection of the ‘Disk Info’ button on the main screen
brings up the screen shown in Figure 12. This screen
shows how much space is used by the data stored in the
CPU, and the amount of free space available for storing
additional data on the system’s hard drive.
Generally, it will not be necessary to remove stored system
data to archive files in order to make room on the hard
drive. Viewing this information aids the plant in
determining a suitable archive schedule.
Recal/Repair
This selection on the main
RheoVac SENTRY
screen is
mostly used by Intek factory service representatives.
Errors
The ‘Errors’ button on the main screen will flash if there are current, unresolved errors detected by the
system. Pressing this button brings up two error screens so that the nature of the error can be seen:
The detected error is identified
by a red light in the display
panel shown in Figure 13. The
light will indicate the nature of
the error and the probe which is
affected. The table of error
messages, shown in Figure 14,
provides a historical log of all
error messages detected, with
the latest error shown at the
bottom of the list. This log
provides the operator a clear
description of the error noted
and the date and time of the
error for resolution. See Section
on
Trouble Shooting Guide
.
Содержание RheoVac
Страница 10: ... 8 Probe Installation Detail ...
Страница 13: ... 11 Figure 6 CPU Wiring Part 1 ...
Страница 14: ... 12 Figure 7 CPU Wiring Part 2 ...

