Integra DTM-40.4 Скачать руководство пользователя страница 27

En-

27

Listening to the Radio

—Continued

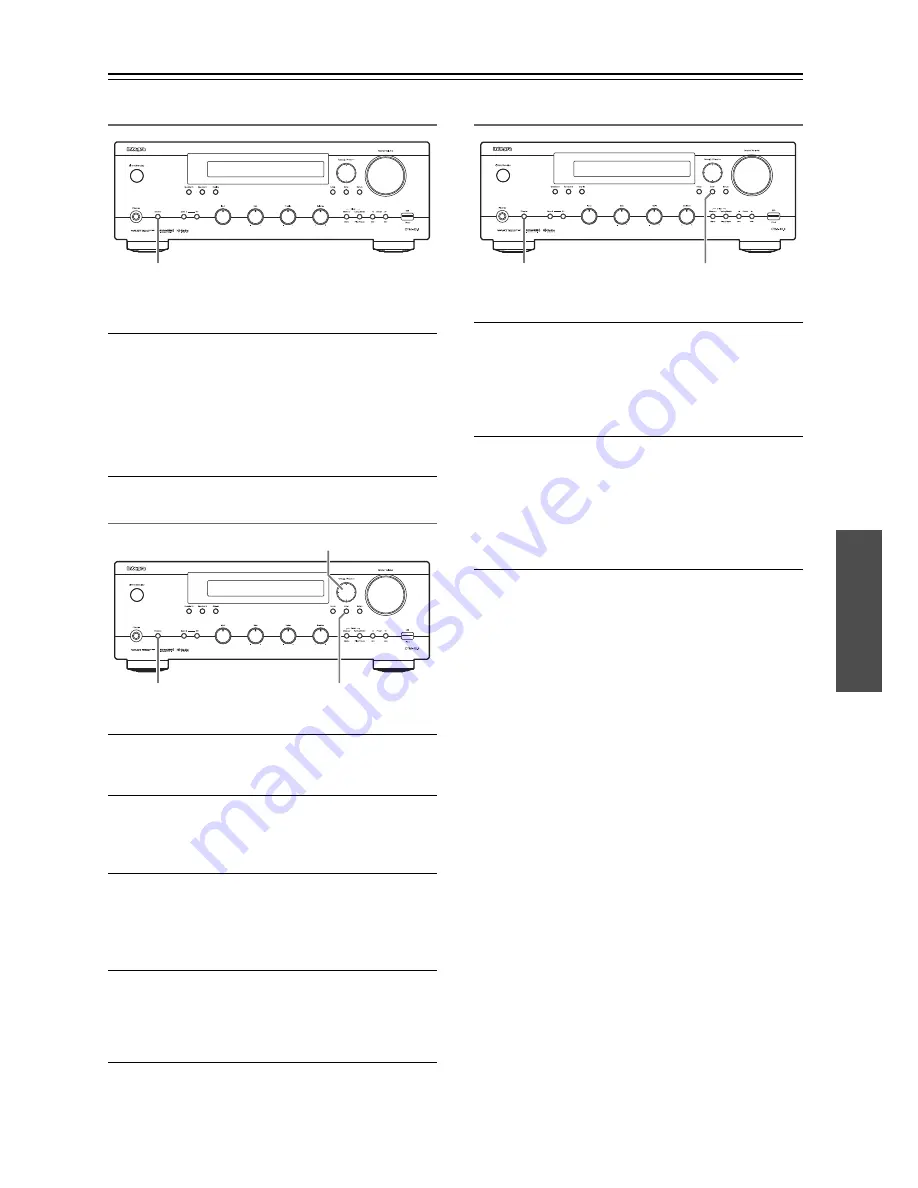
Displaying Radio Text (RT)

When tuned to an RDS station that’s broadcasting text 
information, the text can be displayed.

Press the [RT/PTY/TP] button once.

The RT information scrolls across the display.

Notes:

• The message “Waiting” may appear while the receiver 

waits for the RT information.

• If the message “No Text Data” appears on the display, 

no RT information is available.

Finding Stations by Type (PTY)

You can search for radio stations by type.

1

Press the [RT/PTY/TP] button twice.

The current program type appears on the display.

2

Use the Preset [

]/[

] buttons to select the 

type of program you want.

See the table on page 26.

3

To start the search, press [Enter].

The receiver searches until it finds a station of the 
type you specified, at which point it stops briefly 
before continuing with the search.

4

When a station you want to listen to is 
found, press [Enter].

If no stations are found, the message “Not Found” 
appears.

Listening to Traffic News (TP)

You can search for stations that broadcast traffic news.

1

Press the [RT/PTY/TP] button three times.

If the current radio station is broadcasting TP 
(Traffic Program), “[TP]” will appear on the display. 
If “TP” without square brackets appears, this means 
that the station is not broadcasting TP.

2

To locate a station that is broadcasting TP, 
press [Enter].

The receiver searches until it finds a station that’s 
broadcasting TP.

If no stations are found, the message “Not Found” 
appears.

RT/PTY/TP

PRESET 

C

/

U

RT/PTY/TP

ENTER

ENTER

RT/PTY/TP

Содержание DTM-40.4

Страница 1: ...Network Stereo Receiver DTM 40 4 Instruction Manual...

Страница 2: ...oper adjustment of other controls may result in damage and will often require extensive work by a qualified technician to restore the apparatus to its normal operation E If the apparatus has been drop...

Страница 3: ...dealer from whom you purchased this unit 8 Handling Notes If you need to transport this unit use the original packaging to pack it how it was when you originally bought it Do not leave rubber or plas...

Страница 4: ...adphone Output 2 1 ch Pre outs 1 iPhone iPod iPod classic iPod nano iPod shuffle and iPod touch are trademarks of Apple Inc registered in the U S and other countries Made for iPod and Made for iPhone...

Страница 5: ...to the Radio 23 Listening to AM FM Stations 23 Using RDS Oceanian model 26 Using the USB Network Device 28 Connecting the iPod iPhone Directly to the USB Port 28 Playing the USB Device 29 Listening t...

Страница 6: ...sn t work reliably try replacing the batteries Don t mix new and old batteries or different types of batteries If you intend not to use the remote controller for a long time remove the batteries to pr...

Страница 7: ...ol 19 i Phones jack 19 j Dimmer button North American model 20 k Zone 2 Off buttons 45 l Input selector 19 22 23 27 45 m Bass control 20 n Treble control 20 o Balance control 20 p Memory Menu button 2...

Страница 8: ...jacks 15 s VCR DVR IN OUT jacks 15 17 t BD DVD IN jacks 15 u SPEAKERS A terminals 10 v SPEAKERS B terminals 10 See Connecting the Receiver for connection pages 10 to 17 Terminal for Interface Control...

Страница 9: ...t s r q p n o k Using the Remote Mode buttons You can use this remote controller s Zone 2 capability to control a Zone 2 device To control a Zone 2 device start by pressing the Remote Mode Zone2 butto...

Страница 10: ...Pay close attention to speaker wiring polarity In other words connect positive terminals only to positive terminals and negative terminals only to negative terminals If you get them the wrong way aro...

Страница 11: ...ou re using an external amplifier connect the PRE OUT SUBWOOFER to the amp s input If you want to use a more powerful power amplifier and use the receiver as a preamp connect the receiver s PRE OUT L...

Страница 12: ...rrow buttons 5 Press the Setup button on the remote controller to complete the setting If you want to change the impedance setting back to the factory default setting of 6 follow the same procedure de...

Страница 13: ...ker cables and power cords Refer to Hardware Setup on page 42 for more information on switching the frequency setup Tips If you cannot achieve good reception with the supplied indoor FM antenna try a...

Страница 14: ...omponent The receiver s optical digital jacks have shutter type covers that open when an optical plug is inserted and close when it s removed Push plugs in all the way Caution To prevent shutter damag...

Страница 15: ...you listen to and record audio from the external components while you are in Zone 2 You can listen to and record audio from the external components in the main room you can listen to the audio in Zone...

Страница 16: ...se the receiver s remote controller to control your other capable Integra Onkyo components pointing the remote controller at the receiver s remote control sensor instead of the component Notes Use onl...

Страница 17: ...corded as noise so don t attempt analog recording of DTS CDs or LDs 1 Connect the supplied power cord to the receiver s AC INLET 2 Plug the power cord into an AC wall outlet Notes Before connecting th...

Страница 18: ...sure that Remote Mode is set correctly page 9 For the TV Tape VCR DVR and Game buttons the input display name can be changed as shown below When the input display name has been changed for one of the...

Страница 19: ...e the output of the receiver Press the remote controller s Muting button The receiver is muted To unmute the receiver press the Muting button again Note The Mute function will be cancelled if the remo...

Страница 20: ...e Sleep button Note that if you press the Sleep button while the sleep time is being displayed you ll shorten the sleep time by 10 minutes This section explains the following functions that can be use...

Страница 21: ...on is on the tone controls are bypassed so you can enjoy pure sound The DIRECT indicator lights up You can configure whether the DIRECT function is applied or not for input sources individually The Mu...

Страница 22: ...m two separate sources This is possible because the audio source is recorded when an audio only input source such as Tape Tuner or CD is selected the video source can be recorded simultaneously when a...

Страница 23: ...tops when a station is found Manual Tuning The frequency stops changing when you release the button Press the buttons repeatedly to change the frequency one step at a time The North American model cha...

Страница 24: ...s on the remote controller the remote controller s CH Album buttons or the receiver s Preset buttons Deleting Presets 1 Select the preset that you want to delete See the previous section 2 While holdi...

Страница 25: ...e Shift BS OK character string use the buttons to select Shift and press the ENTER button to make the other character string pattern appear Shift 1 Switches the displayed character Left Right Select t...

Страница 26: ...ffic information page 27 Notes In some cases the text characters displayed on the receiver may not be identical to those broadcast by the radio station Also unexpected characters may be displayed when...

Страница 27: ...ge 26 3 To start the search press Enter The receiver searches until it finds a station of the type you specified at which point it stops briefly before continuing with the search 4 When a station you...

Страница 28: ...op or pause playback press or respectively To select the next song press To select the beginning of the current song press To select the previous song press twice To fast forward the current song pres...

Страница 29: ...er s USB port we recommend that you use its AC adapter to power it The receiver supports USB MP3 players that support the USB Mass Storage Class standard which allows USB devices to be connected to co...

Страница 30: ...page 42 1 Press NET button The NET appears on the display and the NET indicator lights If it flashes verify that the Ethernet cable is firmly connected to the receiver 2 Use to select vTuner Internet...

Страница 31: ...ons as follows Menu Hold down to move to the top menu Start playback Pause playback Select the beginning of the current song hold down to fast reverse Select the next song hold down to fast forward Th...

Страница 32: ...st and then click Allow 5 Click OK to close the dialog box This completes the Windows Media Player 11 configuration You can now play the music files in your Windows Media Player 11 library through the...

Страница 33: ...rom Other Libraries menu on Windows Media Player 12 5 Select the receiver from right click menu Play to window appears and playback on the product starts Operations during remote playback can be made...

Страница 34: ...ceiver your broadband Internet connection must be working and able to access the Web Consult your ISP if you have any problems with your Internet connection The receiver uses DHCP to configure its net...

Страница 35: ...aac m4a mp4 3gp 3g2 AAC M4A MP4 3GP or 3G2 AAC stands for MPEG 2 MPEG 4 Audio Sampling rates of 8 kHz 11 025 kHz 12 kHz 16 kHz 22 05 kHz 24 kHz 32 kHz 44 1 kHz 48 kHz 64 kHz 88 2 kHz 96 kHz and bitra...

Страница 36: ...ollowing messages are displayed on the receiver s display check the connection to your iPod iPhone PORT Connecting The receiver is checking the connection with the dock PORT Not Support The receiver d...

Страница 37: ...that came with the receiver to control other iPod iPhone functions The available functionality depends on the receiver iPod iPhone Alarm If you use the Alarm function on your iPod iPhone to start play...

Страница 38: ...you can press Mode to switch between the following modes Standard mode Nothing is displayed on the receiver s display and you navigate and select your contents by using the display of your iPod iPhone...

Страница 39: ...If you re using a Universal Port device this operates as the Setup button Note For details on controlling your iPod iPhone see Controlling Your iPod iPhone on page 37 9 8 7 1 2 3 6 5 4 Use the Remote...

Страница 40: ...nput level can be adjusted from 12 dB to 12 dB in 1 dB steps 1 Turn on the power 2 Press the Setup button on the remote controller The setup menu appears in the display 3 Use the arrow buttons to sele...

Страница 41: ...ep through the following names Blu ray DVD HD DVD VCR DVR Tivo CableSTB SAT STB PS3 Wii Xbox PC TV CD TAPE iPod Name Edit You can edit the name of the radio preset if an FM or AM preset station is bei...

Страница 42: ...ked iPod iPhone model is not supported When the UP A1 Charge Mode setting is set to On or to Auto with your iPod iPhone recharging the SLEEP indicator is dimly lit in standby mode In such conditions t...

Страница 43: ...es control over the network Enable Disable Default setting Note When set to Enable the NET indicator is dimly lit and the power consumption slightly increases in standby mode Control Port This is the...

Страница 44: ...table cable to connect the receiver s ZONE 2 PRE OUT SUBWOOFER to the input on your powered subwoofer Notes The Zone 2 volume must be set on the Zone 2 amp If you re using a power amp with no volume c...

Страница 45: ...ss the Zone 2 button repeatedly Alternatively press the Zone 2 button followed by an INPUT selector within 8 seconds Zone 2 turns on and the Z2 Zone 2 indicator appears To select the same source as th...

Страница 46: ...lowed by the button Adjusting the Volume of Zone 2 Press the receiver s Zone 2 button and then use the Master Volume control or remote controller s Zone2 button and then use the Volume buttons Muting...

Страница 47: ...TRIGGER OUT B and C Hookup Use a mini plug cable to connect the receiver s 12V TRIGGER OUT A B or C jack to the 12V trigger input on a connected component When several components are turned on simult...

Страница 48: ...ceiver in the main room connect the cable from the connecting block to the IR IN terminal Make the connection as shown below Do not plug any equipment into the power outlet until all the connections a...

Страница 49: ...the receiver Never unplug or turn off the receiver while it is being updated Never plug or unplug an Ethernet cable during the update process Do not attempt to access the receiver from your PC while i...

Страница 50: ...ne USB or servers etc If there is any data in the USB device remove it first Update procedure 1 Connect a USB device to your PC If there is any data in the USB device remove it first 2 Download the fi...

Страница 51: ...priate action Errors during an update via USB Case 3 If an error occurs during the update disconnect then reconnect the AC power cord and try again Case 4 If an error occurs due to a wrong selection o...

Страница 52: ...f the DIRECT is turned on the tone controls have no effect Press the Audio button to turn the function off The DIRECT indicator will go off page 21 There s no picture Make sure that all video connecti...

Страница 53: ...ted the UP A1 Dock to the UP DT1 radio tuner with the tuner s Mode Selector switch set to AUTO you can switch the input source between the UP A1 Dock and the tuner by pressing the Port button repeated...

Страница 54: ...the Universal Port jack 2 Network Control is set to Enable in the Network Setup setting The functions don t work To use you must make an connection and an analog audio connection RCA between the comp...

Страница 55: ...B Tone Control Characteristics 10 dB 50 Hz BASS 10 dB 20 kHz TREBLE Signal to Noise Ratio 106 dB LINE IHF A 80 dB PHONO MM IHF A Speaker Impedance 4 16 Input Sensitivity Output Level and Impedance 1 V...

Страница 56: ...ww integrahometheater com Integra Division of Liegnitzerstrasse 6 82194 Groebenzell GERMANY Tel 49 8142 4401 0 Fax 49 8142 4208 213 http www integra eu Integra Division of 1301 555 Tower No 555 West N...

Отзывы: