30
Using the menus
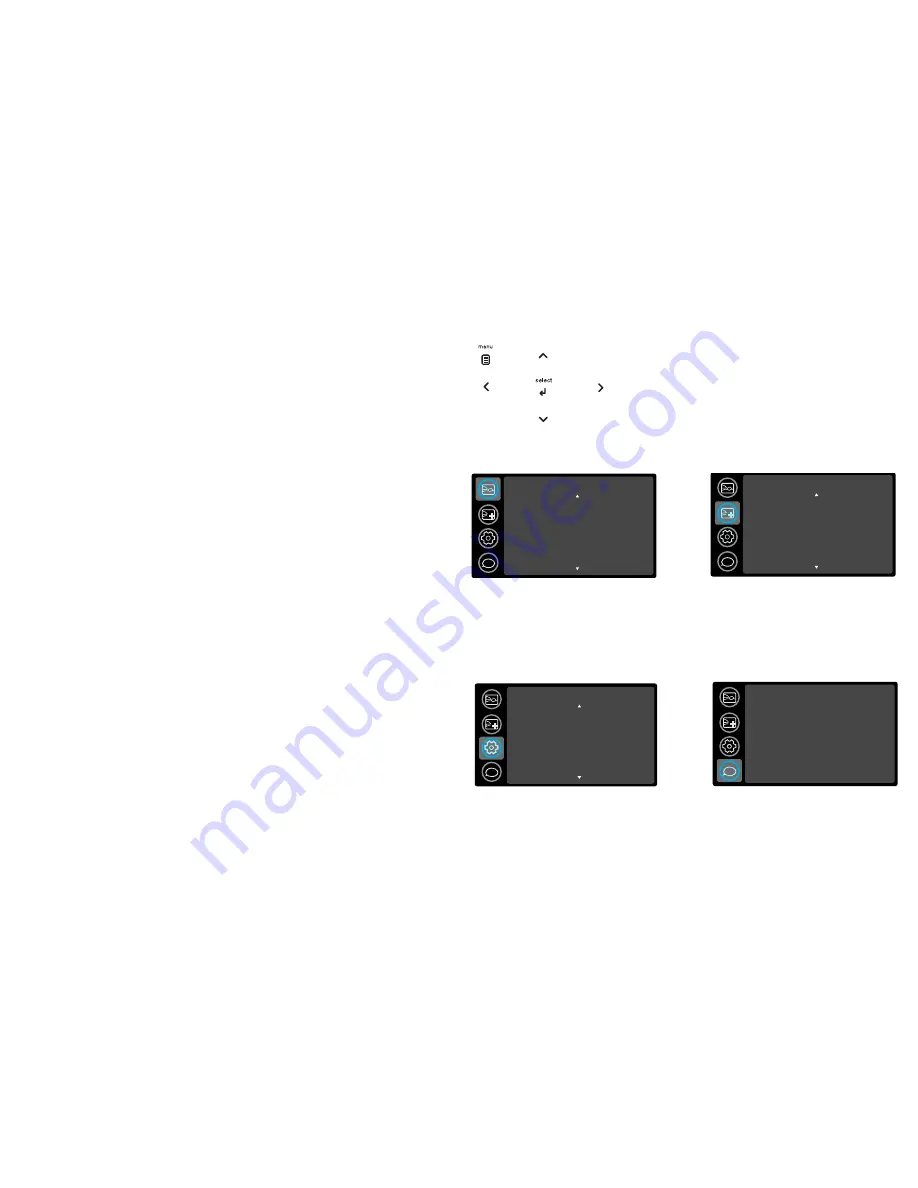
To open the menus, press the
Menu
button on the keypad or remote. (The menus
automatically close after 60 seconds if no buttons are pressed.) Use the arrow
buttons to move up and down to highlight the desired menu, then press the
Select
button.
To change a menu setting, highlight it, press
Select
, then use the up and down arrow
buttons to adjust the value or select an option or turn the feature on or off. Press
Select
to confirm your changes. Use the arrows to navigate to another setting. When
your adjustments are complete, press
Menu
to access a different menu; press the
Menu
button at any time to navigate to the higher-level menu and ultimately close
the menus.
The menus are grouped by usage:
•
The Basic Picture menu provides common image adjustments.
•
The Advanced Picture menu provides more complex image adjustments.
•
The Setup menu provides set-up type adjustments that are not changed often.
•
The Status and Service menu provides information about the projector and
source.
keypad navigation
buttons
Basic Picture
Brightness
Contrast
Sharpness
Color
Tint
Auto Image...
Aspect Ratio
Apply Preset...
50
50
Maximum
50
50
Auto
i
Advanced Picture
BrilliantColor™
White Peaking
Color Temp
Force Wide
Overscan
Phase
Sync Threshold
Tracking
Normal Look
50
Warmest
Off
Off
50
50
50
i
Basic Picture menu
Advanced Picture menu
Setup
Auto Source
Power-up Source
USB Display Source
Composite SCART
Video Standard
Closed Caption
Ceiling Mount
Rear Project
On
VGA1
On
RGB
Auto
Off
Off
Off
i
Status and Service
Source Info
Projector Info
LiteBoard™ Info
Reset Lamp Hours...
Factory Reset...
Service Code...
ii
Setup menu
Status and Service menu
Содержание IN3916
Страница 1: ...010 0752 02...
Страница 43: ...Menu Sample Basic Projector Control menu Menu Sample Admin Network menu 42...


