


2
Network Modules
Signal transmission:
simultaneously send video and
control
signals
through
Ethernet
Compression format:
MPEG-4
Data transmission:
f9.6 KB/s ~ 4 MB/s
Image dimension:
NTSC: 720*480, 704*240, 352*240,
176*120
PAL: 720*576, 704*288, 352*288,
176*144
Max. Frame ratio:
30fps
Network protocol:
TCP/IP, HTTP, ICMP,
UDP, ARP, SNMP
1.5 Notice
1. Re-power the IP dome 10 seconds after it powers off.
2.
To reduce electromagnetic interference that power supply generates, a
magnetic ring filter has already been installed with the power cable,
please don’t remove it.
3. Left-click the image to make it adapt to the size of the displaying
box when viewing the images.
4. Refer to the descriptions above for details on the interface control
when logging in as a common user.
5. Firstly perform Network Settings setting after login. Gateway IP
address should be set as the gateway connected to the super
domes.
6. IP address is not allowed to conflict with other users’ IP address,
otherwise, the images can not be viewed.
7. No need to restart the system after performing network settings.
Chapter II IE Browser Setting
Support IE browser version: Internet Explorer 5.0 or greater;
Must Install
IMMP4Control
.ocx and
DirectX9.0.
2.1 Software Installation
1. Equipment Connection
Connection order: Firstly connect the network cables; then
connect the video (only used for servers)
Note: Check if the connection is tight or not before power-on.
After turning on the power, the system will carry out self-checking
which takes about 30 seconds.
2. Installation Procedures
The installation procedures of V1700N IP Dome Image software
are listed as follows:
(1) Download
OCX
First, user has to log in with the Infinova super ID and password
(For more information, please refer to
Chapter 3.1 Login
). After
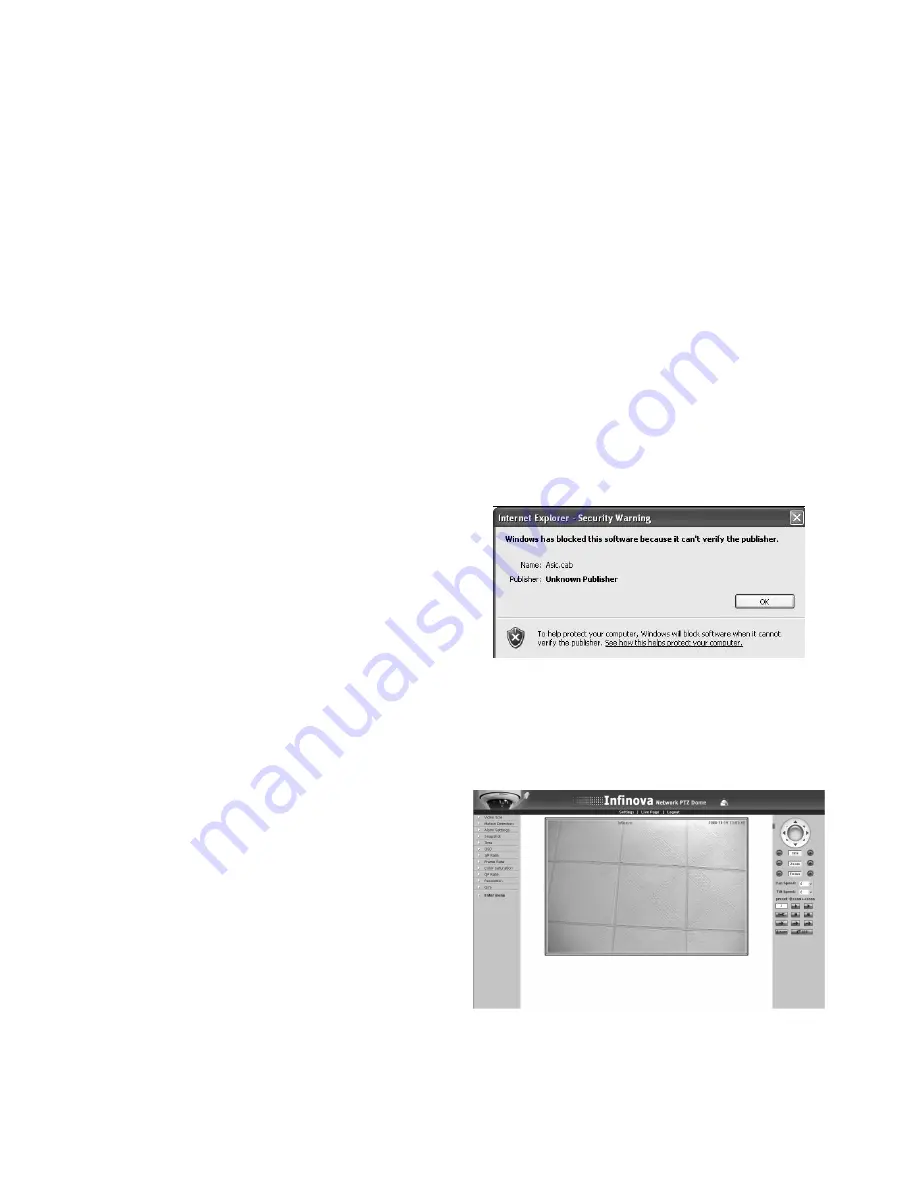
successfully logging in, you will be informed that the browsing
OCX is needed, which is pictured as below:
Figure 2-1 OCX Installation
(2) Install
OCX
According to the installation information, click “OK” button, then
the system will automatically install OCX. Real-time video is
displayed on the screen as follows after installation.
Figure 2-2 Download OCX


