


imc CRONOSflex Getting Started Version 1.8 - 08.01.2014
Getting started
30
2.6 Connecting via LAN in four steps
The most common case is described below: the PC and the device are connected via cable or hub. The
device's IP-address must be set in the PC's address range. Subsequently, the device can be connected
with the PC. If a connection has ever been established previously, the software knows the device's
hardware configuration. In that case, experiment configurations can be prepared without any connection
to the device.
2.6.1 Step 1: Determining the PC's IP-address
Before you start your device configuration, you should find your PC's IP-address (the following screen
shots and texts are related to MS Windows XP).
To open the configuration dialog, use one of the following:
Open the Windows
"Help and Support"
function and search for the term
"TCP/IP Settings"
, open
the first search hit and click on
"Network settings"
Open the Windows Start menu, select
"Run"
and enter the following command in the edit box:
control netconnections
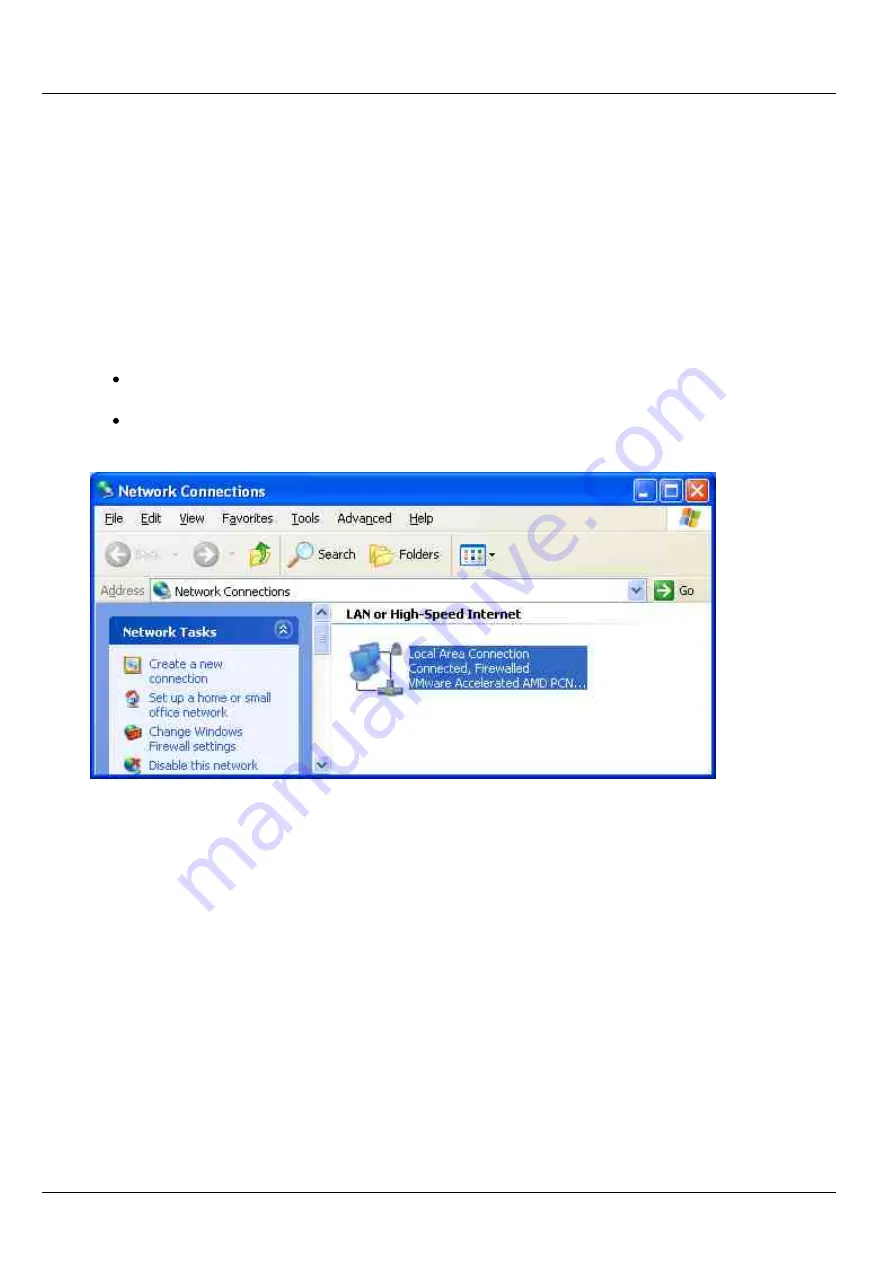
The
"Network Connections"
window appears:
"Network Connections" window -> "Local Area Connection"
Then right-click the mouse over the entry for your
"Local Area Connection"
and then select the item
"Properties"
in the context menu once again.
Содержание CRONOSflex
Страница 45: ...imc CRONOSflex Getting Started Version 1 8 08 01 2014 DSUB 15 Pin configuration 45 3 3 2 Special connector ...
Страница 46: ...imc CRONOSflex Getting Started Version 1 8 08 01 2014 Connection with connectors 46 3 3 3 TEDS connector ...
Страница 49: ...imc CRONOSflex Getting Started Version 1 8 08 01 2014 DSUB 9 plugs 49 3 4 1 6 ARINC Bus DSUB 15 ...


