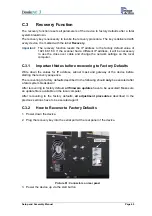
4. When the recovery key is found in the serial port, the recovery sequence is
automatically executed. All viable system data will be restored and necessary repair
steps will be taken without the need of any user interaction.
Important:
Do not switch off the device at any time during the recovery procedure!
Note:
The recovery sequence can last up to
four minutes
. While the recovery
sequence is running,
no message
will be displayed.
5. When the recovery sequence has finished the device will power down automatically.
6. Unplug the recovery key after the device has powered down.
7. Power up the device and launch the scan application in your browser.
The IP address of the device will have the factory default value: 192.168.1.50
8. Change the network parameters to the values which were used before running the
recovery sequence.
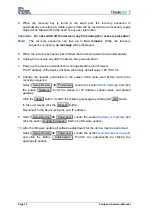
Select Setup Device
Î
Poweruser . Locate the section
Base Settings
and click
the button Network . Enter the values for IP address, subnet mask, and default
gateway.
Click the Apply button. Confirm the following message by clicking the OK button.
In the next screen click the Reboot button.
Reconnect to the device using the new IP address.
9. Select Setup Device
Î
Poweruser . Locate the section
Updates & Uploads
and
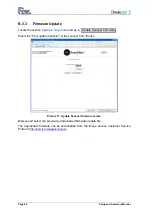
click the button Update Firmware . Perform a firmware update.
10. After the firmware update all software adjustments for the device must be performed.
Select Setup Device
Î
Poweruser . Locate the section
Adjustments & Support
and click the button Adjustments . Perform the adjustments by clicking the
appropriate buttons.
Page 70
Setup and Assembly Manual
Содержание bookeye 3
Страница 1: ...V Ve er rs si io on n R R1 1 Setup and Assembly Manual This device is compliant...
Страница 2: ...File BE3 R1 SetupAndAssembly H doc...
Страница 11: ...Setup and Assembly Manual Page 11...
Страница 79: ...Notes Setup and Assembly Manual Page 79...

