30
ZK840 Grading Application User Instructions
Supervisor menu
2.
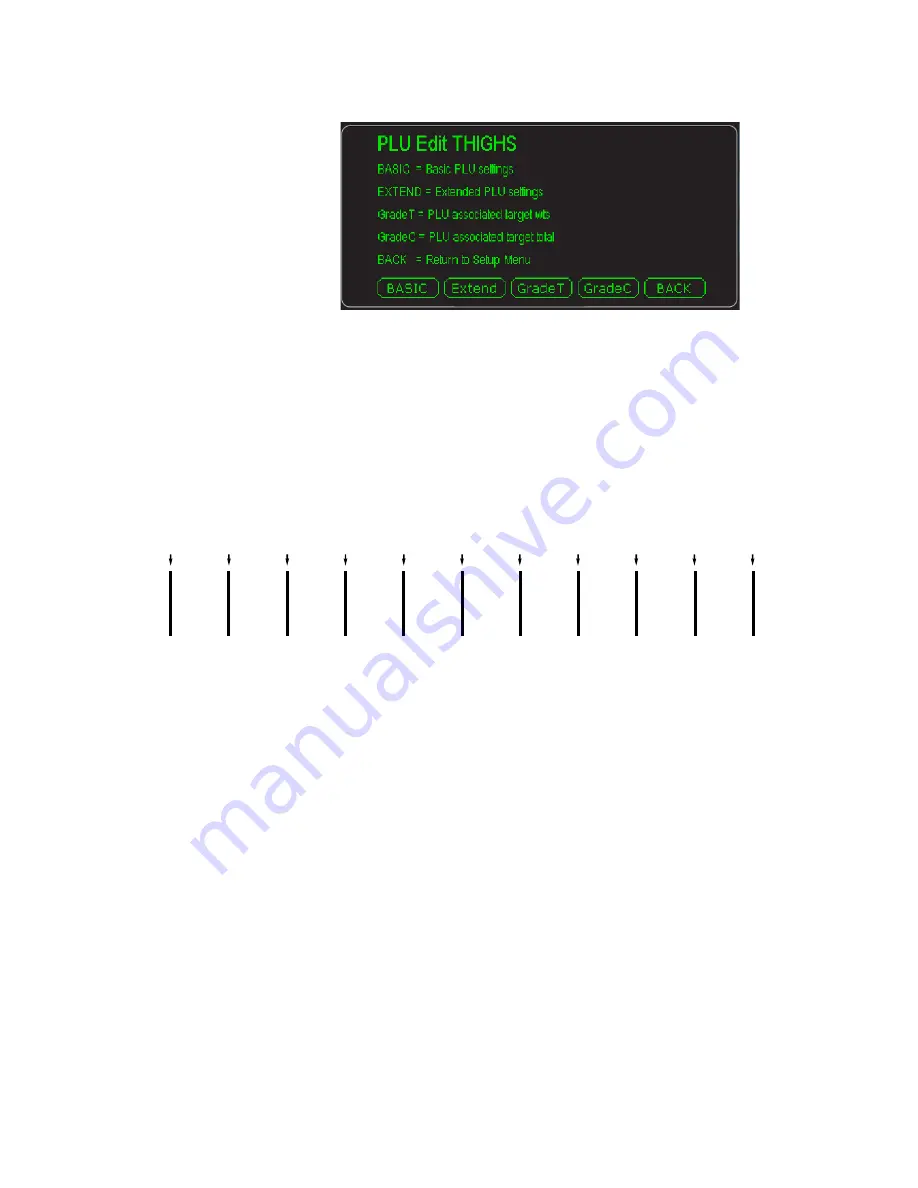
Key in an ID for this PLU and press the
Enter
key. Below is an example of a
screen you will see:
3.
Press
BASIC
and enter values for the items in the list that appears. By default
they are
Description 1
and
Unit of Measure
. When finished press
Extend
and
create a Grade Name for all ten grades listed on the screen.
4.
Next press
GradeT
and enter the weights that define each grade (1-11). A
grade is defined as the weight range starting at one target weight ending at the
next. If you only have five grades you must enter zero for Target weights 6-10
and the Final Target is equal to the highest weight for Grade 5. See the
illustration below:
5.
Next press
GradeC
to enter the number of items you want in each grade. This
is handy for box filling with like-weighing items.
6.
Repeat the process of creating a PLU for each of your items.
7.
To edit an existing PLU, see
.
Grade
1
Live
Weight
Live
Weight
<=
Target
weight #1
<=
Target
weight #2
<=
Target
weight #3
<=
Target
weight #4
<=
Target
weight #5
<=
Target
weight #6
<=
Target
weight #7
<=
Target
weight #8
<=
Target
weight #9
<=
Target
weight #10
<=
>
>
>
>
>
>
>
>
>
>
>
Final
target
Grade
2
Grade
3
Grade
4
Grade
5
Grade
6
Grade
7
Grade
8
Grade
9
Grade
10


