


CUSTOMER HELPLINE | 1-314-621-2881
iLive | IT319B
7
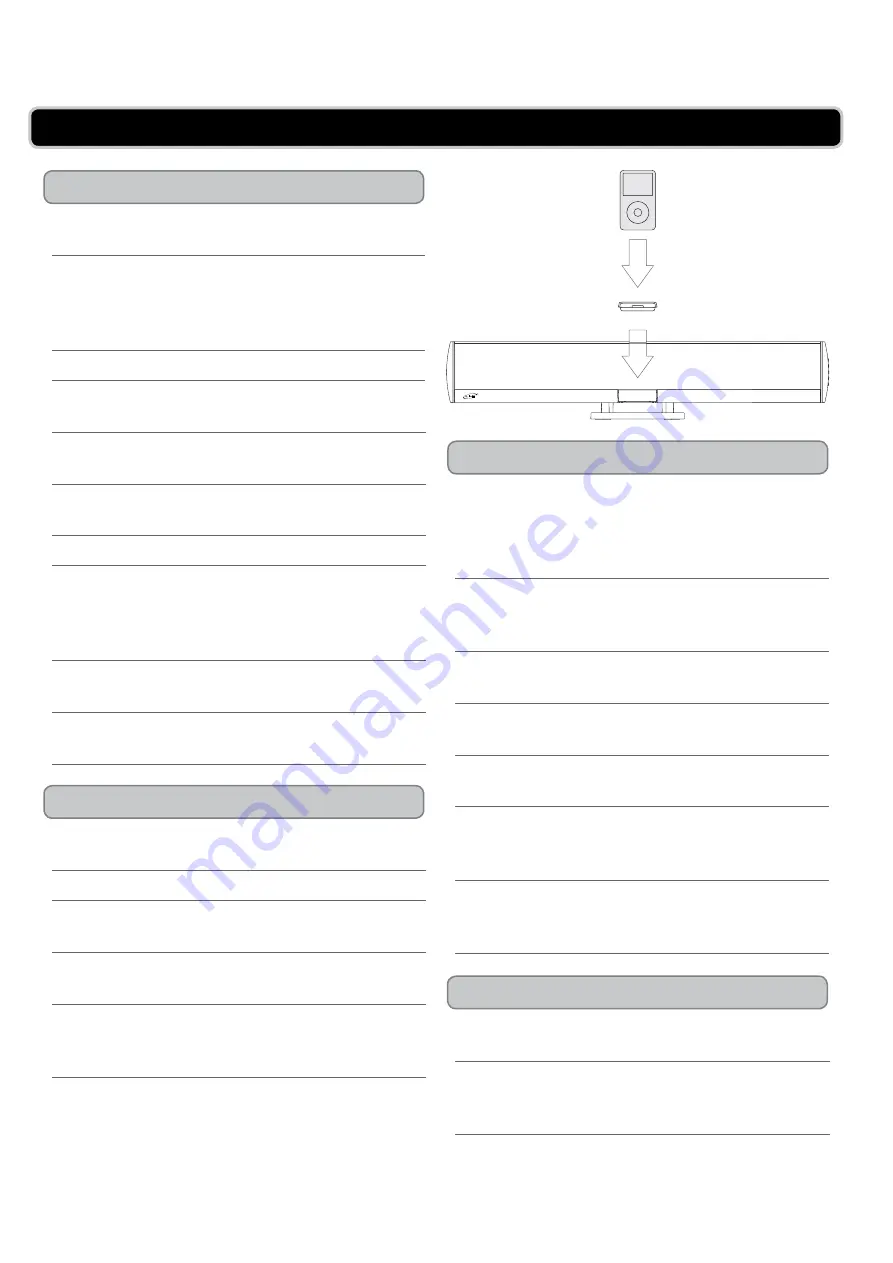
docking an iPod
Playing an iPod
advanced features
Video output from a docked iPod
iPod oPerations
Locate the numbered bracket that fits the iPod that
will be docked.
Each included Bracket has a number on it,
indicating which iPod model that bracket is
compatible with. See the separate bracket chart
page to identify which bracket is needed.
Press the
Power Button
to turn the unit on.
Press the
Source Button
to switch the unit to iPod
mode.
Press the
iPod Drawer Button
to open the iPod
motorized door on the unit.
Snap the bracket into place over the iPod connector
in the
Motorized Dock for iPod
.
All Brackets will only fit one way onto the Dock.
When inserting an iPod nano (first or second
generation), slide the Dock connection on the
unit so that it matches the opening on the iPod
nano (first or second generation).
Connect the iPod to the iPod connector inside the
Motorized Dock for iPod
.
Once an iPod is connected to the
Motorized Dock
for iPod
, the unit will charge the docked iPod.
Dock an iPod onto the unit by following the
“Docking an iPod” instructions.
Press the
Power Button
to turn the unit on.
Press the
Source Button
to switch the unit to iPod
mode.
Press the
Play/Pause Button
to begin playing a
docked iPod.
The included remote control will allow you to
access and play all of the media stored on the
docked iPod from a distance.
A docked iPod can only output video through the
S-Video Output or the Composite Video Output.
To watch video from a docked iPod on a connected
display, the iPod’s TV Out setting must be set to
“On” or “Ask”.
Directional & Select Buttons (on remote)
Press to move through a docked iPod’s menus.
Press the Select Button to make selections on a
docked iPod.
Repeat Button (on remote)
Press to repeat a song, album or playlist from a
docked iPod.
Playlist Button (on remote)
Press to cycle through playlists on a docked iPod.
Album Buttons (on remote)
Press to cycle through albums on a docked iPod.
Chapter Buttons (on remote)
Press to cycle through chapters on a docked iPod.
Menu Button (on remote)
Press to move backwards through a docked iPod’s
menus.
iPod Drawer Button
Press to open the motorized dock for iPod in
iPod
mode
.


